
Dynamic Range in Photography
Introduction
Dynamic range in photography is a very complex topic: What exactly is dynamic range and how much dynamic range do you actually need? How is dynamic range stored? Is there a correlation between bit depth and dynamic range? How much dynamic range does film offer and why is analog still a viable alternative to digital? At the end of day, is the contrast ratio of a print or a screen the true bottleneck?
This article will go beyond answering these question and help you develop a profound understanding of the subject matter.
Definition and Disambiguation
The term dynamic range in photography is used to describe the luminance range of a scene and the range of luminance a photographic recording medium can capture. For all practical purposes, dynamic range is best measured in f-stops or exposure values.
It is very important to keep in mind that every display medium – meaning a print, an electronic display or a projector – also has a limited dynamic range. This will be examined later in the video.
Let’s begin with the dynamic range of the scene first. The difference between the brightest and darkest values in f-stops is the dynamic range of the scene. It can be measured with either a handheld or in-camera spot meter.
Spot metering to determine the dynamic range of a scene.
Depending on the result, we can determine whether we are dealing with a low or high dynamic range scene.
Now let’s talk about the dynamic range of the recording medium, which can be either analog film or a digital sensor. The dynamic range of the recording medium is best described as the ratio of the minimum luminance to the maximum luminance it can capture. One could also say that below the minimum luminance and above the maximum luminance no changes in brightness will be recorded. This phenomenon is often referred to as clipping in the shadows or highlights.

Digital Camera - clipped highlights indicated by black, flashing surfaces.
In analog photography, sometimes the term “blocked” is used instead.
We can therefore conclude that when a scene has a dynamic range greater than our recording medium, some tonal values won’t be captured.
When this happens, we can shift the available dynamic range of our recording medium around and decide, which tonal values of the scene won’t be captured. We do that by adjusting either the shutter speed or aperture of our camera.
Shifting the available dynamic range.
Keep in mind, that different recording media has vastly different characteristics, especially when it comes to clipping.
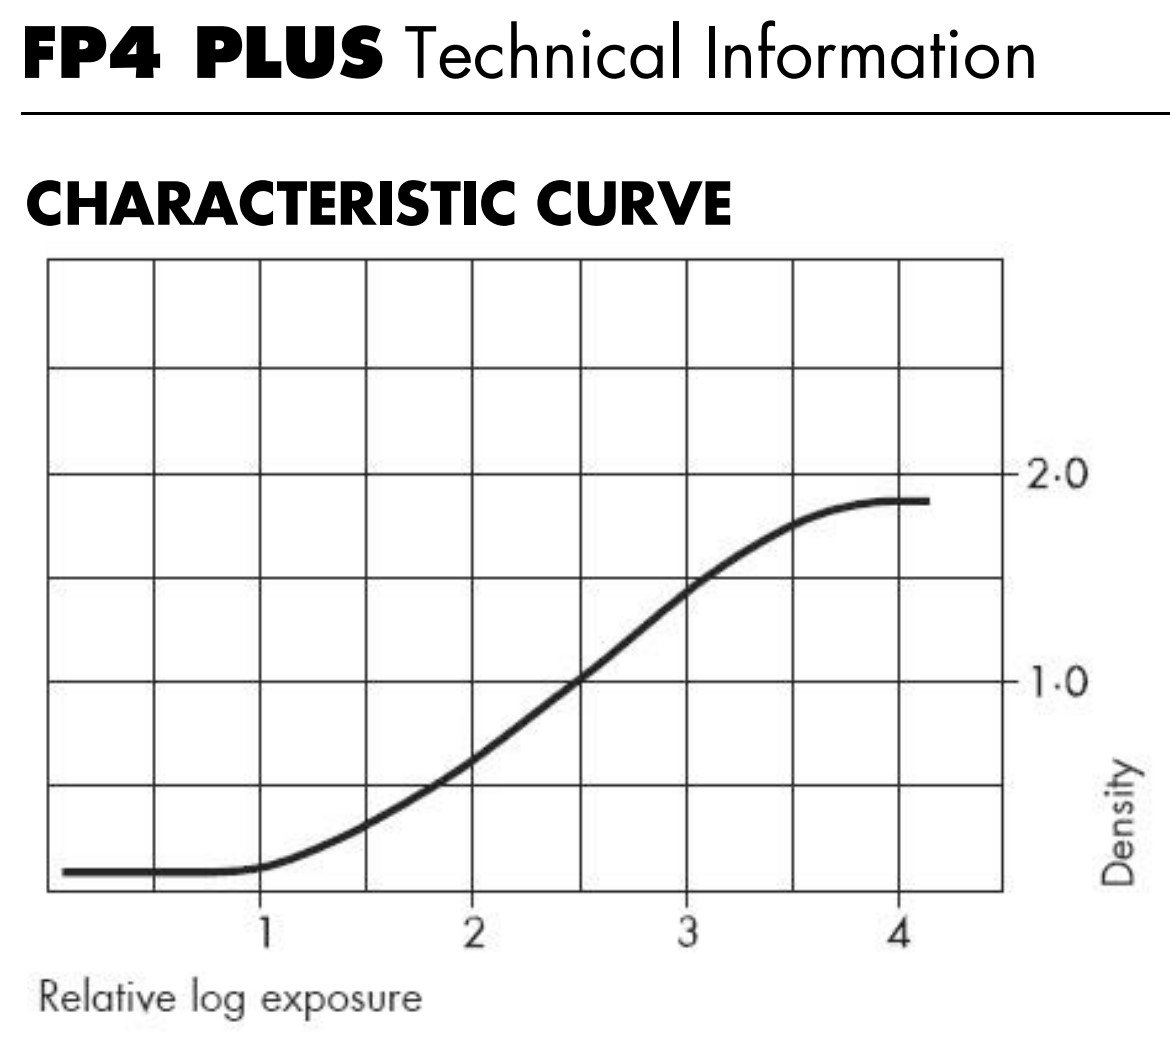
Source: Ilford Photo
For example, digital sensors have a hard highlight clipping limit, while negative films have a much more gradual one. This characteristic of film is known as highlight compression.
Dynamic Range and Gradation
Now let’s talk about how the captured tonal values are stored and how this influences our perception of dynamic range.
Here is a little thought experiment. Let’s assume we just bought a digital camera which is capable of capturing 12 stops of dynamic range. Unfortunately, our new camera can only create 1-bit image files. Every image would be black and white only, as our camera cannot store any intermediate values.

Sample scene.

Image from the “12 stops / 1-bit” camera
The resulting file would therefore represent 12 stops of dynamic range, but it would not look like it.
In order to get a better result, we have to upgrade our camera to store 8-bit files.
Then, the image would look like this, as our camera can now output 256 brightness values.

Image from the “12 stops / 8-bit” camera
To be very precise: With upgrading the bit depth of our camera from 1-bit to 8-bit, we did not increase its dynamic range, but we improved the gradation of the output.
This thought experiment should help to illustrate the interplay between dynamic range as the range of values that can be captured and gradation, which is the number of possible values between the brightest and darkest parts. This also explains why a digital image you plan to edit should always be recorded in RAW. Your camera won’t necessarily store much more dynamic range, but it will give you have all the fine steps to really make use of the captured dynamic range.
By the way, this is the perfect moment to underline the fundamental difference between analog film and digital sensors. Analog film never has to store a definitive value like a digital camera has to. Rather, the transition from one value to the next is much more gradual. The film’s properties like grain size, but also the development can influence how smooth this transition is.
The Recording Medium - Engineering and Practical Dynamic Range
Manufacturers love to make bold claims about their digital cameras’ dynamic range. 12 stops, 14 stops, you name it. When they do so, they are actually referring to the engineering dynamic range of their products, which is the absolute maximum luminance range that can be captured.
An engineering dynamic range of twelve stops, however, does not mean that you can underexpose a scene containing a middle gray subject by twelve stops, bring it back to middle gray in post production and get a high-quality result. It just means that the camera is recording twelve stops of luminance above the noise floor before clipping the highlights, aka exceeding the full well capacity of the image sensor.
So the practical dynamic range of every digital camera is always much smaller. To a degree, it is also subjective. What you will consider as practical dynamic range depends on your personal tolerance for noise, inaccurate colors and lack of discernible detail. Be that as it may, I’m inclined to state that the practical dynamic range with proper textural properties of digital cameras is around 6 to 8 stops.
Let’s compare this to analog recording media.
Black and white negative film usually has 11 to 13 stops of measurable dynamic range.

Black and white print film.
This is similar to color negative film, aka color print film, which also has around 8 to 10 stops.
In both cases, very similar to digital, this does not mean that you get 12 stops of usable, easily printable high fidelity dynamic range. Also, most of this dynamic range is in the highlights were the film gets very dense. While the exposure can be shifted and development can be adjusted, there are limits to that. In practice, 8 stops of “easily accessible” dynamic range can be expected from print film.
Interestingly, color positive film, better known as slide film, has a dynamic range of “only” around 6 to 8 stops, which are usually evenly distributed from the shadows to the highlights.

Color positive film.
So how come that slide film was the professional’s choice for high quality photography before the advent of digital? It is because of its extremely high resolution and that its six to eight stops of dynamic range are finely graduated and of highest fidelity, even by today’s standards.
Also, we are about to find out that 6 to 8 stops of high fidelity dynamic range are usually enough. Say tuned.
The Scene – Lighting Ratios and Dynamic Range
When we look at a scene we want to photograph, there are usually two elements. The Background and the main subject. For me as a fashion photographer the subject is almost always a person, for a wildlife photographer it might be a bird and in product photography it could be a car.
In any case, far more important than capturing the dynamic range of the whole scene is capturing the relevant tonal values of the main subject. So how much dynamic range does our recording medium need in order to do that?
Let’s simulate low and high contrast lighting of a subject we might encounter in real life by utilizing lighting ratios, which are widely used in cinematography and fashion photography to describe subject lighting.
For this purpose, I’ve taken a series of self portraits.

1:1 - 0 stops difference; dynamic range: 4 stops.

8:1 - 3 stops difference; dynamic range: 7 stops.

2:1 - 1 stop difference; dynamic range: 5 stops.

16:1 - 4 stops difference; dynamic range: 8 stops.

4:1 - 2 stops difference; dynamic range: 6 stops.

32:1 - 5 stops difference; dynamic range: 9 stops.
So if we would have shot these portraits on color positive film – 8 stops of dynamic range – only in the last image we would have to accept a loss of one stop in the shadows. For all practical applications, no one would really notice that.
To conclude, it is quite incredible that only in a very extreme situation like the last one, a recording medium with more than 8 stops of dynamic range is even justifiable.
The Display Medium - Reproducible Dynamic Range
Capturing a scene is not an end in itself, but serves only the purpose of creating a photograph that can be contemplated.
It is therefore very insightful to examine the contrast ratios that can be reproduced by various display media. For the purpose of comparability, I will convert the contrast ratios to equivalent f-stops.
Let’s start with analog media.
A printed photograph under optimal viewing conditions can reproduce a contrast ratio equal to around 4 to 6 stops.
This means that if you print a black and white negative film in the darkroom, which has 11 stops of tonal values, you can try to compress all these tonal values into 6 printable stops by adjusting the grade or utilizing dodging and burning.

Darkroom printing - compression of tonal values.
Alternatively, you can just decide which 6 stops the film you will print.
Darkroom printing - selecting & discarding tonal values.
A projected slide will reveal fine tonal values across its entire dynamic range of 6 to 8 stops, if the viewing conditions are optimal. Projecting slides is therefore an unparalleled, high-fidelity experience and I love it, to be honest.
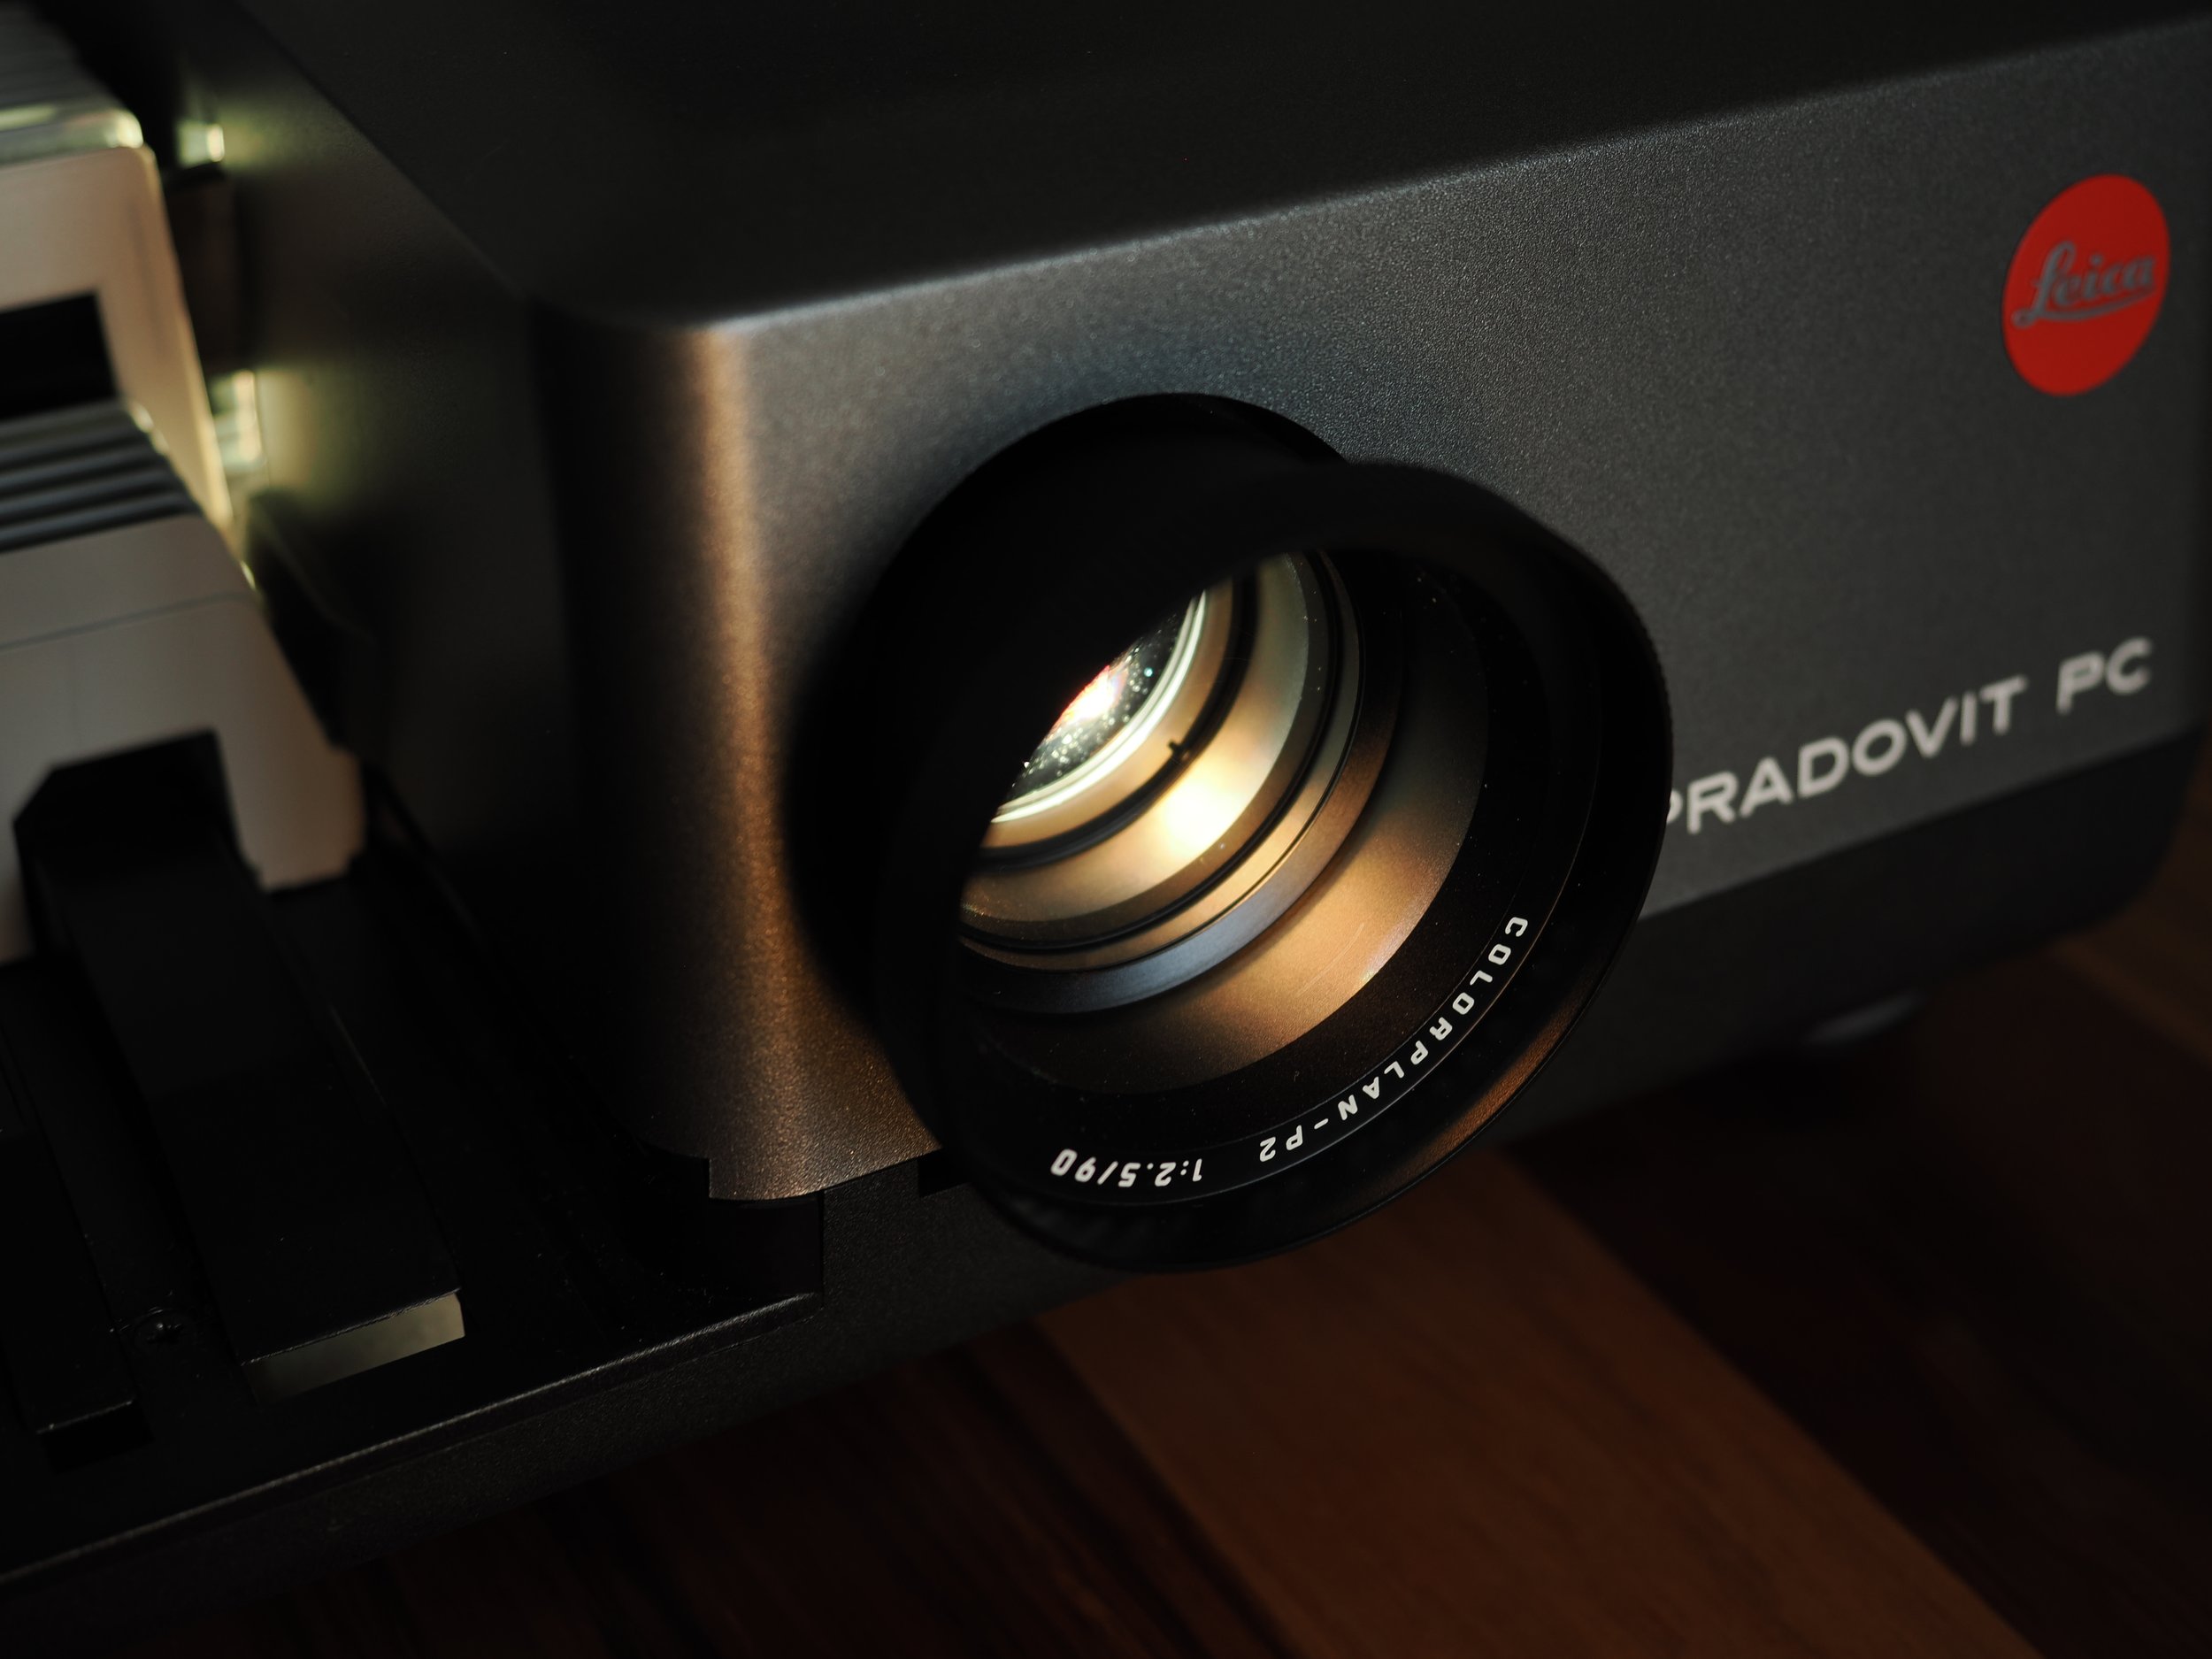
Leica Pradovic PC - slide projector
Now that we have covered analog, let’s talk about digital.
Display devices can reproduce a contrast ratio of 8 to 10 stops, but this really depends on the device and also the viewing conditions.
The images we see on our display devices are of course based on digital image data. So let’s take a closer look at image files.
At some point, a digital photograph is usually saved as an 8-bit JPG. Per channel, such a JPG has 256 possible tonal values that it can display. One could also say that a JPG has a contrast ratio of 1:255, which would be equivalent to 8 stops. Keep in mind that gamma encoding increases the dynamic range a JPG can represent beyond these 8 stops. Be that as it may, only 256 steps of brightness will ever be displayed.
In other words, excessive tonal values are compressed, much like when printing all tonal values of a 12 stop negative film to a 6 stop photo paper, with one big difference:
No matter how many bits of tonal values you compress into an 8-bit JPG, the quality of the output will not improve. However, when shooting film, compressing the tonal values of finely graduated film into a 6 stop photo paper when printing in the darkroom can make a difference. In an all-analog process, the paper is not limited to a specific number of fixed tonal values it can reproduce from maximum density to paper white.
This is one of the reasons why a handcrafted darkroom print has very unique visual qualities and the connoisseur will appreciate these.
Now back to digital, because of course, there are not only JPG files.
A 16-bit TIFF file, for example, is able to store far more nuanced tonal values – 65.536 per channel, to be precise. However, the bottleneck for the simultaneous viewing of all stored values would be the 10 stops equivalent contrast ratio of the display device. Again, the excessive values would be compressed, this time to 10 stops.
To conclude: Display media can reproduce the equivalent of more or less 8 stops. If our recording medium captured more dynamic range and stored it appropriately, the excessive values can either be clipped or compressed.
Human Perception and HDR
The exact number of stops of dynamic range we humans are able to perceive simultaneously is hard to quantify and there are many different numbers out there. Be that as it may, the interplay of eyes and visual cortex allow us to perceive what at least deserves the label “ultra-high dynamic range”. However, our vision is highly focused.
A little example: When we are in a room with windows, we do not perceive the bright outside and the dim inside simultaneously in full detail. We rather focus on one or the other.
To represent this experience photographically, we could either expose the outside or the inside correctly, therefore mimicking our subjective focus. Six to eight stops of dynamic range are more than enough to do that.
Exterior correctly exposed. Inside underexposed.

Inside correctly exposed. Outside overexposed.
However, if we look at the resulting two photographs, we might find ourselves looking for detail in either the shadows or the highlights, always noticing the lack of the former or the latter, as we are trying to perceive the photographed scene like we are used to perceive it in real life.
This is one of the very few scenarios where capturing a high dynamic range is important.
By digitally combining multiple exposure in post production using either tone mapping or exposure blending, the full dynamic range of any scene can be squeezed in a display medium with considerable less dynamic range.

Tone-mapped high dynamic range image.
The result is of course not a faithful representation of reality, but a representation of what we come to expect to see in a situation like this.
Ansel Adams with his zone system did exactly the same thing in the analog world. He captured as much dynamic range as possible on film and compressed all of it into the limited display medium, namely photographic paper, in order to create a visually pleasing result.
Closing Remarks
It seems like everything in photography revolves around the 8 stop mark, which is quite an interesting finding.
We can therefore conclude, that no matter what marketing departments tell you, 6 to 8 stops of high fidelity dynamic range are enough, if you know what you are doing.

What you really need for professional results.