
OM System Image Overlay
Index
Image Overlay Basics & Expert Knowledge
Introduction
Image Overlay combines multiple RAW-images into one single RAW file.
This extremely powerful feature can be used to create double exposures, simulate an ND-filter, remove image noise or perform exposure blending in camera.
Image Overlay Basics
Basics
Image Overlay can be accessed via the Playback menu. Most Olympus/OM System cameras can merge up to 3 captured RAW pictures in one go. Some cameras – like the Olympus E-5 – can merge up to 4 RAW images at once.
In practice, there is no limitation to the total number of images which can be combined, because overlays saved in RAW format can in turn be combined with other RAW images to create new overlays.
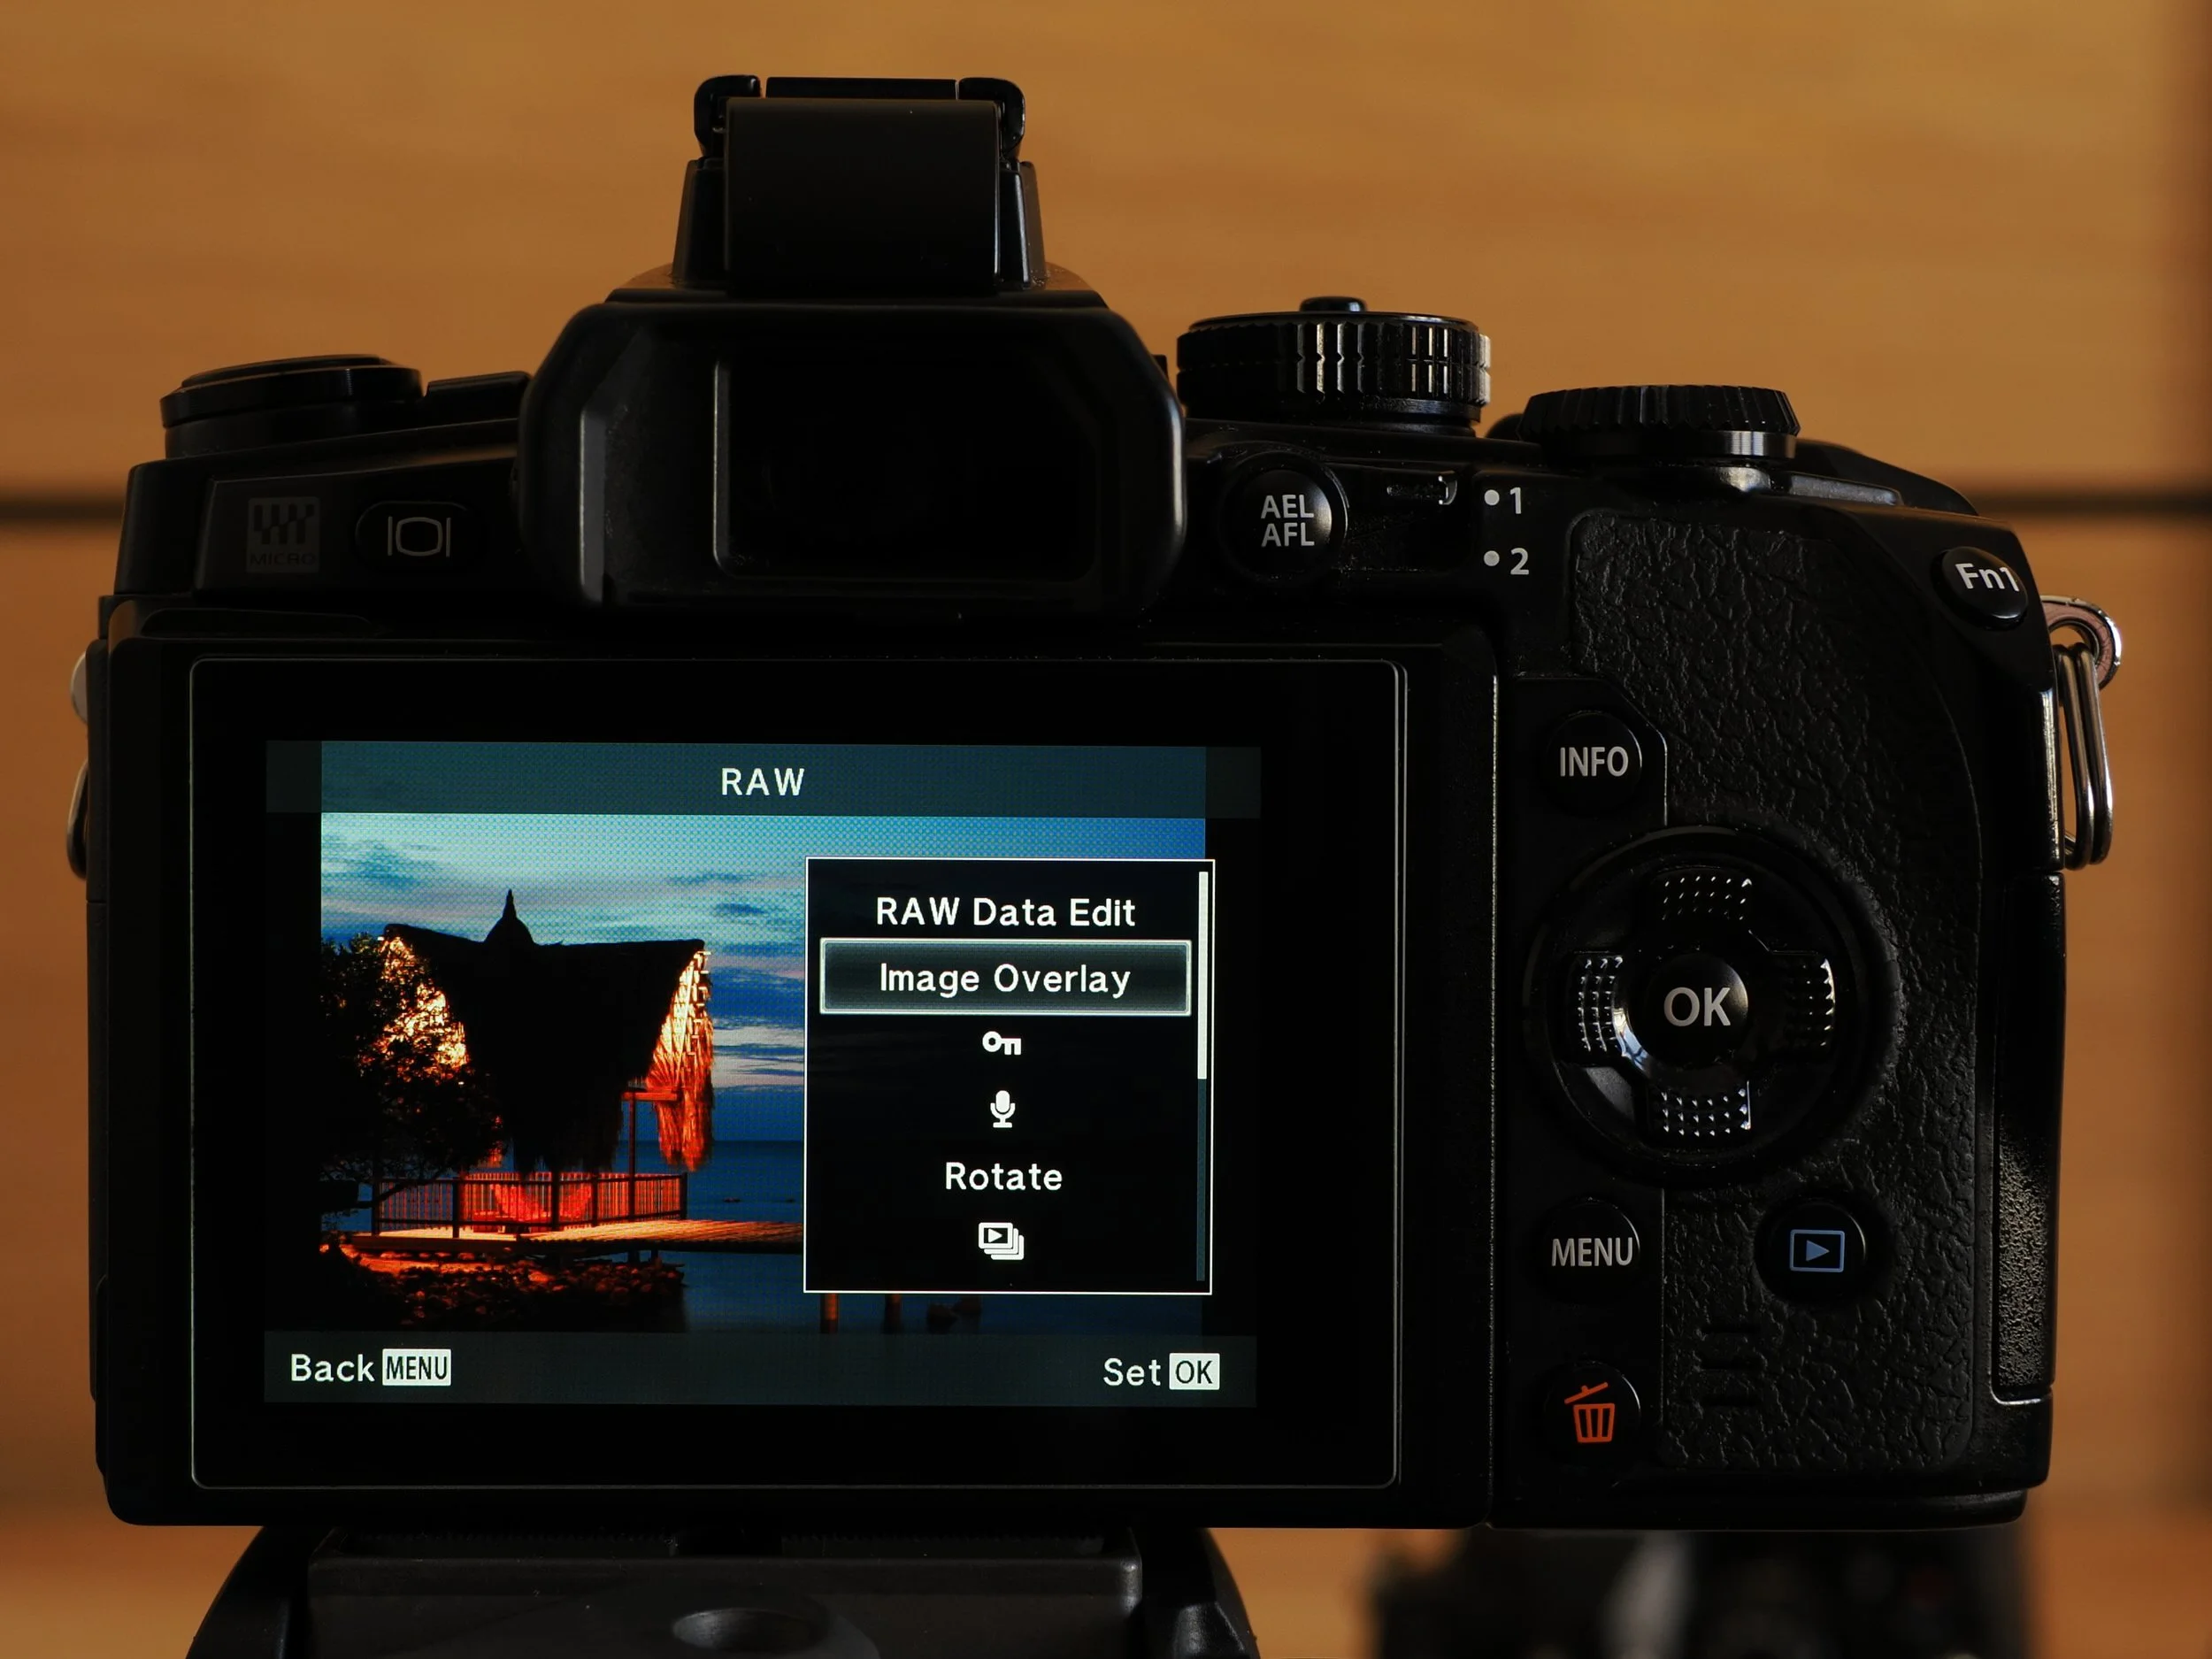
Playback Menu - Image Overlay.
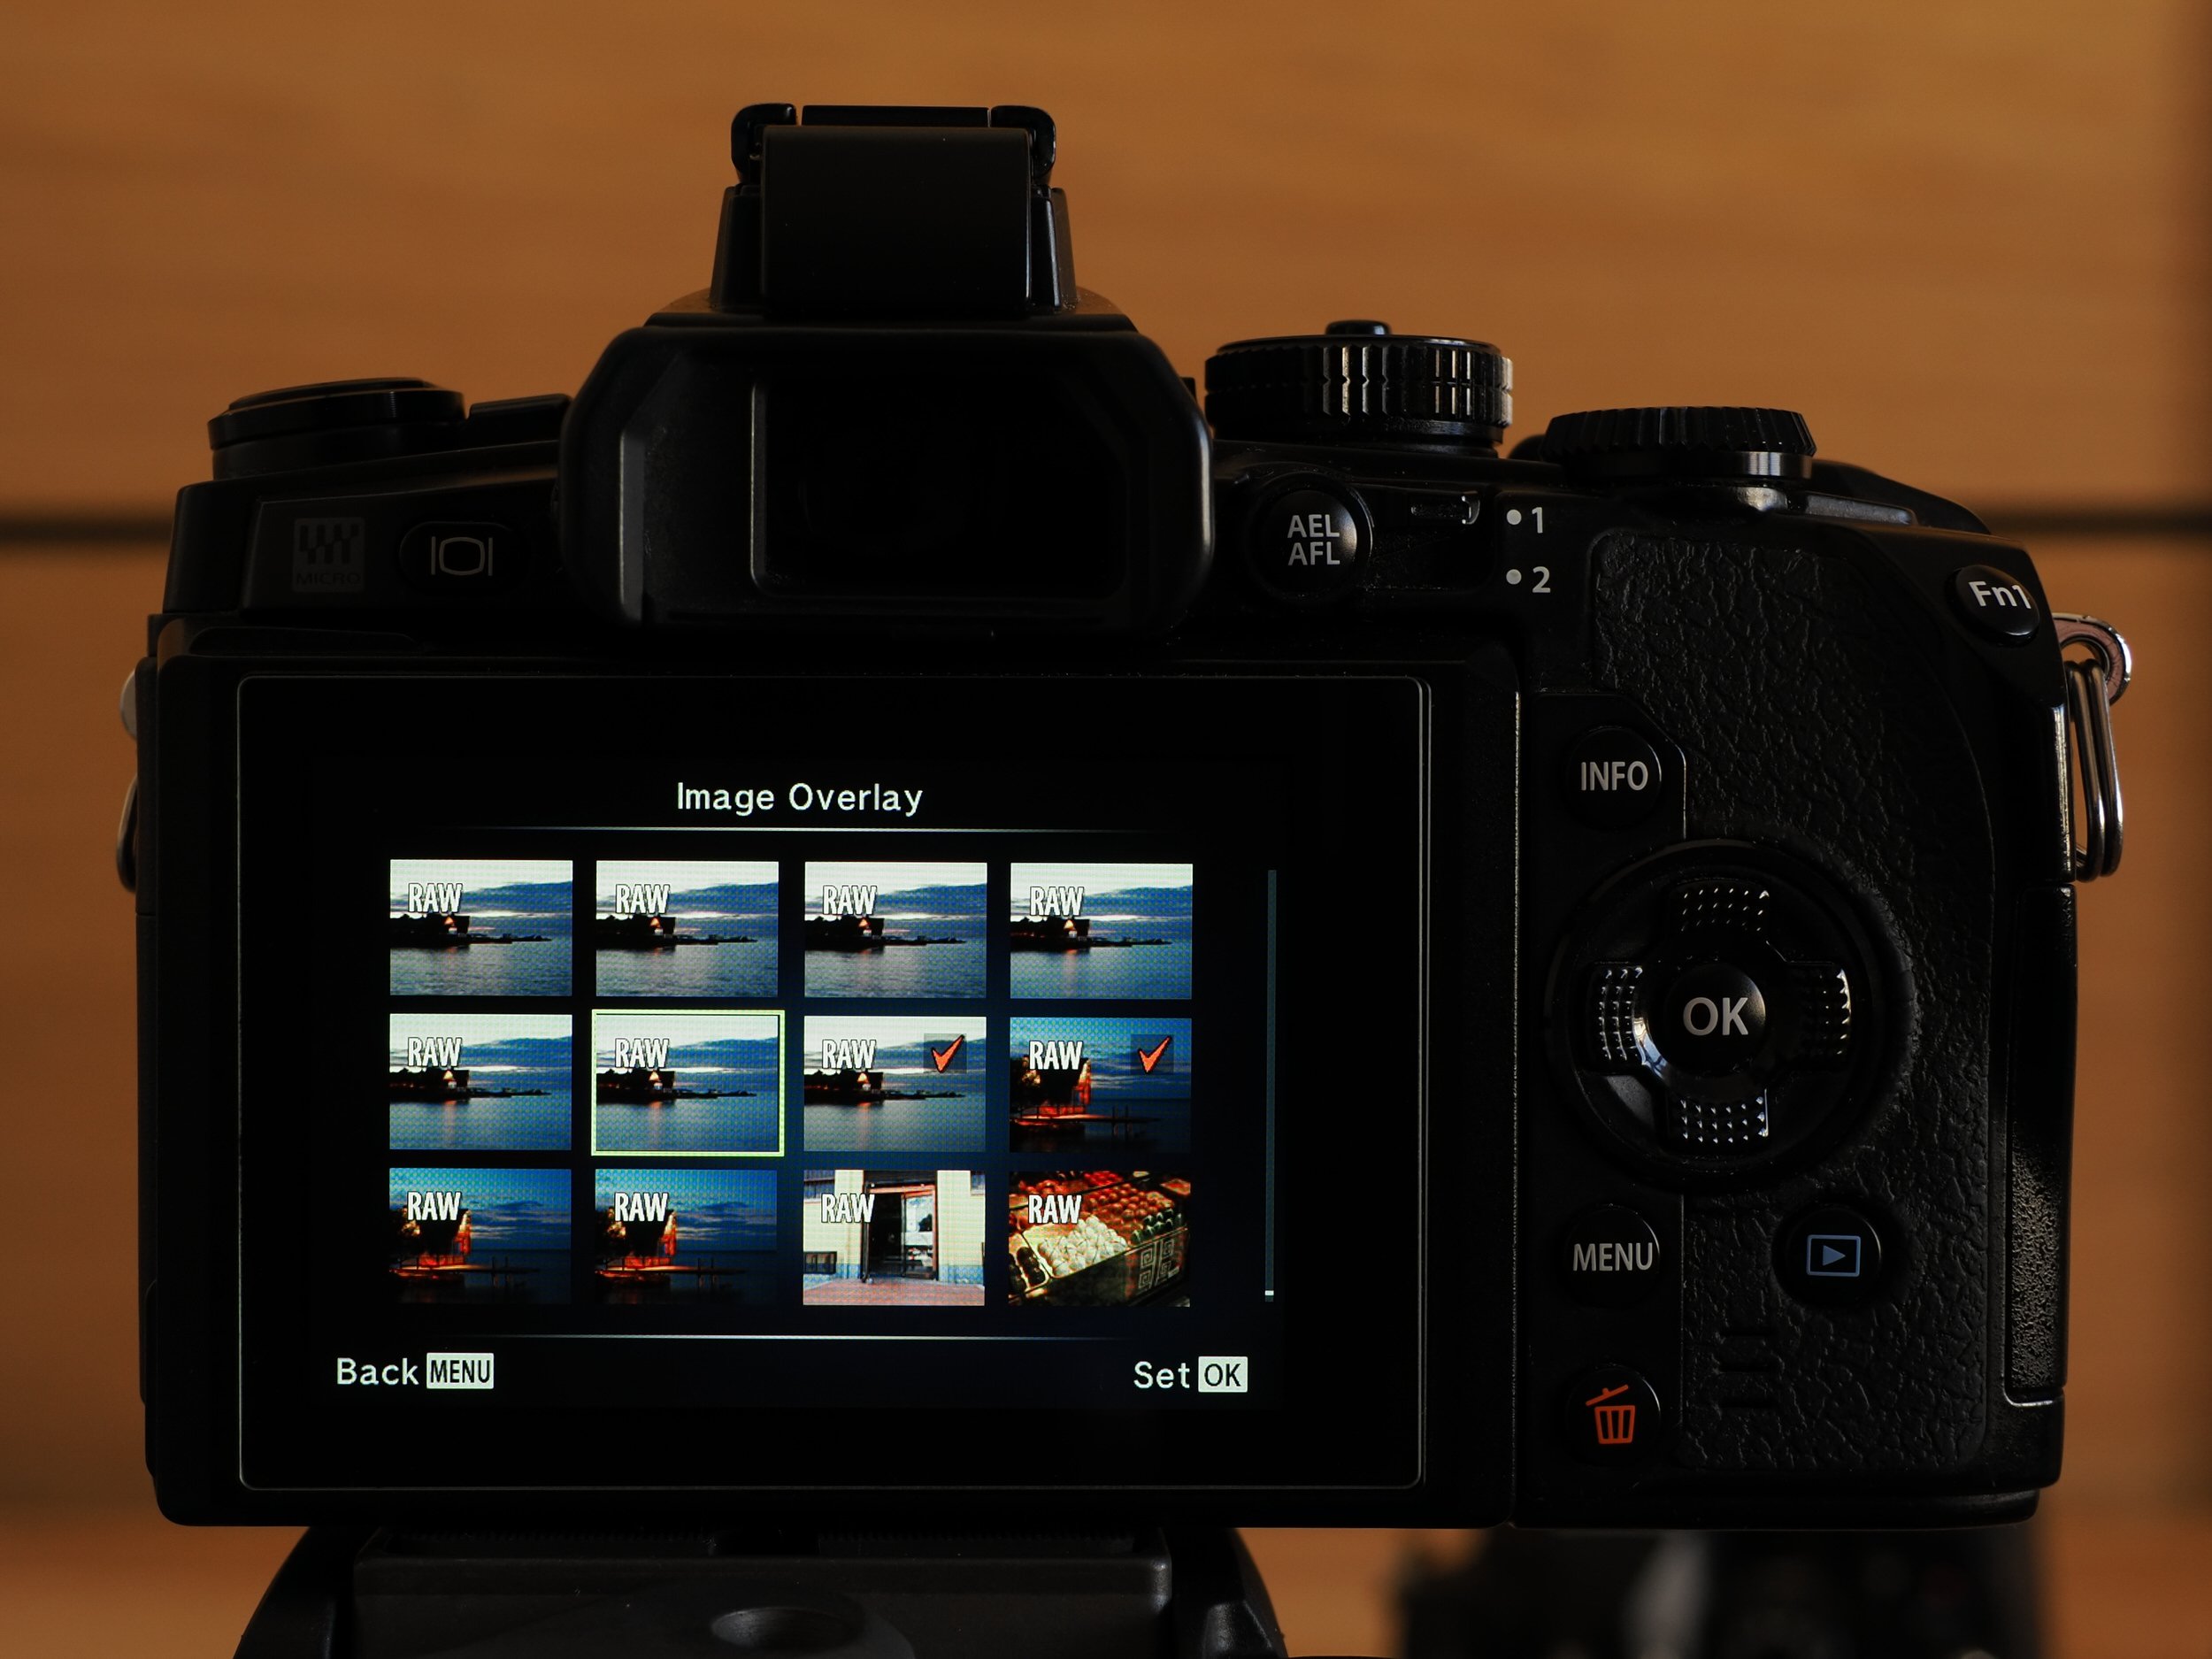
Selecting photos for Image Overlay.
Gain
The gain of each individual image can be adjusted separately from x0.1 to x2.0. This value is used to control the tonal values (aka brightness) of the final composite. The tonal values of each individual image are multiplied by the set gain value.
E.g.: x0.1 = 10%; x2.0 = 200%.

Image Overlay - Gain settings.
Output
Image Overlay creates a RAW file and a JPEG for preview purposes. The JPEG output is determined by the currently set Picture Mode (+ associated sub-settings) and image quality settings.
The alignment of the overlayed images remains unchanged.
Image Processing – Expert Knowledge
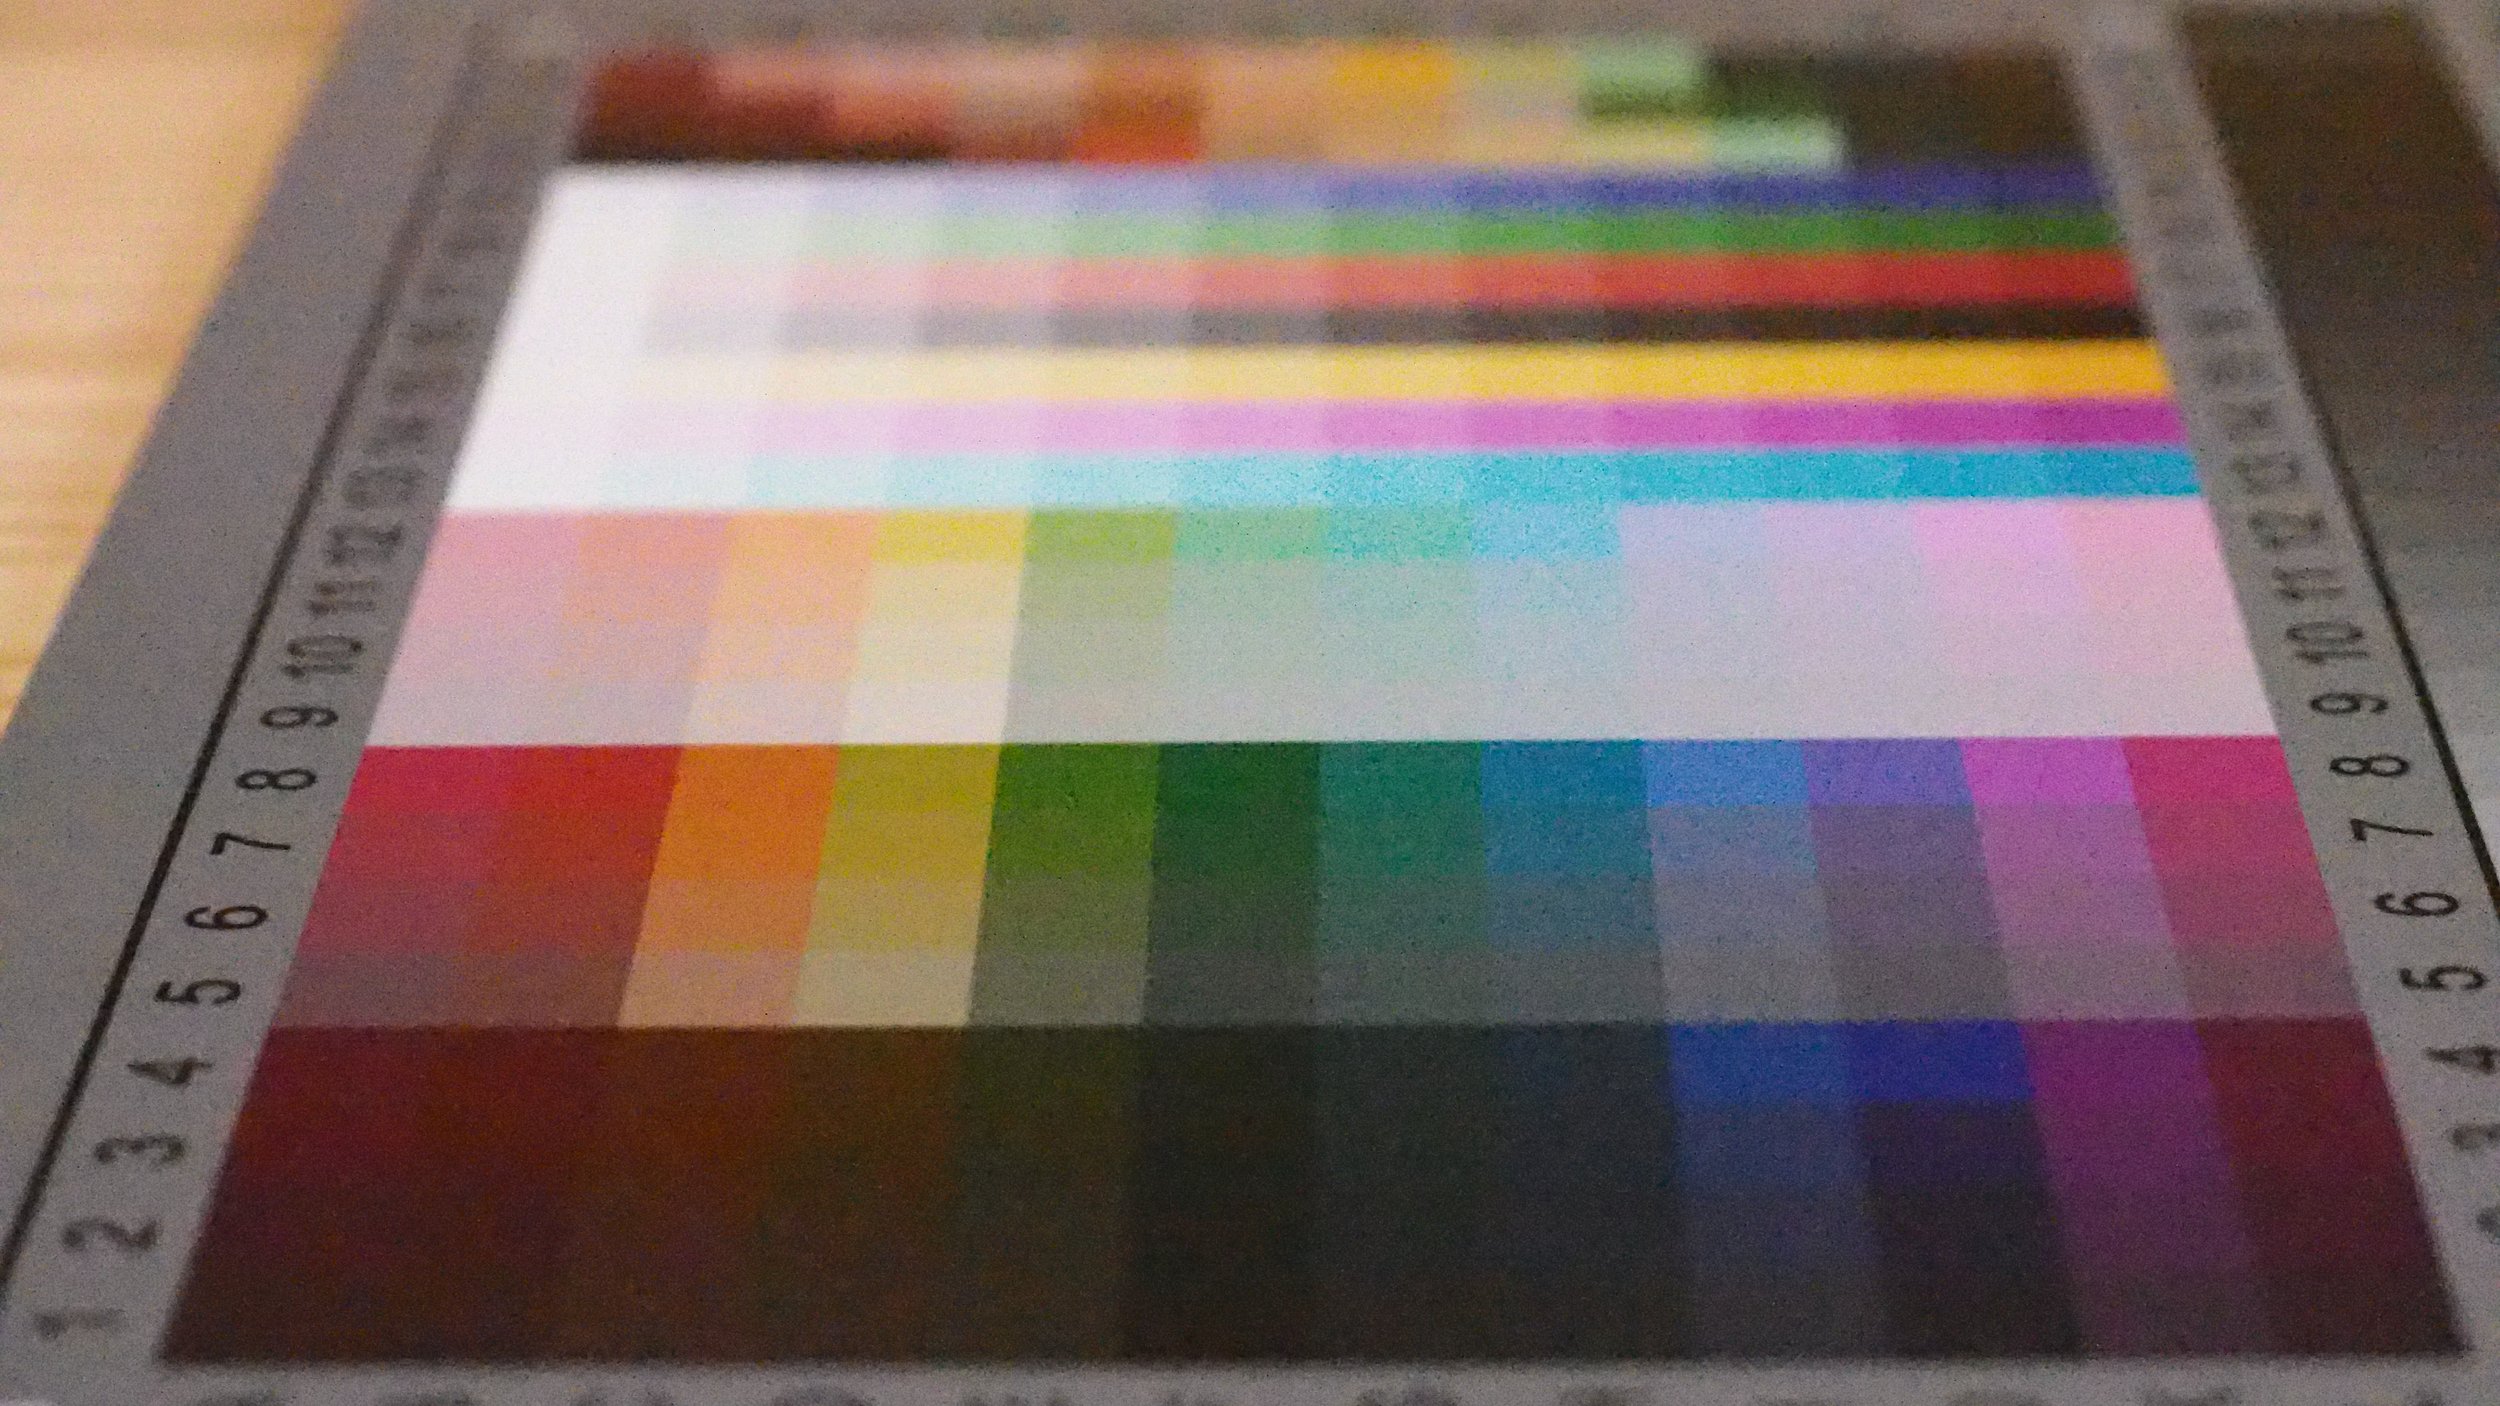
A 12-bit RAW, lossless compressed (for example, recorded by the OM System OM-1) is able to store 4.096 tonal values per channel. In most situations, the bit precision of the analog-to-digital converter is not sufficient to provide full 12 bits of tonal data. Missing values are either interpolated or show up as gaps in the RAW histogram (“picket fence”). Posterization in the extreme highlights or shadows can also be the result of low bit precision.

8 bit per channel (above) vs. 12 bit per channel (below).
When multiple RAW photos of the same scene are merged using Image Overlay, usually the bit precision is improved. This is because even subtle changes in light influence the recorded values and fill in the gaps. More nuanced tonal values compared to a single RAW file are to be expected.
Viewed in-camera, the merged RAW-files sometimes do not look like they contain any extra tonal values. This is because the in-camera preview is based on 8-bit JPEGs and only a fraction of the available data can be displayed.
However, using in-camera or external RAW processing, the complete range of tonal values stored in the merged 12-bit RAW file can be accessed and utilized either selectively or completely.
Note that depending on the set gain and brightness of the selected images, the tonal values of the selected images accumulate until they reach the point of clipping.
Practical Applications of Image Overlay
Multiple Exposure
1. Selection
Select the desired images. It is recommended to merge not more than two images.
Image areas below full saturation will exhibit an overlay effect depending on the tonal values.
Tonal values of higher relative brightness superimposed on dark tonal values will be very visible in the final result.
Bright tonal values on bright tonal values can lead to saturation (clipping).

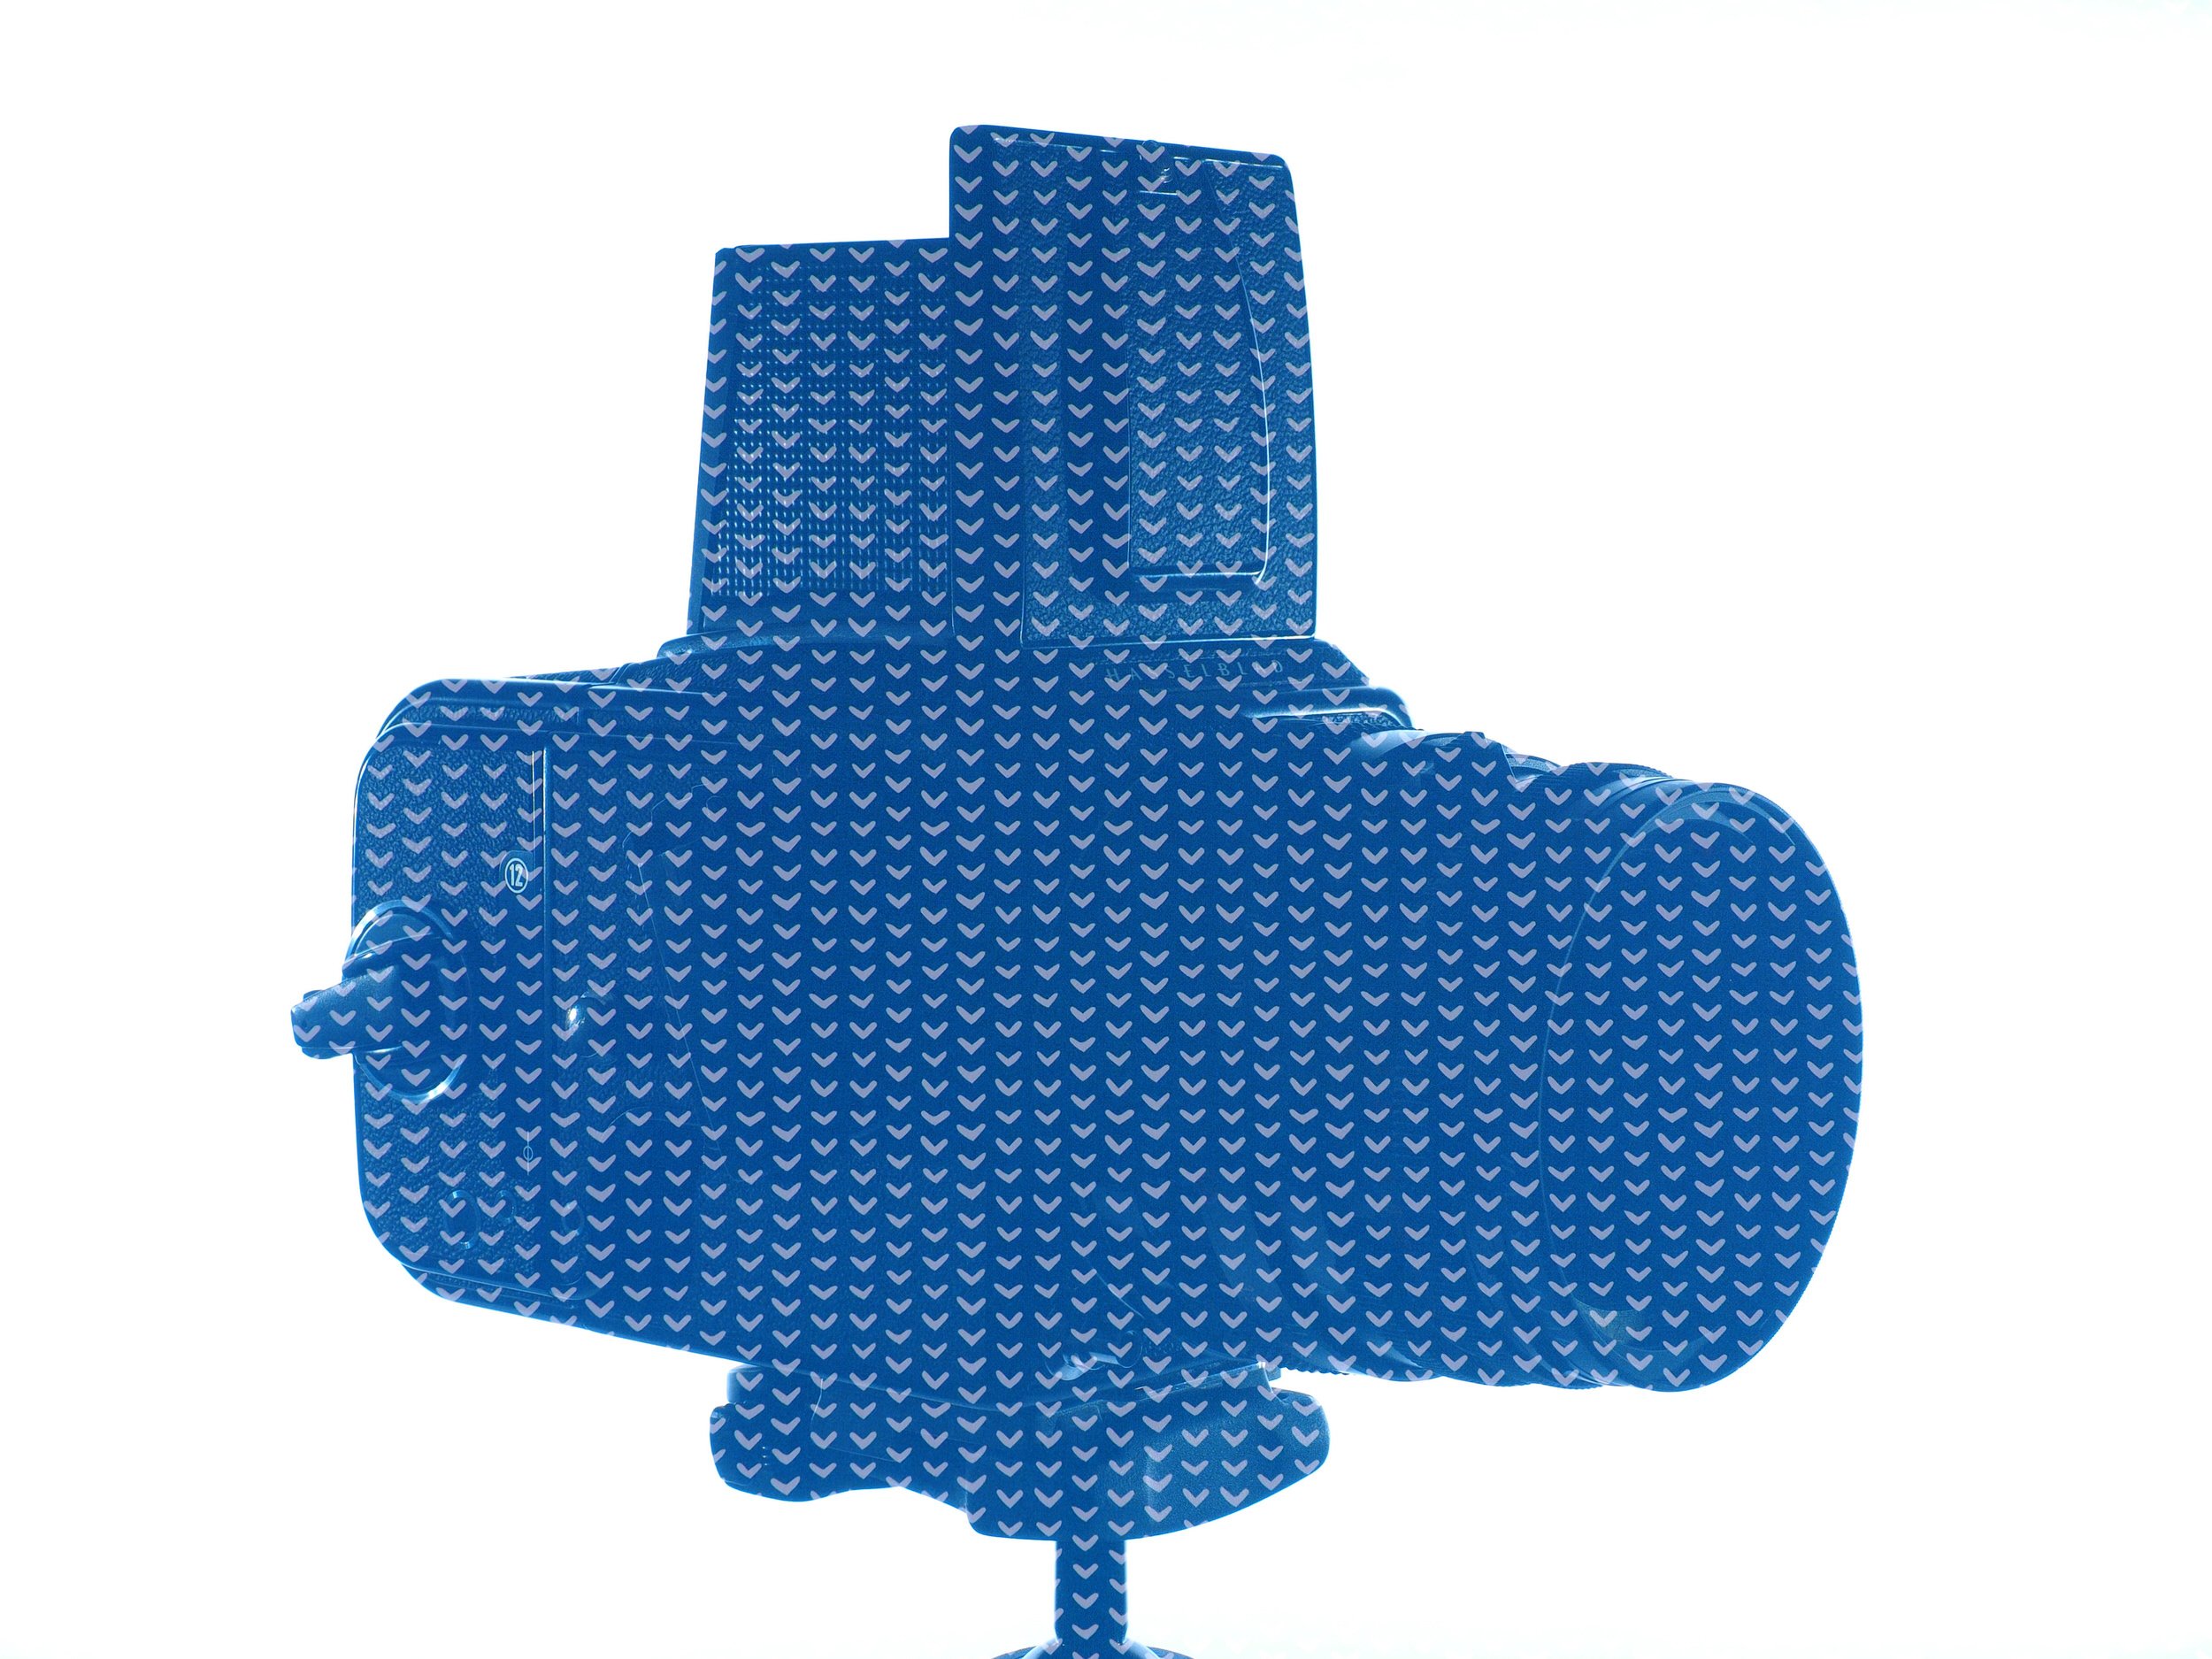
Photographing the silhouette of a Hasselblad 500C/M.
2. Gain Adjustment
Adjust the gain value of the individual images to control the tonal values.

Image Overlay - pattern superimposed on the silhouette photo.
3. Additional Processing
Adjust the [Exposure]-setting to shift the overall brightness. [Highlight&Shadow Control] can be used to fine-tune the tonal contrast.
Adapt the [White Balance] for natural or creative results.
Double exposure end result - in-camera processing only.
Frame Averaging
Image Overlay can be used to perform frame averaging. The achievable results are similar to what is possible with the Live ND computational mode in newer OM System/Olympus camera models. In a way, Image Overlay can be seen as “Manual Live ND”.
1. Image Capture
For in-camera frame averaging, the scene has to be photographed with the same exposure settings and the camera has to be stabilized (preferably on a tripod).
2. Gain Adjustment
Combine the resulting images with the sum of all gain settings not exceeding 1.0. By doing so, the brightness of the resulting image will match those of the single images, while the image data will be an average of the combined images. The black point and the white point are practically unaffected.

Total Gain = x0.4+x0.3+x0.4.
Noise Removal & Improving Detail Rendition
As image noise varies at least slightly from frame to frame, in-camera frame averaging will drastically reduce any image noise or remove it all together.
As a side effect, if the camera was stable enough during capture, the final composite will exhibit improved fine detail rendition.
Usually, combining three images of the same scene is sufficient. For even cleaner results, combine the resulting composite with additional images of the same scene.
Olympus OM-D E-M1 Example Merge

Blurring Movement
If elements in the frame are moving during the capture, frame averaging will effectively “average out” those moving elements, either blurring them or removing them all together.
Combine more than three images of the same scene for a stronger effect.
Single Frame.
3-images merge, in-camera edit.
Exposure Blending (HDR Photography)
Image Overlay can be used for in-camera HDR exposure blending to create a RAW-file with fine nuances across the whole tonal scale.
A series of exposure bracketed images of the same scene is required.
1. Selection
Generally, it is recommended to select the overexposed and underexposed image for the Image Overlay operation.
In some cases, a 3-image merge is possible.
2. Gain Adjustment
The key to achieving a satisfactory result is setting the right gain level. Start with all images set to x0.1.
Gradually increase the gain, starting with the darker image.
The goal is not to blow out any color channel while raising the shadows as much as possible.
3. Check
After creating the composite, check the individual color channels. Repeat the process with modified gain-values if one color channel is clipping.
4. Additional Processing
By developing the RAW-file in-camera or on the PC, an optimized JPEG can be created.
Image A.

Image B.

2-images merge, in-camera edit.