
Nikon F3 Light Seal Replacement
Introduction
Degraded light seals (and mirror bumpers) not only cause light leaks but also pose a danger to your Nikon F3. If they are not replaced every 10 years, small oily plastic particles flake off and might migrate to the camera’s mechanic. Or even worse, they might even degrade the delicate mirror.
Step By Step Guide
Purchasing Replacement Light Seals
I recommend purchasing pre-cut light seal set (with included mirror bumpers), as sold by US camera.
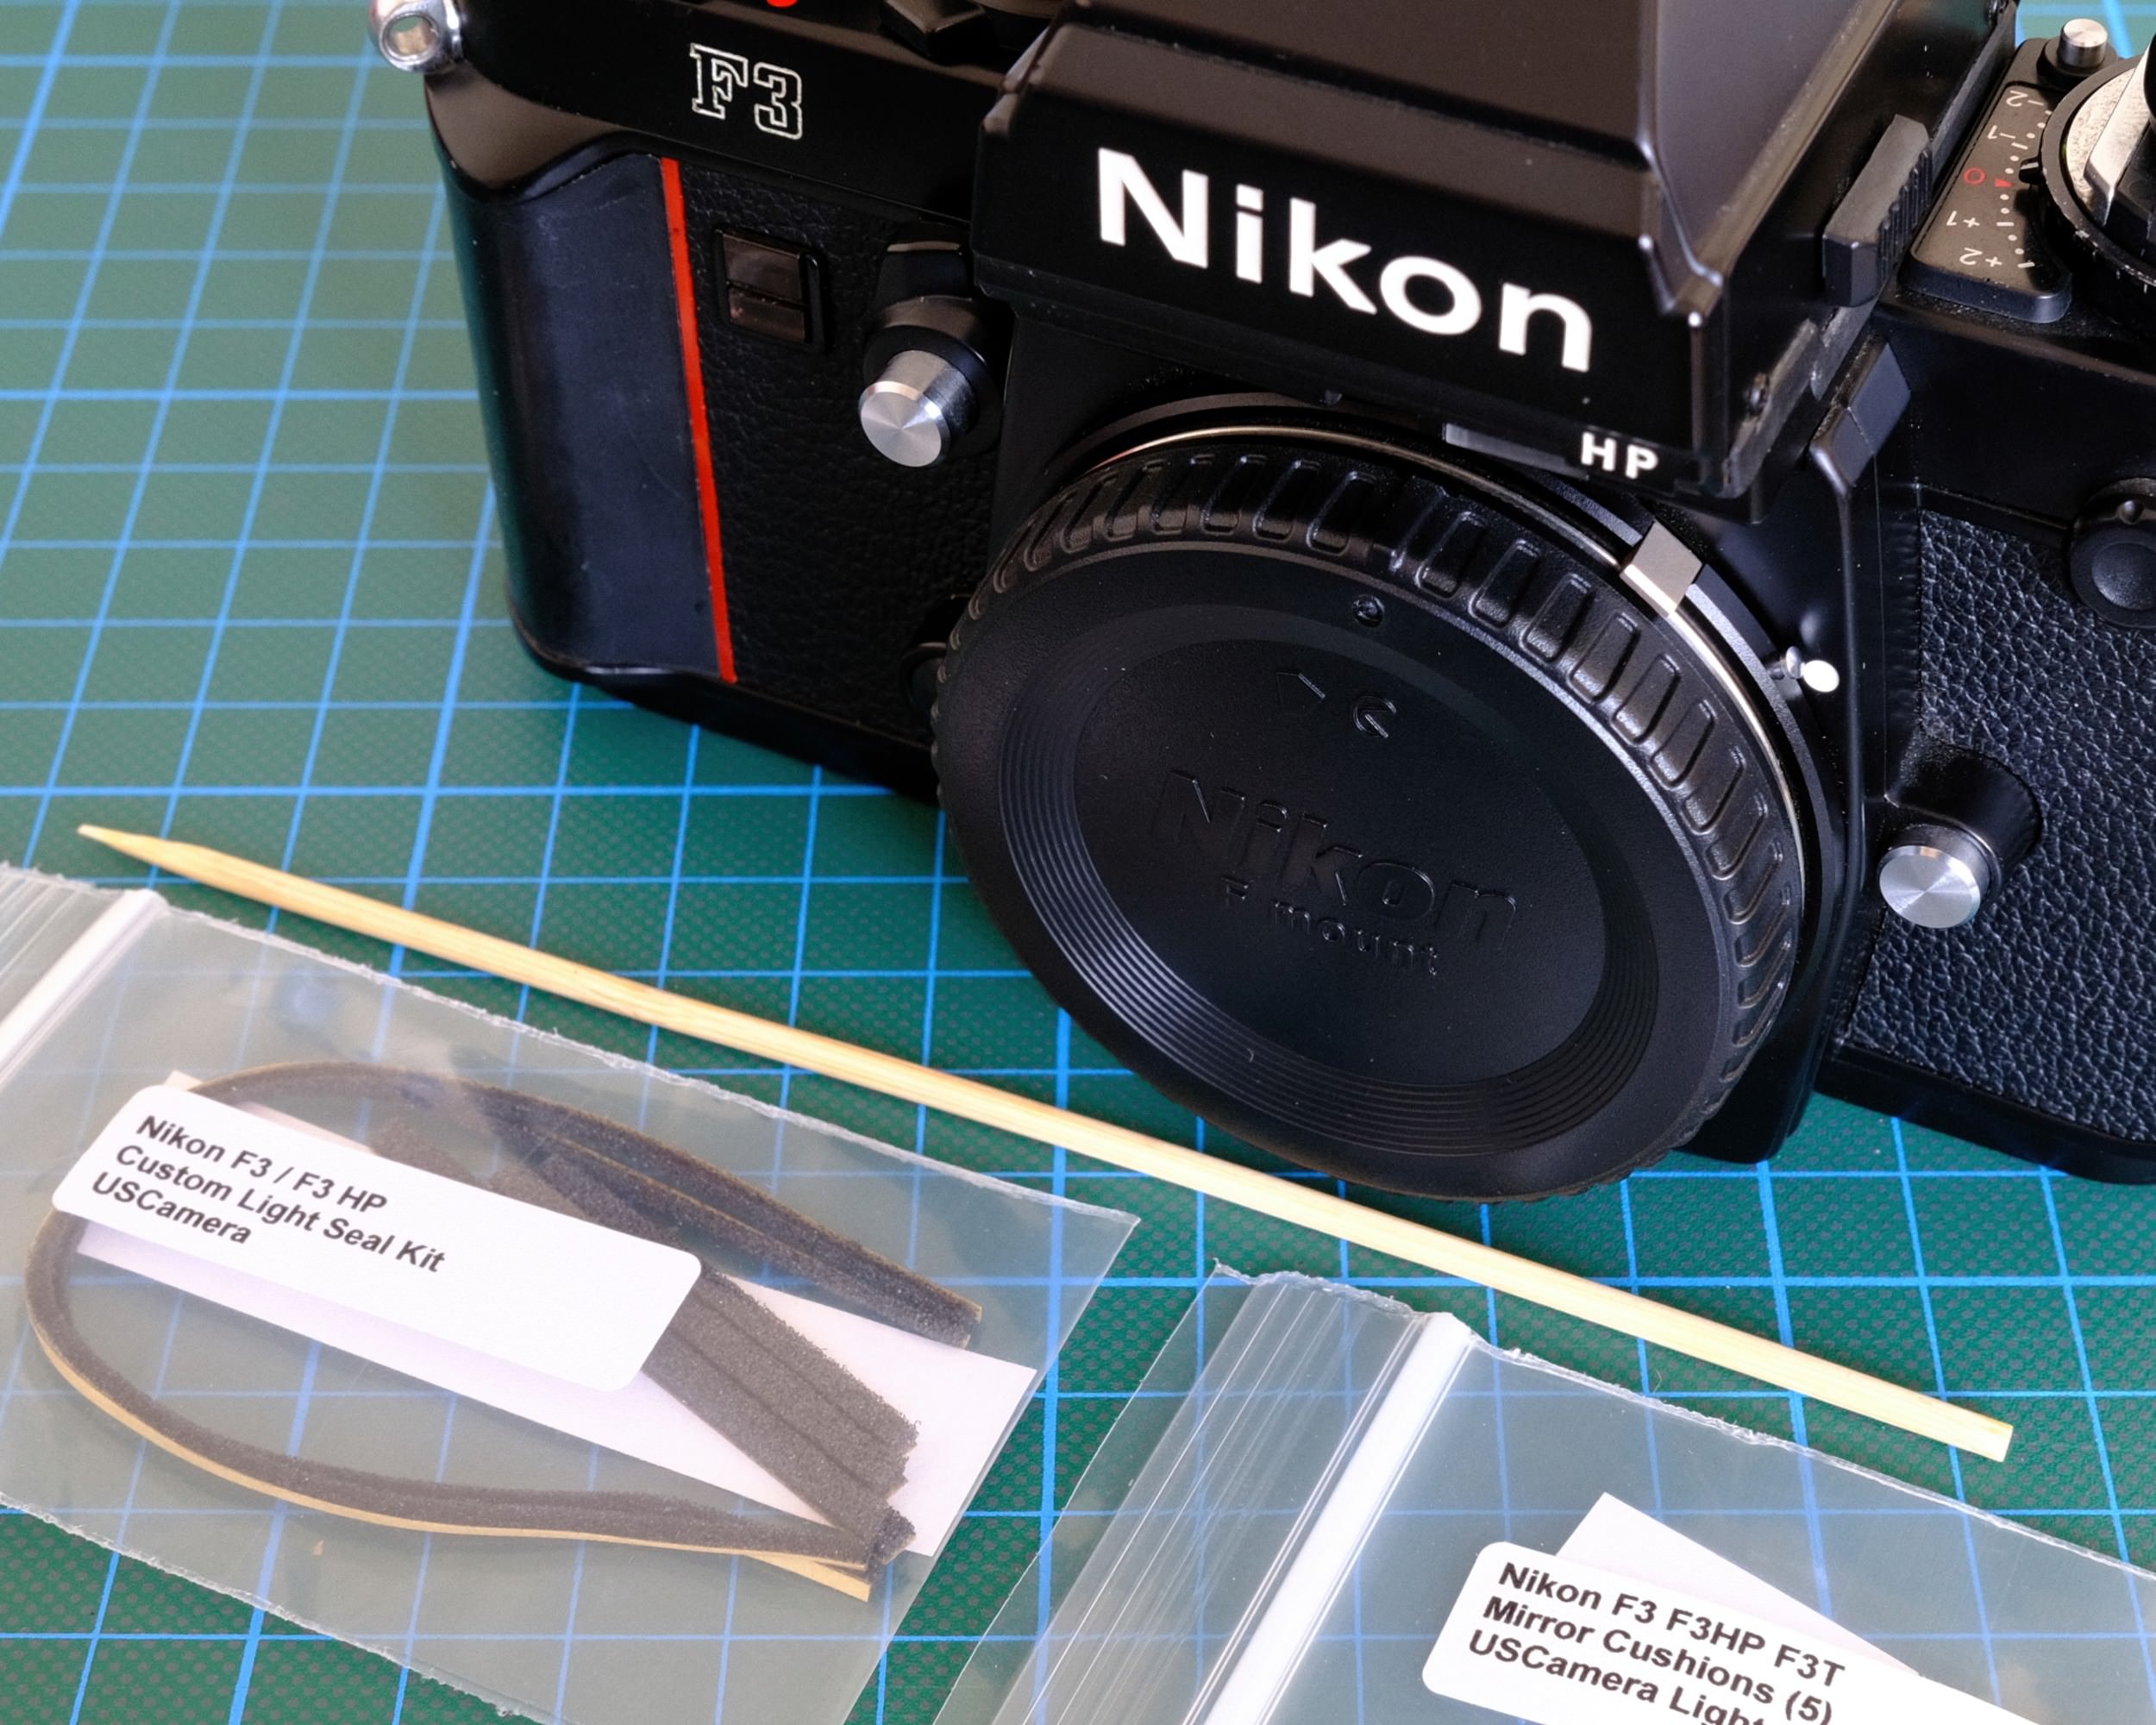
Nikon F3 Custom Light Seal Kit by USCamera
Recommended Tools & Chemicals
clean underlay (e.g. a cutting mat)
wooden tooth pics and/or wooden sticks
precision pair of tweezers
some micro-fiber clothes
cotton swabs
isopropyl alcohol
JIS screwdriver
Removing the Old Light Seals
Unhinge the camera back door by pushing down the silver pin with your finger nail.
Start by removing as much of the old light seals as possible with a pair of tweezers and wooden sticks. Be careful not to scratch the surface.
Do not attempt to remove the felt seal on the camera door.
Carefully add a few drops of isopropyl alcohol with a cotton swab to remove any gunk remaining. Be extra careful when cleaning the mirror bumper area. Isopropyl alcohol might fog the mirror.
Hidden underneath the focusing screen is another foam strip. Some disassembly is required to access it. Use a JIS-screwdriver on the four screws, then remove the two metal frames underneath the focusing screen. The third frame is clipped in place and does not have to be removed. Just lift it slightly so you can remove the foam strip with the same method.

A wooden stick is perfect for removing old light seals without damaging the lacquer.
Attaching the New Light Seals
Before attaching any light seals, ensure that the surface is free of any residue and dust.
Bend the foam strips carefully so you can remove the covering paper from the adhesive surface.
Use the pair of tweezers to position the foam strips. By applying gentle pressure with a round wooden stick, ensure good adhesion.

I recommend removing the covering paper only partially on the longer strips, and then pulling it out successively.
The cleaned surface where the new mirror bumper will be placed.
The new mirror bumper.
Like new!
Mirror Box Foam Strip (Detail View)
Close-up after removing the focusing screen and metal frames (1)
Close-up after removing the focusing screen and metal frames (2)
The new mirror box foam strip.
Shoot!
Now you have to load your camera with film and take some great photos!