
Affordable Imaging Performance - Nikon AF-D Prime Lenses
Introduction
Professional lenses cost a lot of money? Wrong!
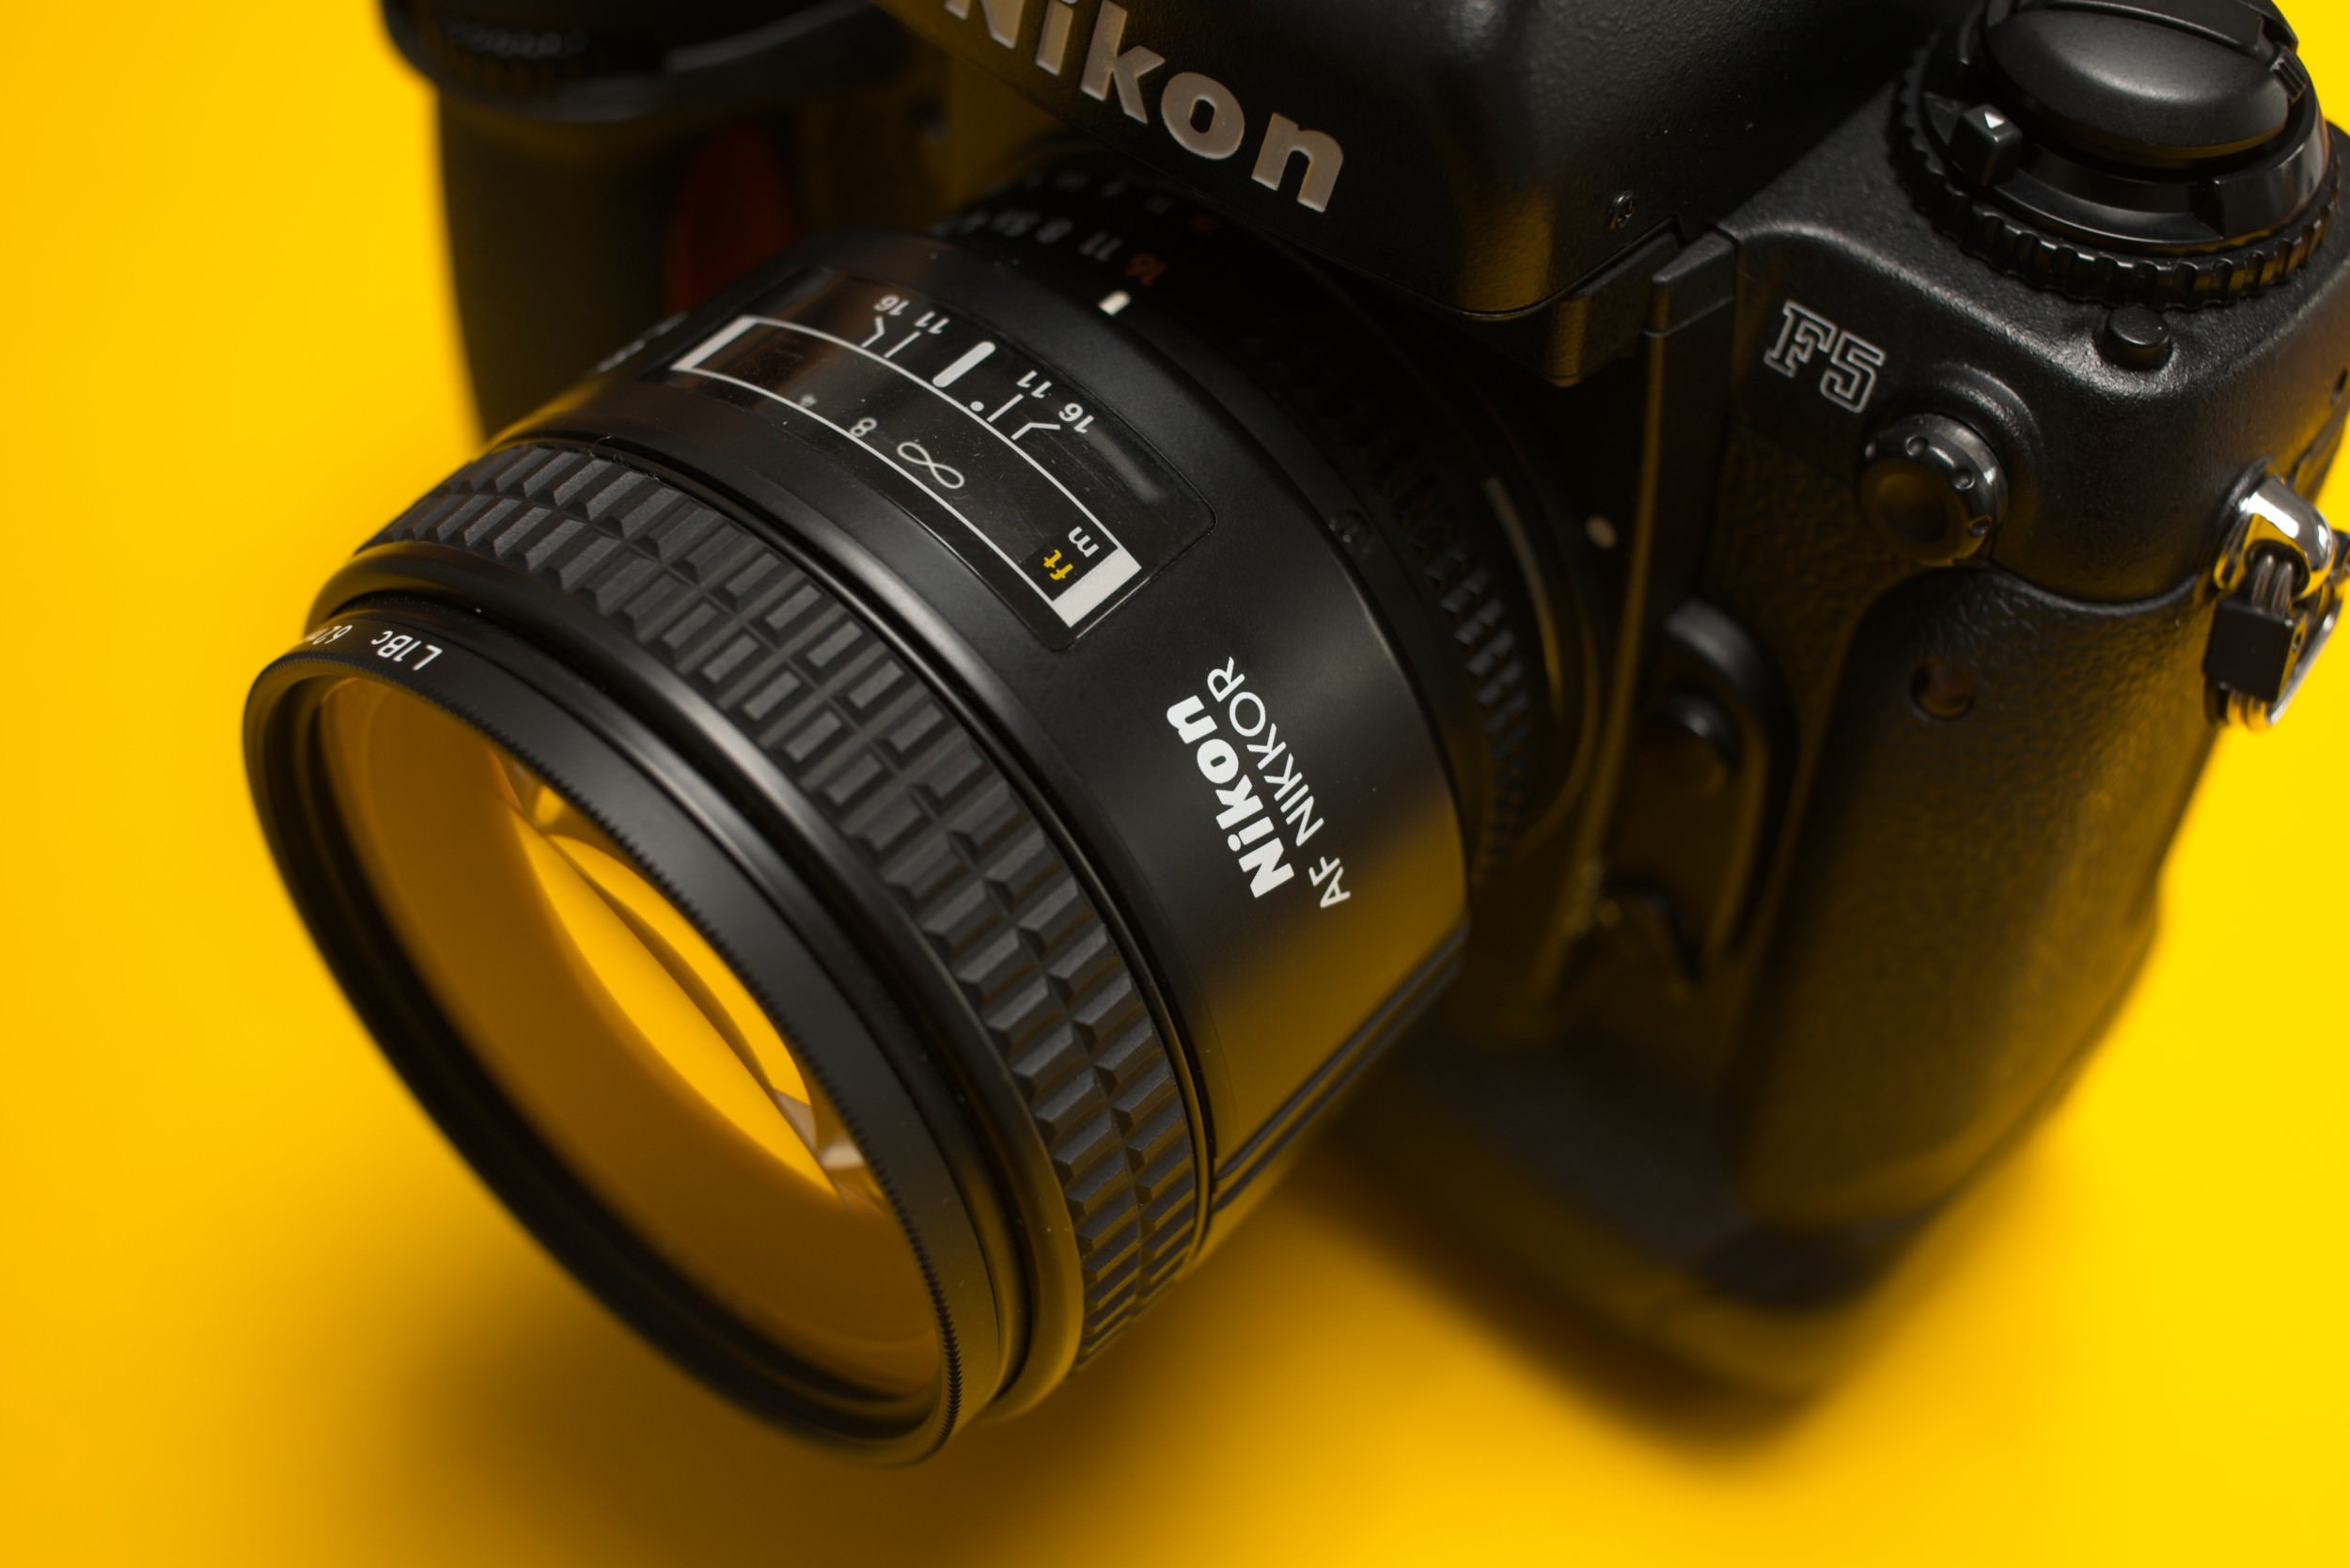
I’d like to bring a trio of excellent, yet affordable prime lenses for analog and digital Nikon cameras to your attention: The 35mm f/2 AF-D wide angle, the 50mm f/1.4 normal and the 85mm f/1.8 AF-D telephoto.

35mm, 50mm and 85mm - the perfect set of Nikon F primes!
Optical Characteristics
Nikon 35mm f/2 AF-D @f/8, Nikon D700
The 35mm and the 50mm were introduced in 1995 the 85mm in 1994. All three of them were not completely new optical designs but based on previous calculations.
When they came out, the analog workflow was still reigning supreme, and it did not allow for digital distortion correction or chromatic aberration correction in post production. What was captured on film was what people got. This is why these lenses have a unique imaging performance that is rarely found in contemporary lenses.
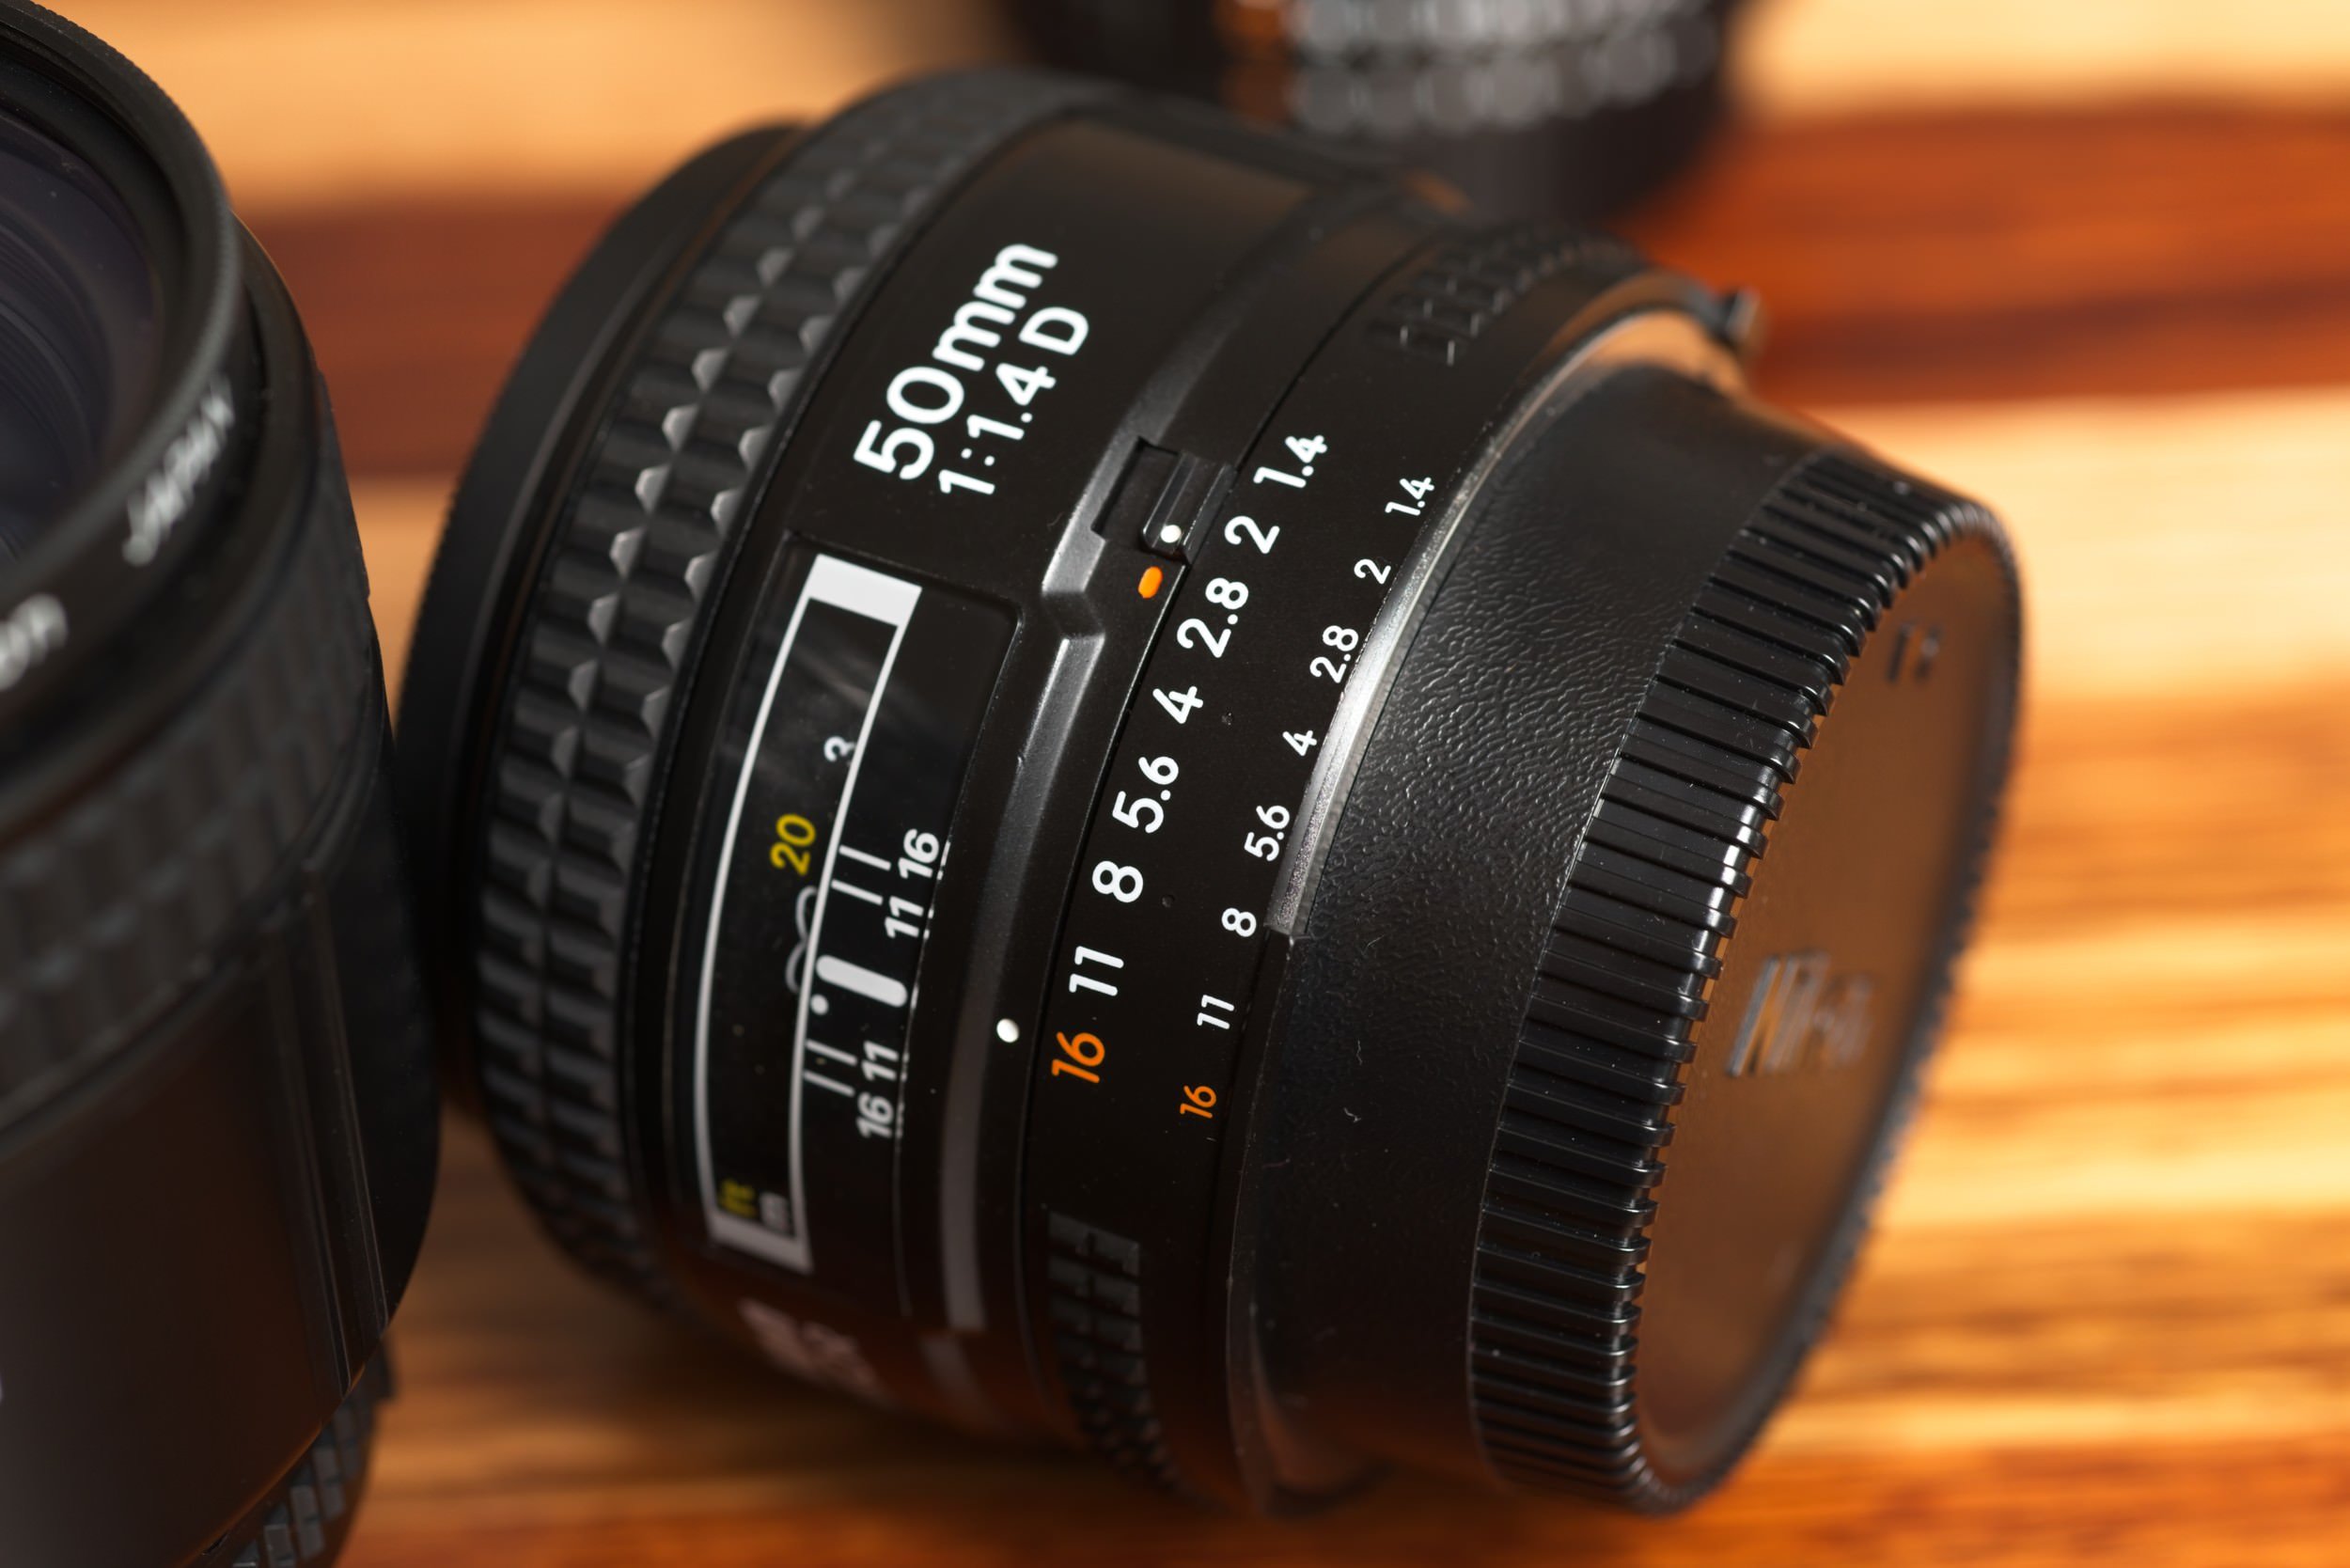
Nikon 50mm f/1.4 AF-D @f/5.6, Nikon F6, on Kodak Tri-X 400
At large apertures, the trio delivers images with less micro-contrast than modern lenses, but full of character.
Stopped down to f/5.6, they reach peak performance and provide enough resolution for modern cameras with 36 MP and equally demanding modern slide film emulsions like Kodak E100.
Nikon 85mm f/1.8 AF-D @f/4, Nikon D700
Build Quality and Design
Mechanically, the lenses are excellent. Their hard plastic exteriors are on-par with modern AF-S and Z lenses by Nikon, but not as nice as some of the premium AF-D lenses like the 105mm f/2 or the 28mm f/1.4.
Being classic Nikon AF lenses, they do not have a focusing motor built in but rely on the focusing motor of the camera body. This has several advantages and some disadvantages.
+ There is one component less to in the lens that can fail over time.
+ Compared to lenses with a built-in focusing motor, these lenses are incredibly compact and lightweight.
- The auto focus operation can be perceived as loud, depending on the camera body. It is definitely too loud for filming.

Detail view - AF coupling
Compatibility
AF-D lenses are truly outstanding when it comes to compatibility.
Manual Focus F-Cameras
e.g. Nikon FM2N, Nikon F3, Nikon EM
- fully compatible
- aperture ring allows for manually setting the aperture
- AiS (aperture indexing) provides aperture information to the camera body

Excellent interoparability also on manual focus bodies.
Auto Focus F-Cameras (film and digital)
e.g. Nikon F5, Nikon D800, Nikon D6
- fully compatible
- the CPU-chip transmits all relevant lens- and exposure data
- Utilizing the AF-motor of the DSLR, the auto focus is very fast and accurate, contrary to popular believe. Consider that some lower tier Nikon DSLRs do not have a focusing motor.
Nikon F5 with AF-D lenses - the professional’s choice
Electronic Viewfinder Z-Cameras
e.g. Nikon Z6, Nikon Z9
- an FTZ lens adapter is required to mount the lenses
- the CPU-chip transmits all relevant lens- and exposure data
- manual focus only (with FTZ and FTZ II)
- depending on the set aperture, the lenses stop down for the electronic preview up until f/5.6; if a smaller aperture is set, the lenses do not stop down further than f/5.6 before the actual exposure.
In Use
The combined focal range from 35mm to 85mm is very popular for reportage and people photography. It covers any common shooting scenario a professional photographer will encounter.
Thanks to the large apertures, low-light assignments and selective focus are also easily mastered.
The trio is best used in conjunction with a Nikon AF body, as the lack of dampening hampers the manual focus experience when used in with non-AF or Z bodies.
Missing an aperture ring? This trio has one.
Conclusion
Character, optical performance and compatibility makes these three lenses an insider tip for Nikon photographers.
Especially if you are shooting analog and digital bodies F bodies, there is no reason not to own these wonderful prime lenses.

Minimalist High-Key Concept for Fashion and Nude Shoots
The Idea
A minimalist setting with a model in a “white cube” shifts all the focus on their emotions and poses.
The visual concept I’ll outline in this article should lend the images a floaty allure and amalgamate this with a classic 80ies/90ies magazine color palette.
Camera and Film
In order to get authentic colour reproduction similar to vintage print magazines, I picked Fujifilm Provia 100F slide film. Slide film was number one for professional photographers before the advent of digital, so this means recreating the look with the correct medium.
As the type of camera significantly impacts the work on set and therefore also the results, the Hasselblad 500 C/M with the Zeiss Planar 10mm f/3.5 or similar medium format cameras are great for such a shoot. They make the workflow slower and more focused while the 120 format provides excellent fidelity.

The Hasselblad 500 C/M - a great studio camera.
The use of slide film requires precise exposure metering so pre-planning the lighting setup is important.
Lighting Setup
The subject is placed 2 to 3m in front of a white paper background, that extends almost up to the camera.
As a key light, a big Octabox is placed on the right of the subject accompanied by a smaller Octabox on the left.
The lighting ratio for this look is 2:1. This means that the key light is one EV brighter than the fill light, providing twice as much illumination.
In order to get an even, white background, two strip lights with a grid are set up to mitigate stray light. The light output of these background lights combined is set to match the output of the main light plus 1/3 of stop.

The lighting diagram.
Image Review
The lighting is even but with enough contrast to create some tension.
The head shot makes the 2:1 contrast ratio more obvious. There is a one stop difference in lighting on her face compared to her back.
The vignette on the background provides more focus on the subject and was created by placing the background lights correctly.
Thanks to the size and placement of the main Octabox on Katerina’s right side, her hands holding the jacket in front of her face don’t create harsh shadows.
Closing Remarks
The key element of this setup is the 2:1 lighting ratio. For 99% of all applications, I would not go below this “magic ration”, as images can start to look boring and uninspired.
You can also use a dark background without any additional lights but keep the 2:1 ratio for creating a completely different look.

Speedy JPEG Workflow
Shooting high volume with high megapixel cameras leads to incredible amounts of data in one folder. While newer cameras have the option of shooting lower resolution RAW-files (e.g. Nikon D850, Leica M11), older but still very capable cameras like the Pentax K1 or Nikon D800 can only shoot RAW at full resolution.
A normal workflow transitions from JPEG to RAW as late as possible in order to work with the lossless RAW format for as long as possible.
A way to speed up the workflow is to choose the transition point from RAW to JPEG earlier than usual, making it possible to work considerably smaller files.
A regular RAW-file from the D800 with 36 MP resolution has around 70 MB (14-bit uncompressed) and can take quite some time to load, while a 10 MP JPEG (uncompressed, AdobeRGB) has only 3.8 MB. 10 MP resolution is usually enough when photographing fashion shows or similar high volume events.
But how early can you transition from RAW to JPEG without noticeably losing quality?
The Workflow
I tested the following workflow extensively with very positive results:
1) In the RAW-editor (ON1 PhotoRaw in my case) of choice, export JPEGs with a neutral picture profile in Adobe RGB color space from the captured RAW-files to a separate folder. During this step, the resolution of the images is also reduced to a size appropriate for the project.
2) With the resulting flat JPEGs, everything from color grading, levelling, selective corrections and so on is done in the RAW converter (meaning this is non-destructive to the JPEGs).
3) For delivery and client preview, delivery JPEGs are exported based on the graded and adjusted flat JPEGs.
Image Quality Differences?
But is there a discernible difference in image quality or color compared to a RAW to JPEG workflow?
Neutral, downsized JPEG (from the RAW-file)
Graded JPEG (from the neutral JPEG)
Direct-from-RAW JPEG
Detail View
No visible differences
In addition to the visual examination (which did not reveal any differences), I also compared the file sizes of the exported images. The RAW-to-JPEG (4.1 MP, sRGB) file is 313 KB and the RAW-JPEG-JPEG file is 310 KB - they are essentially identical.
Conclusion
If you want to speed up your professional workflow significantly (especially when running an older computer system and a high MP camera body), this is might be a solution to your problem.
Additional remark: Set the exposure before exporting to the flat JPEG, as the JPEG offers almost no latitude and every correction of exposure will result in color shifts.

Dark Spring Fashion Show
Fashion – Every Photographer’s Final Destination
I had the great pleasure to shoot a fashion show last weekend – hosted by Sophie Mashraki’s Enfant Terrible Society.
Fashion shows are challenging, and as a photographer you have to deliver without getting in the way.
However, the atmosphere on set is something that compensates for the hard work. This is where I as a photographer belong. Believe me, once you’ve been there, you never want to do anything else.
Behind the Camera
I set up a small photo studio to shoot the outfits backstage before the models went out on the runway. Such a set is great for capturing the outfits in tip-top shape.
On the runway, things can be messy. You have to get 1/500 shutter speeds in order to reliably freeze motion and this means high ISO under crazy bad lighting situations.
I am glad that I brought the Nikkor 105 1.4E as any other lens would not have been up to job – the light (or the lack thereof) at the show was exceptionally challenging.
Pro tip – set the white balance of the main neutral lights and don’t change a thing. Leave the color cast, as it depicts the actual atmosphere at the show.
Some Impressions


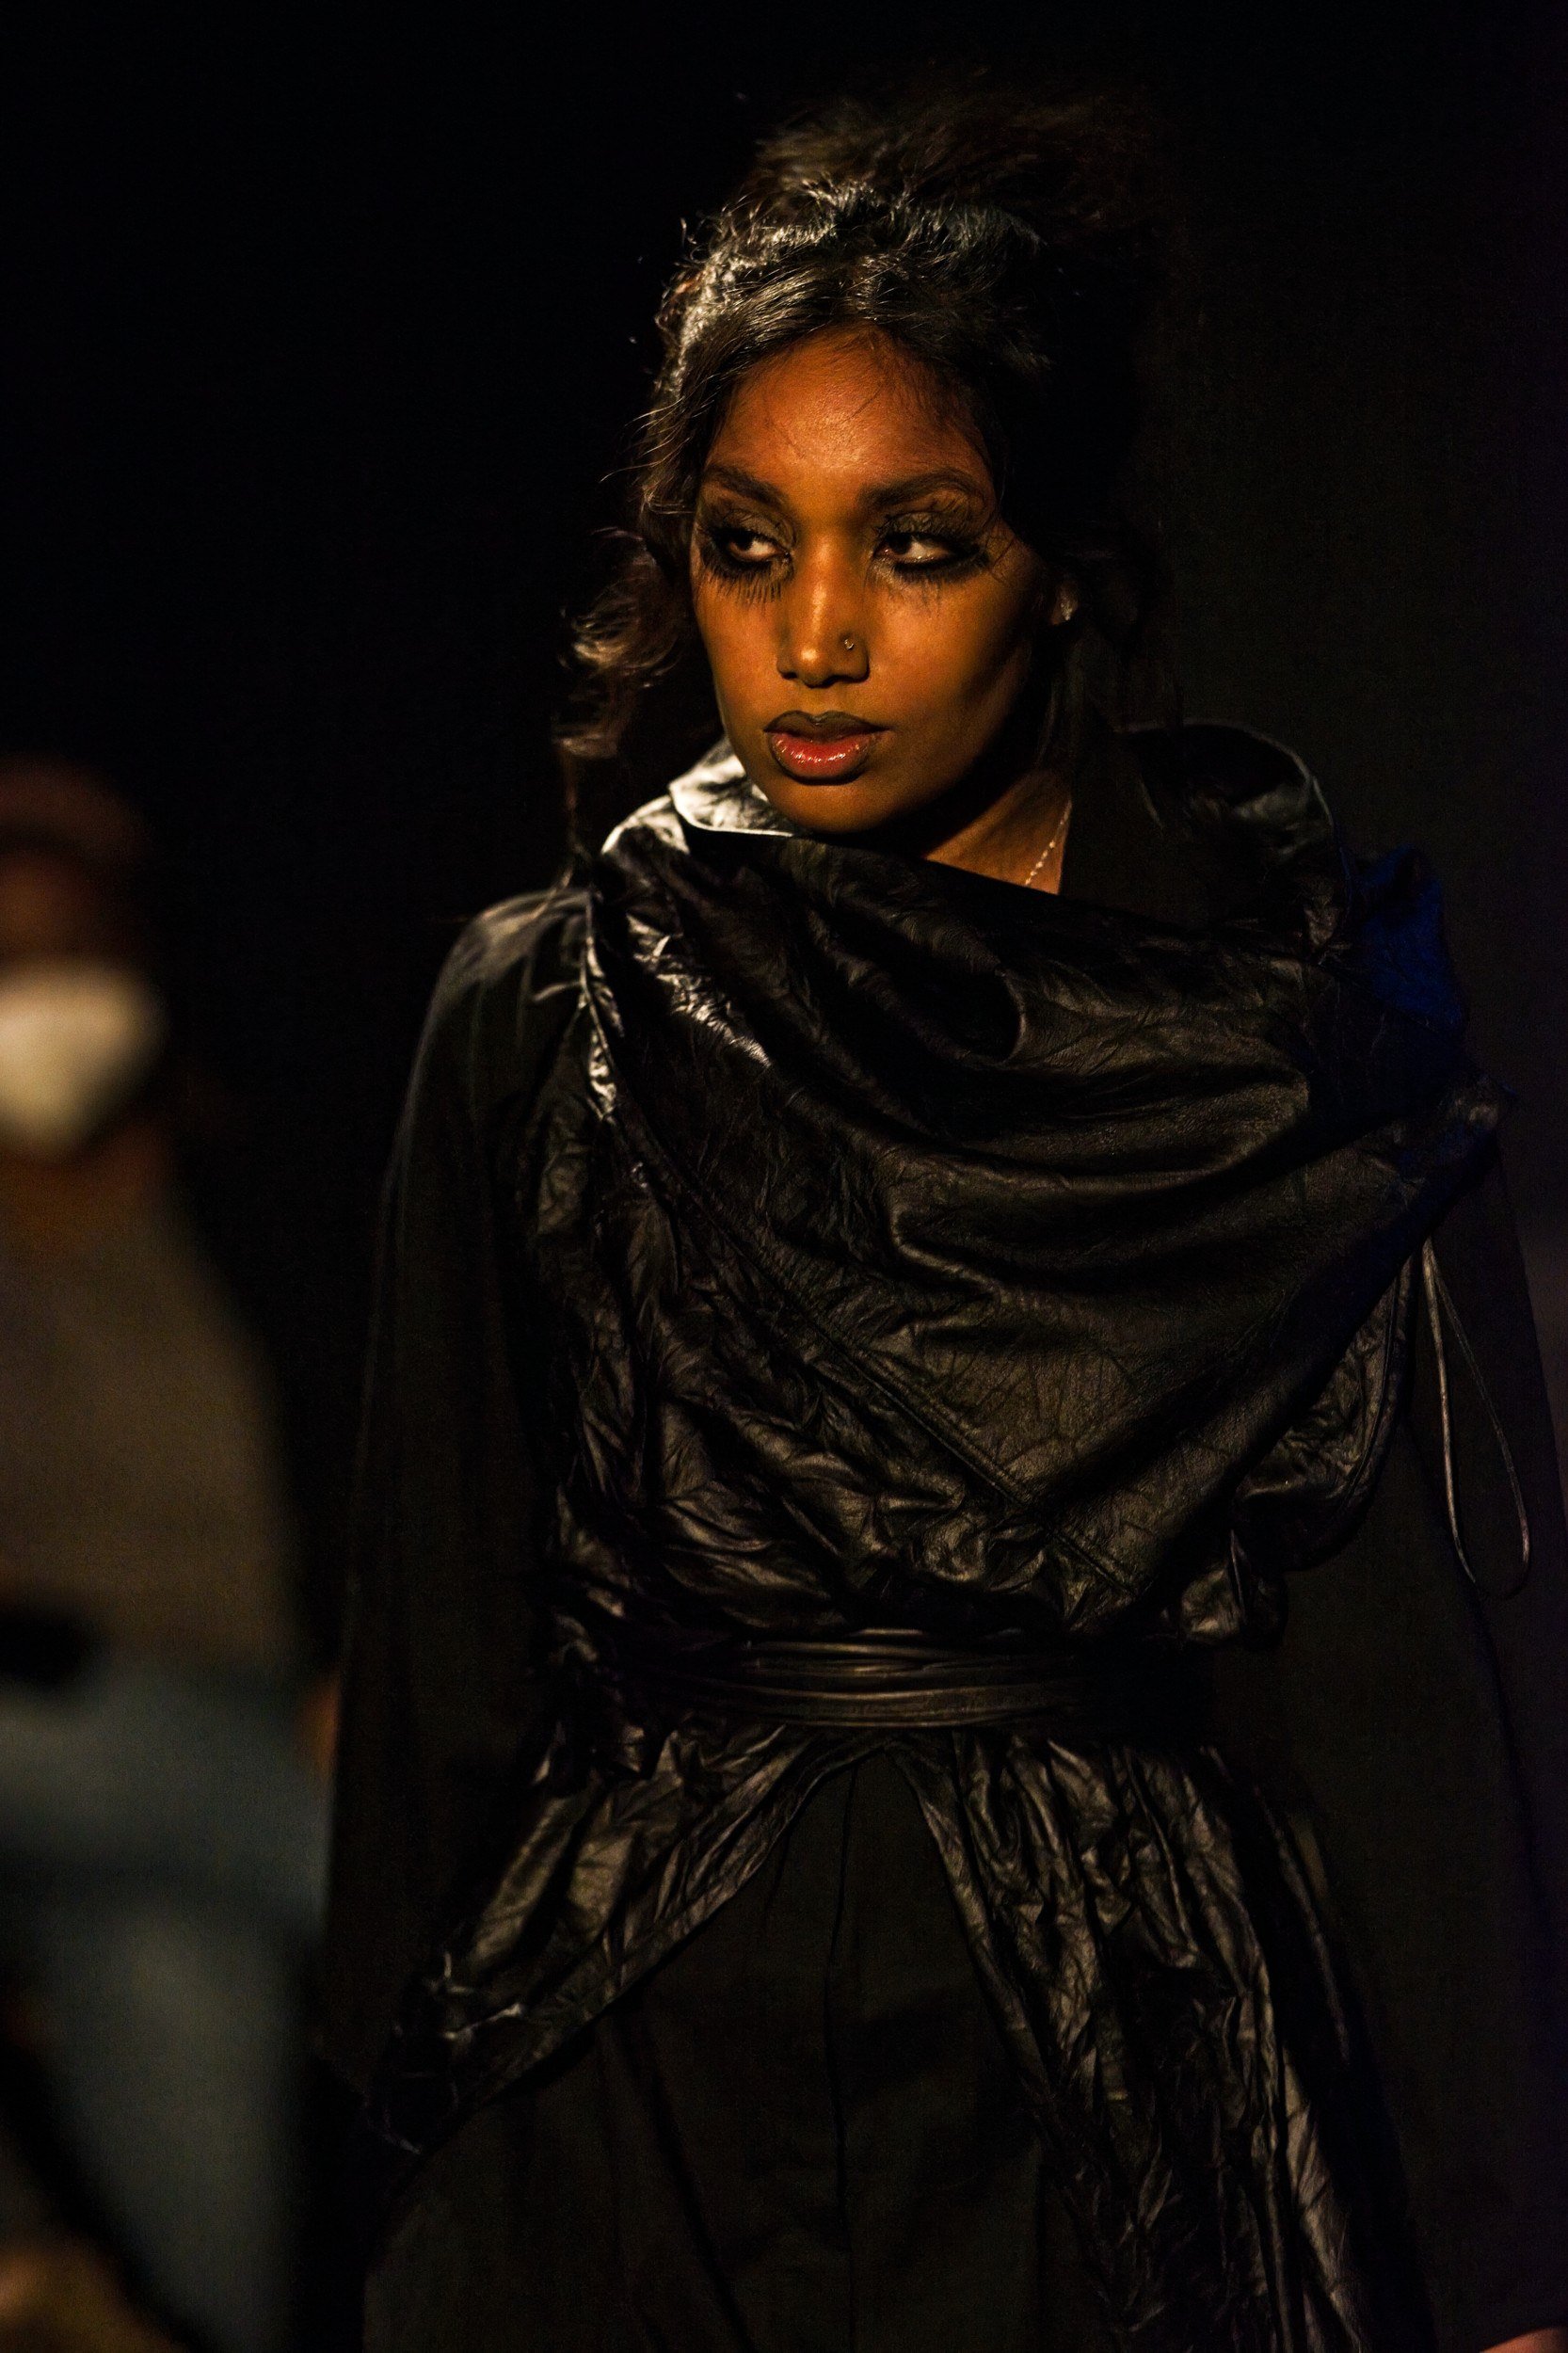
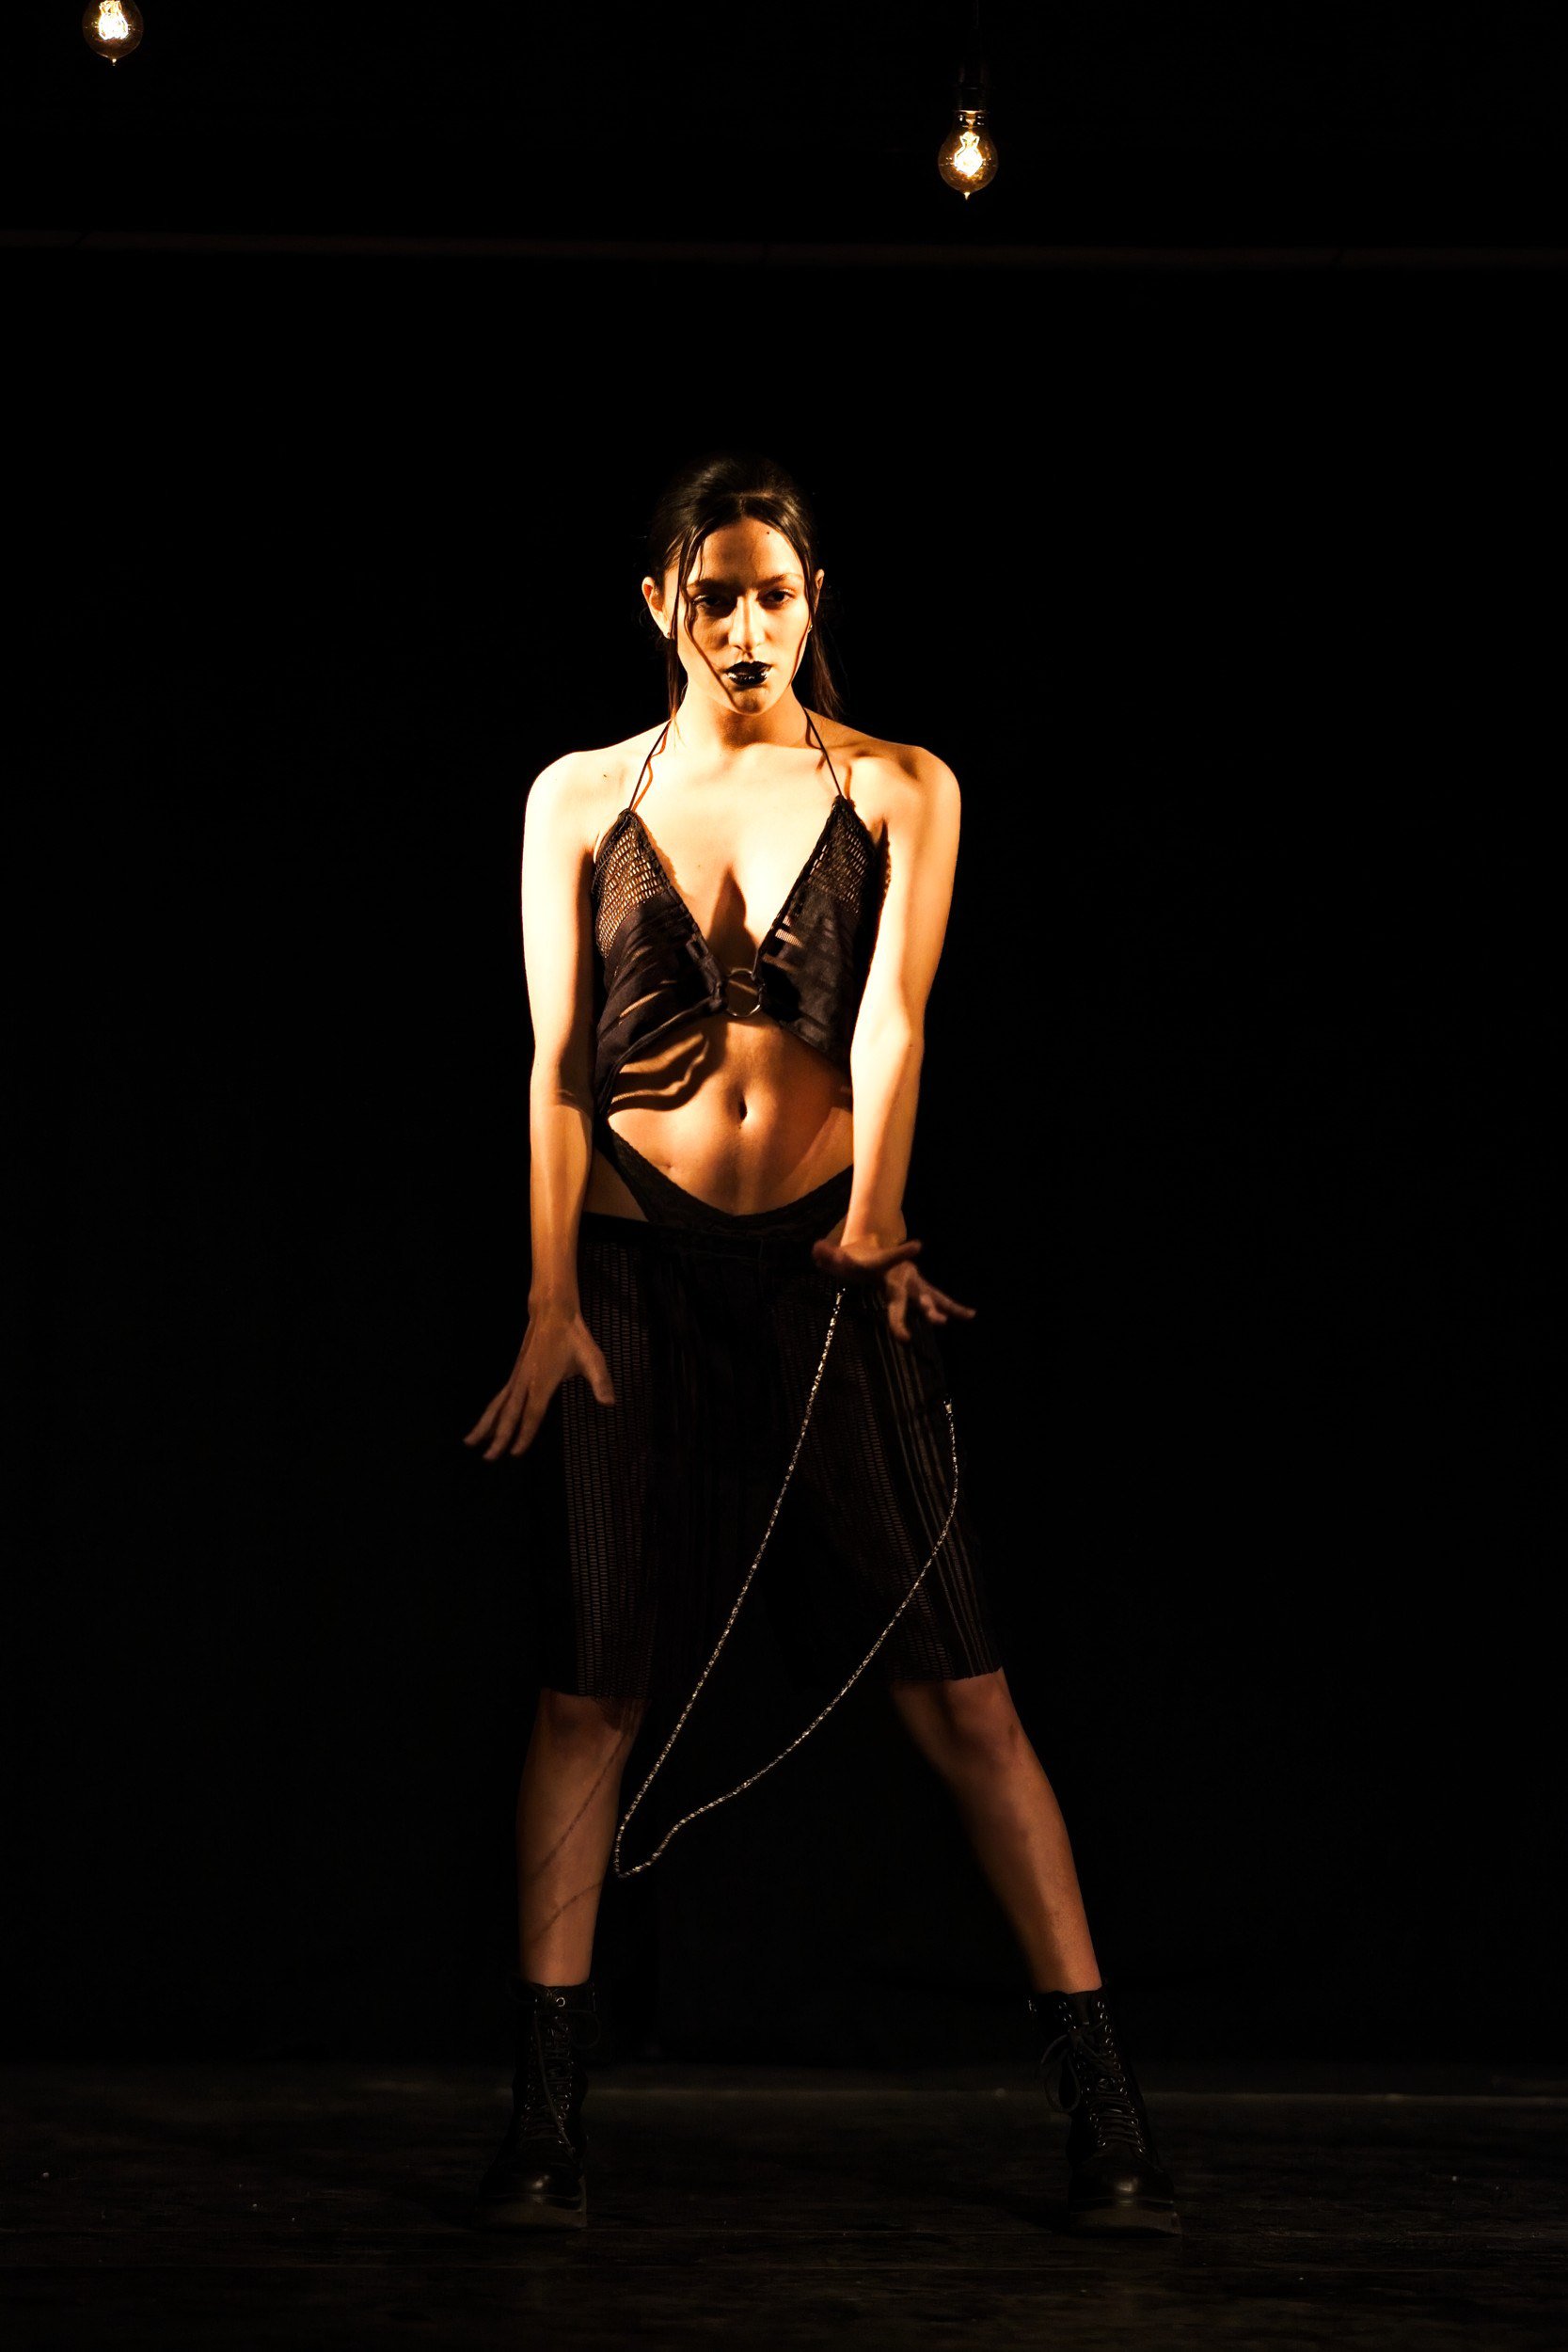
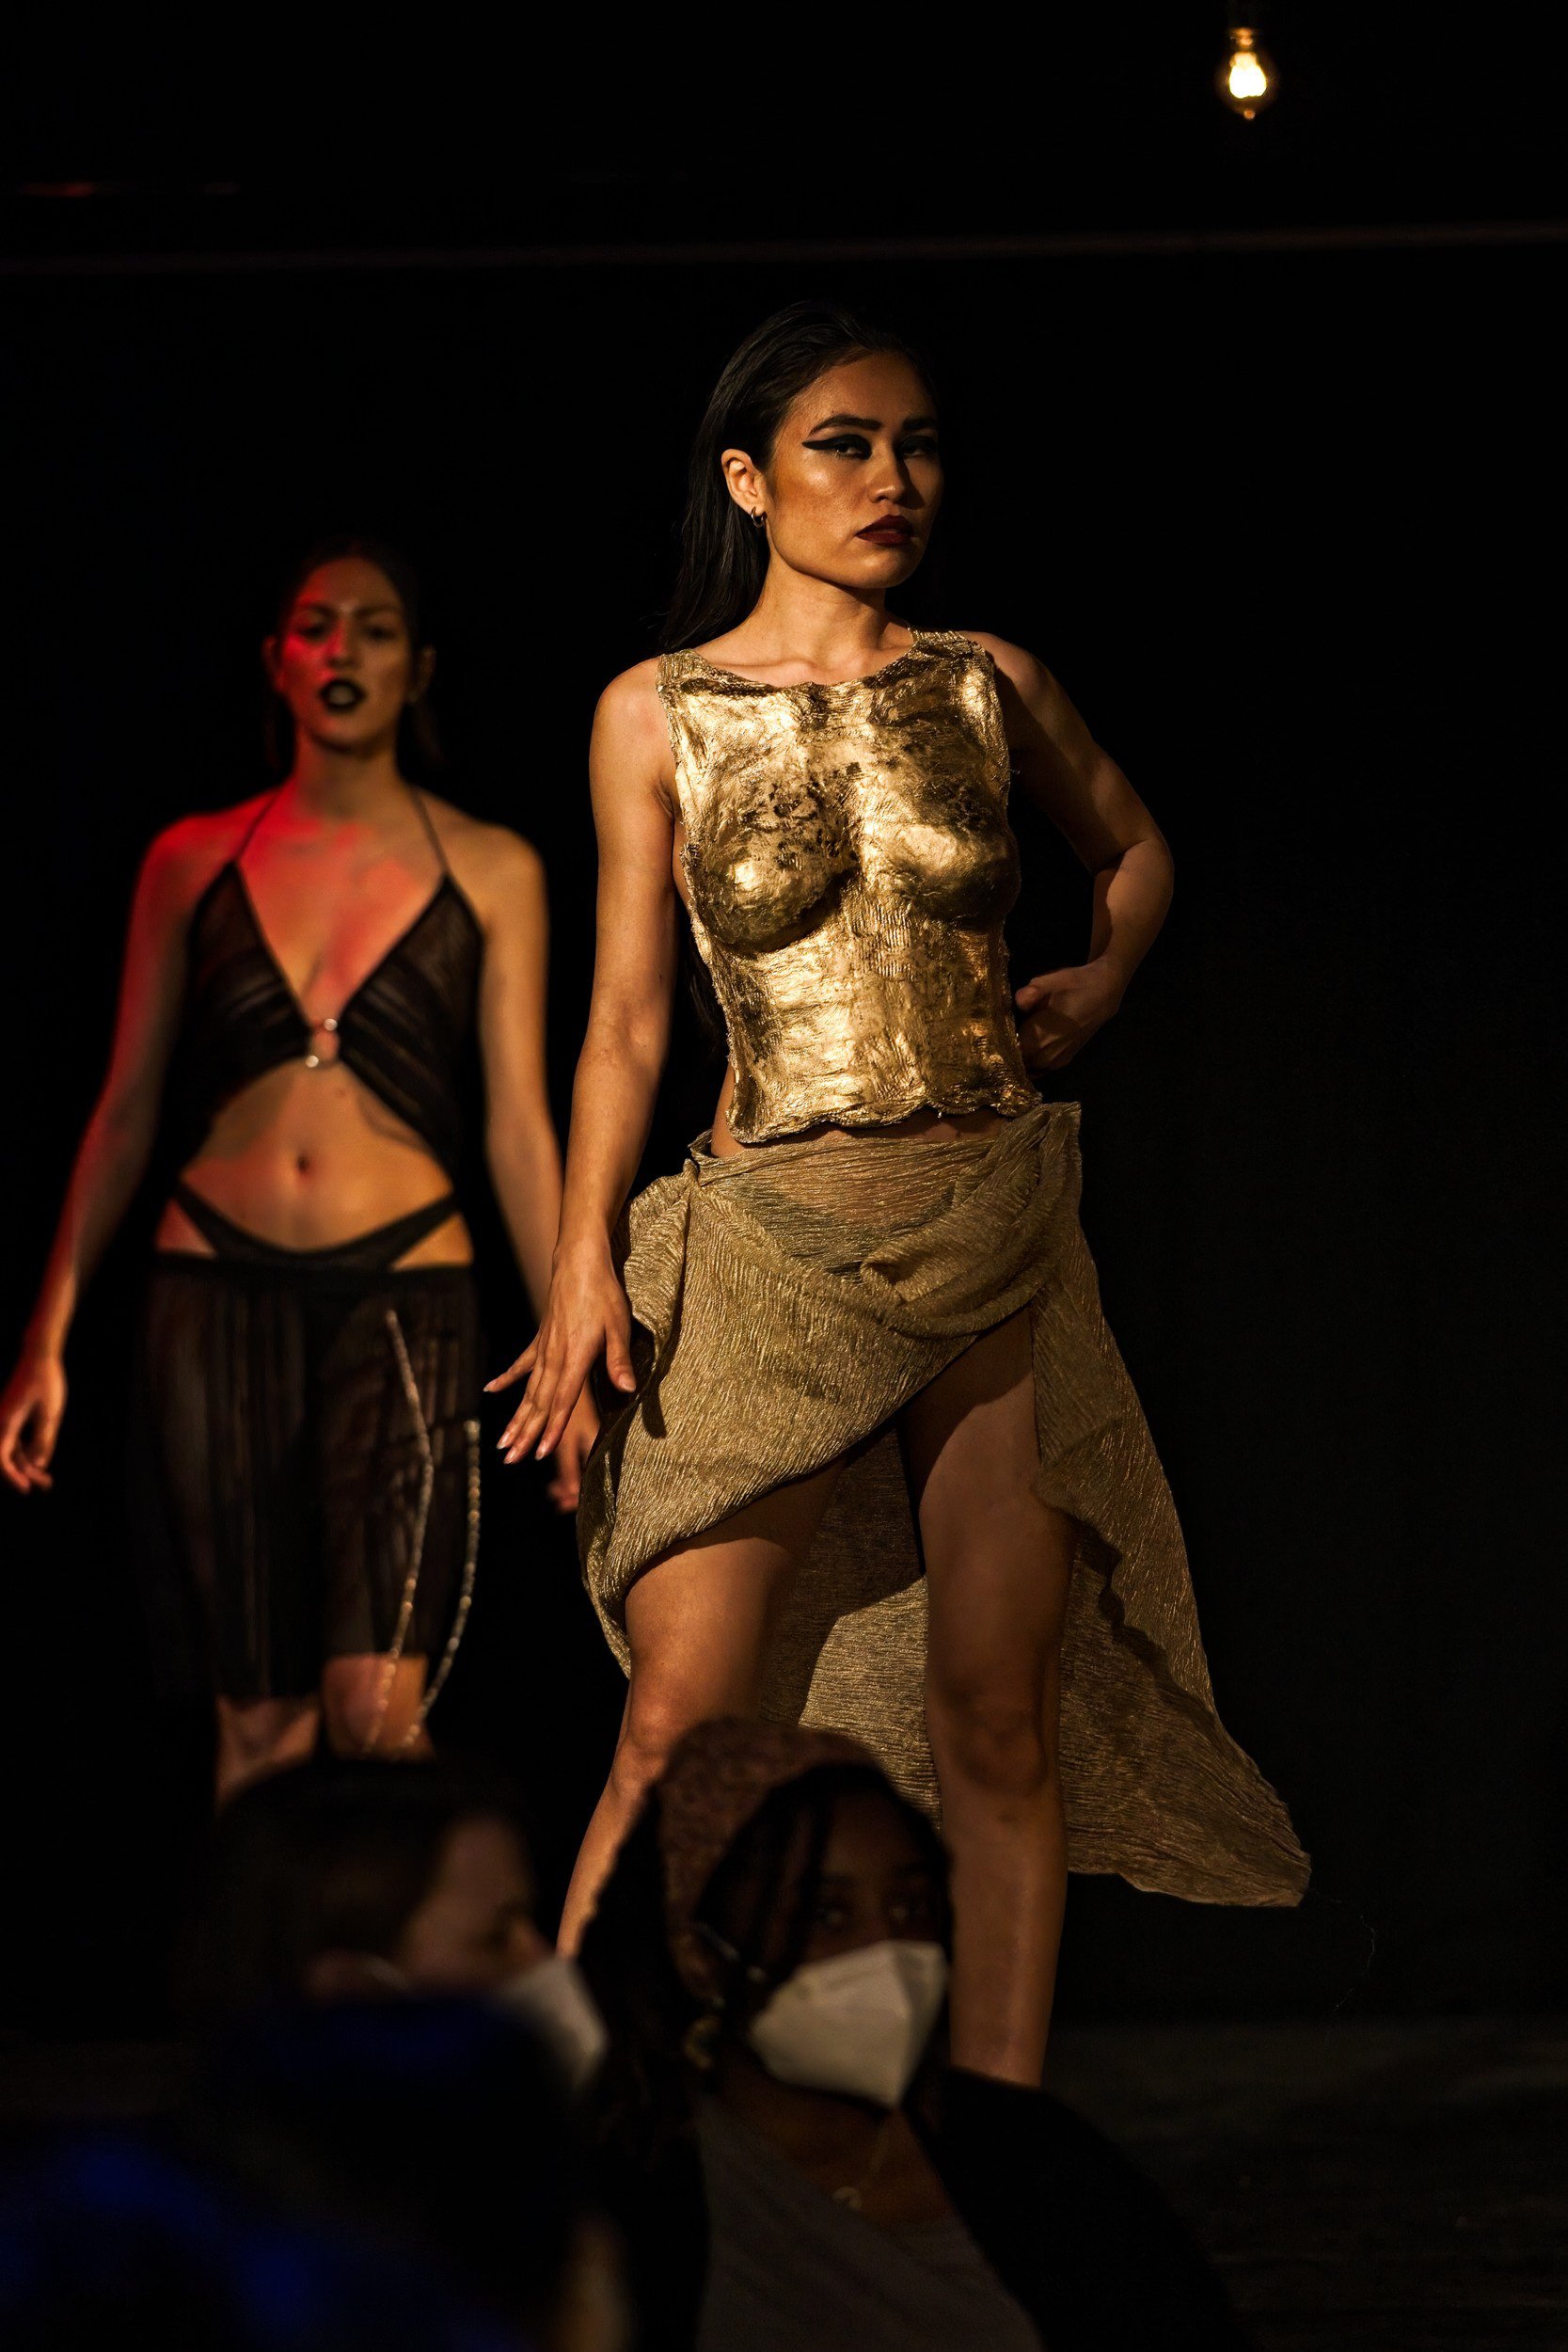


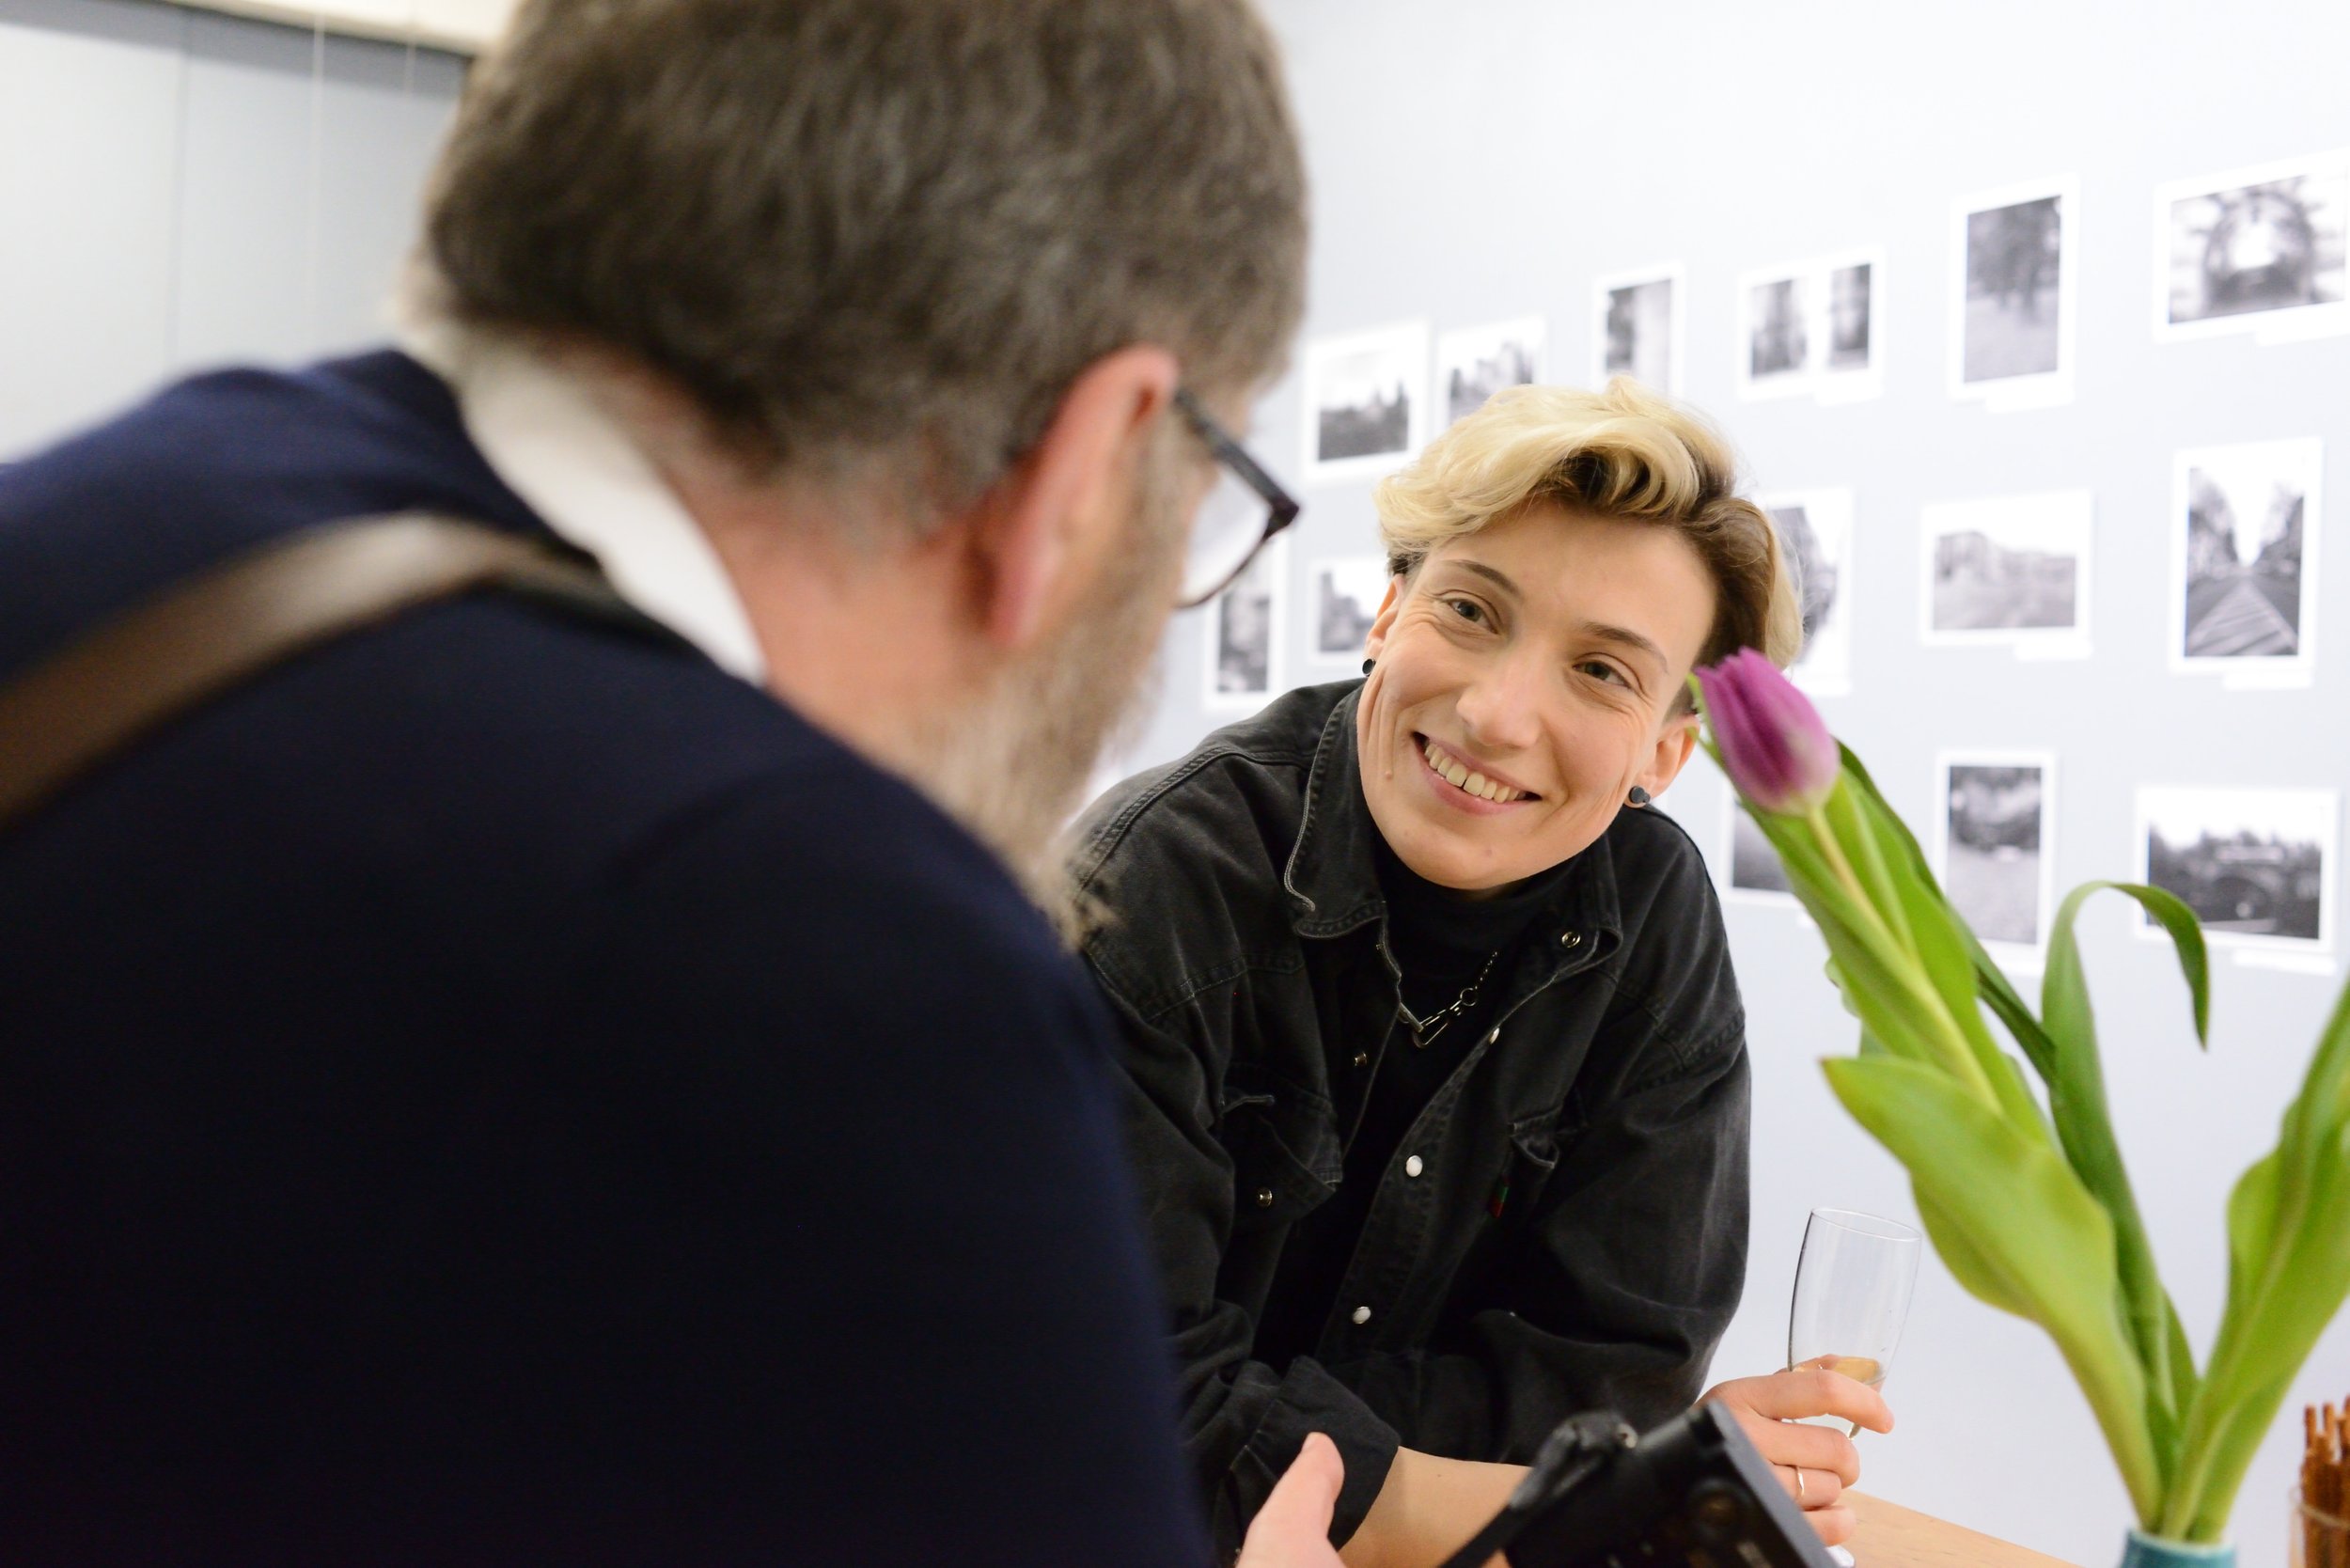
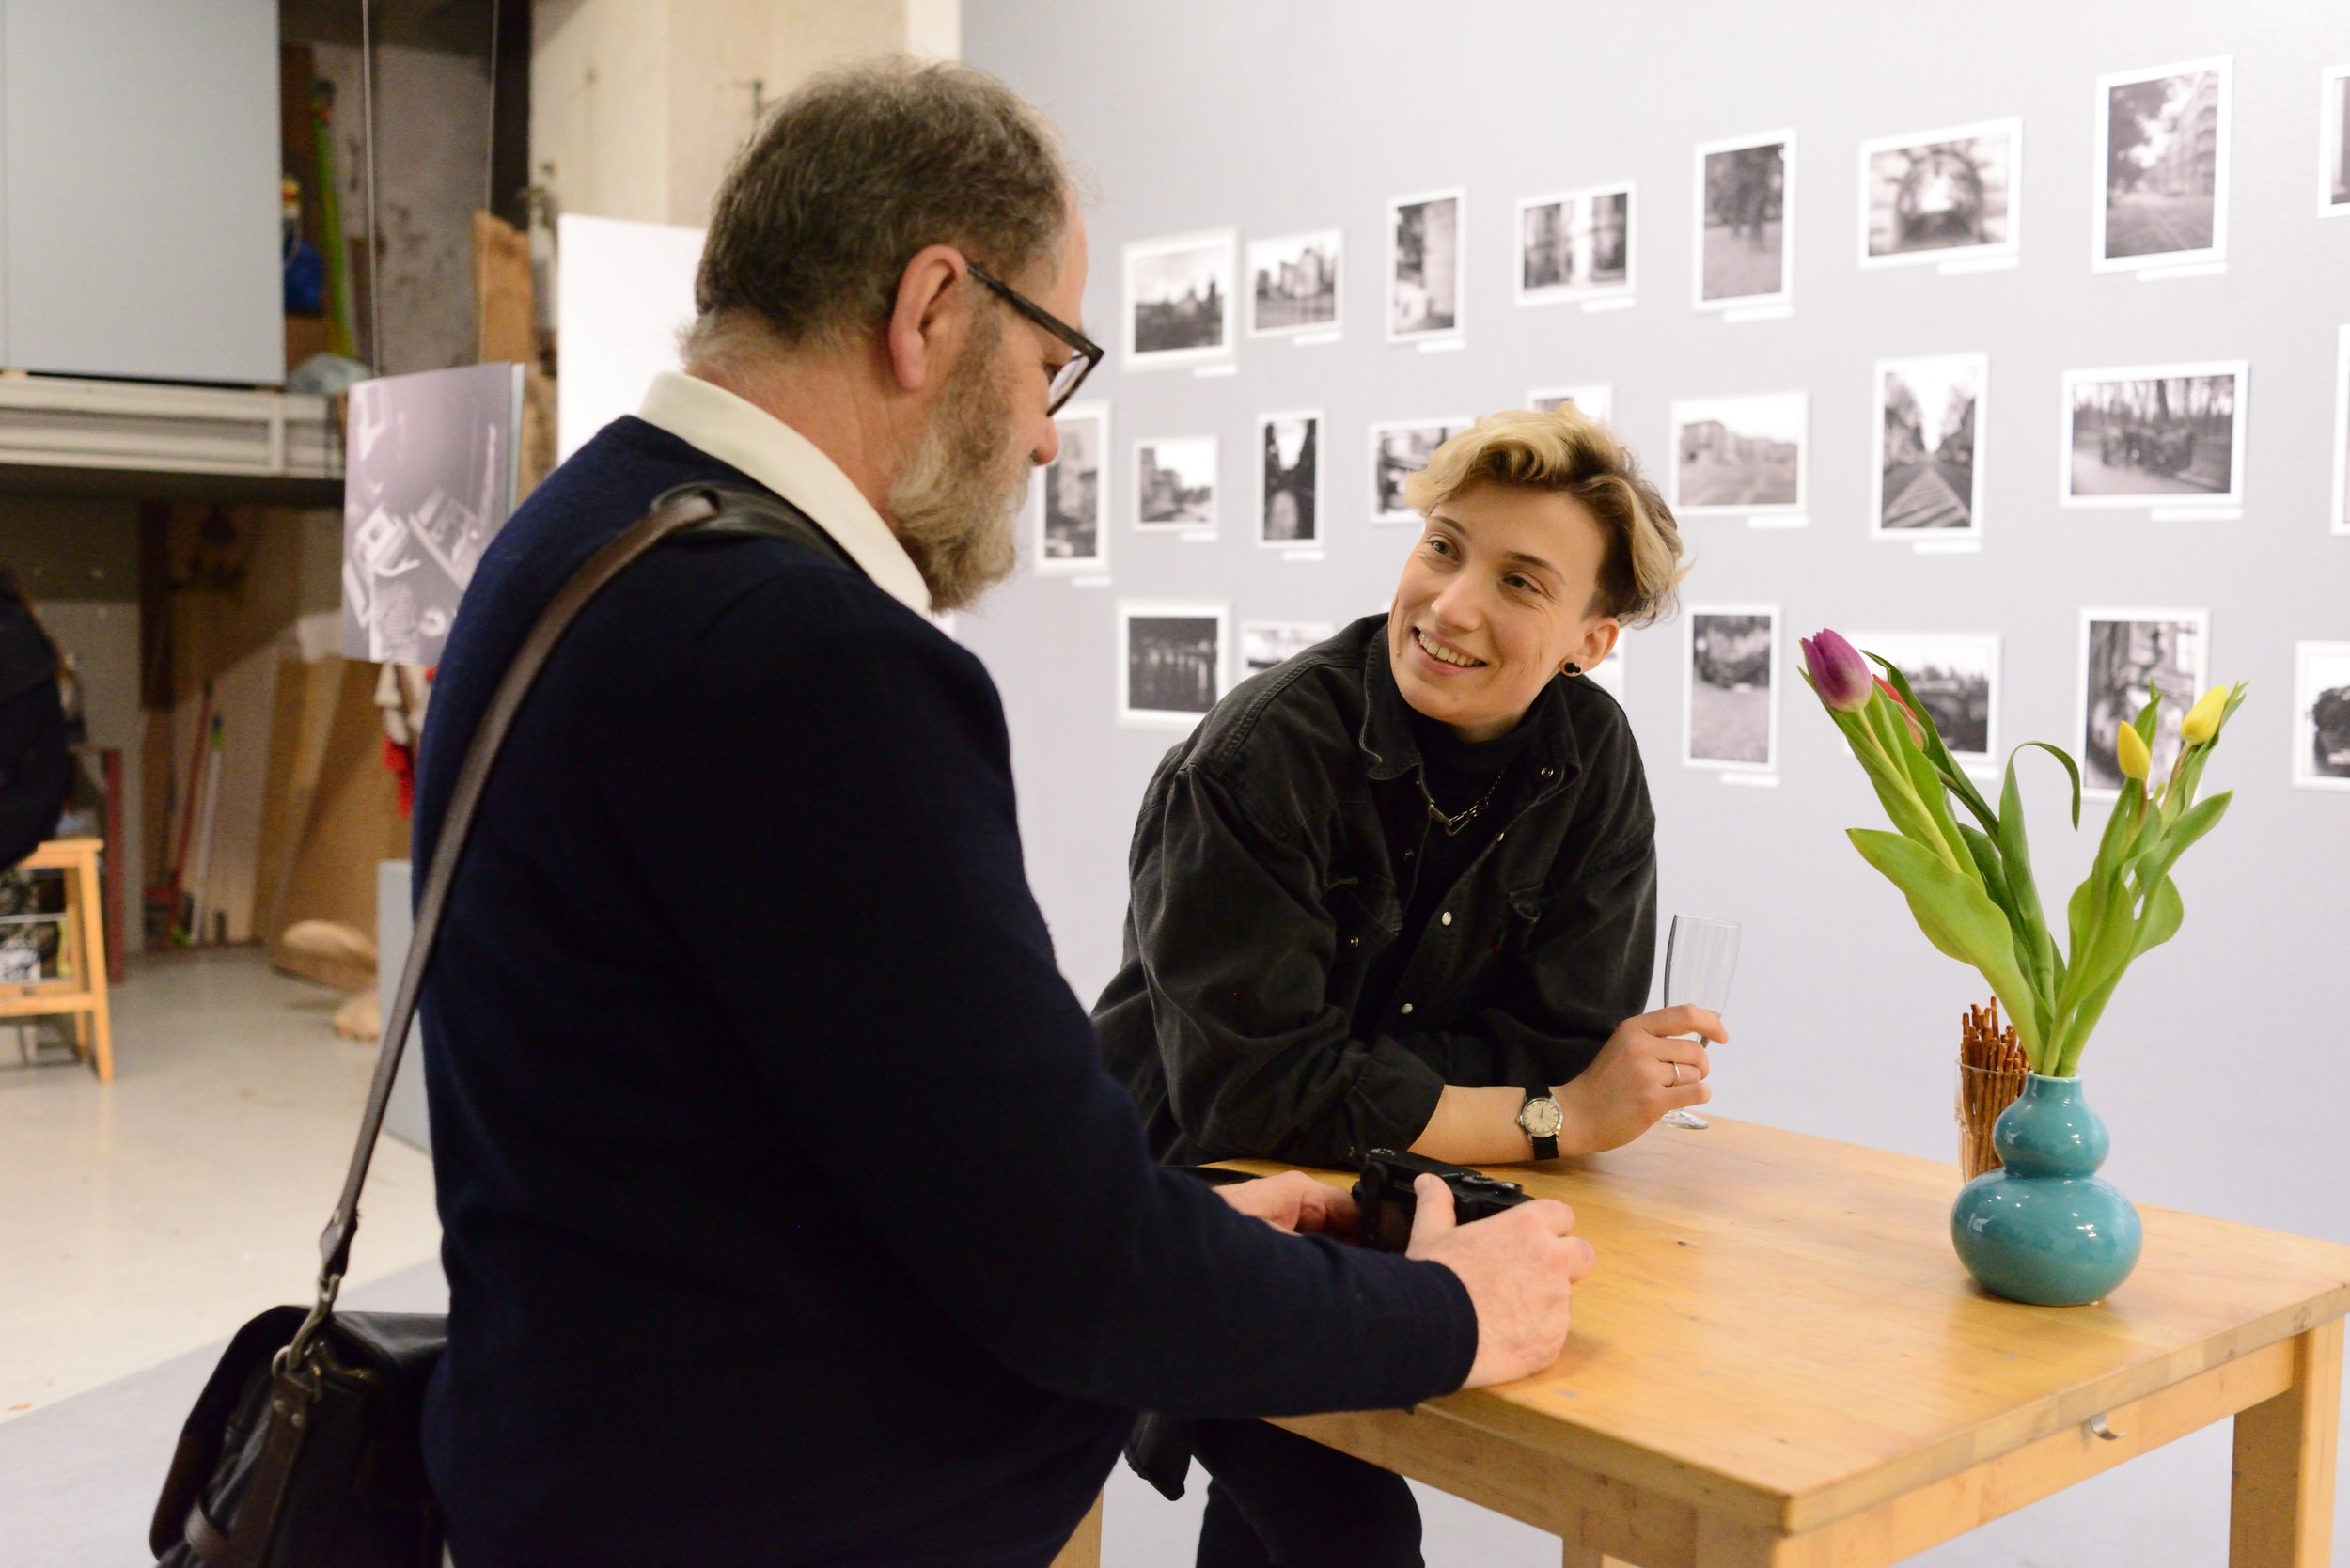
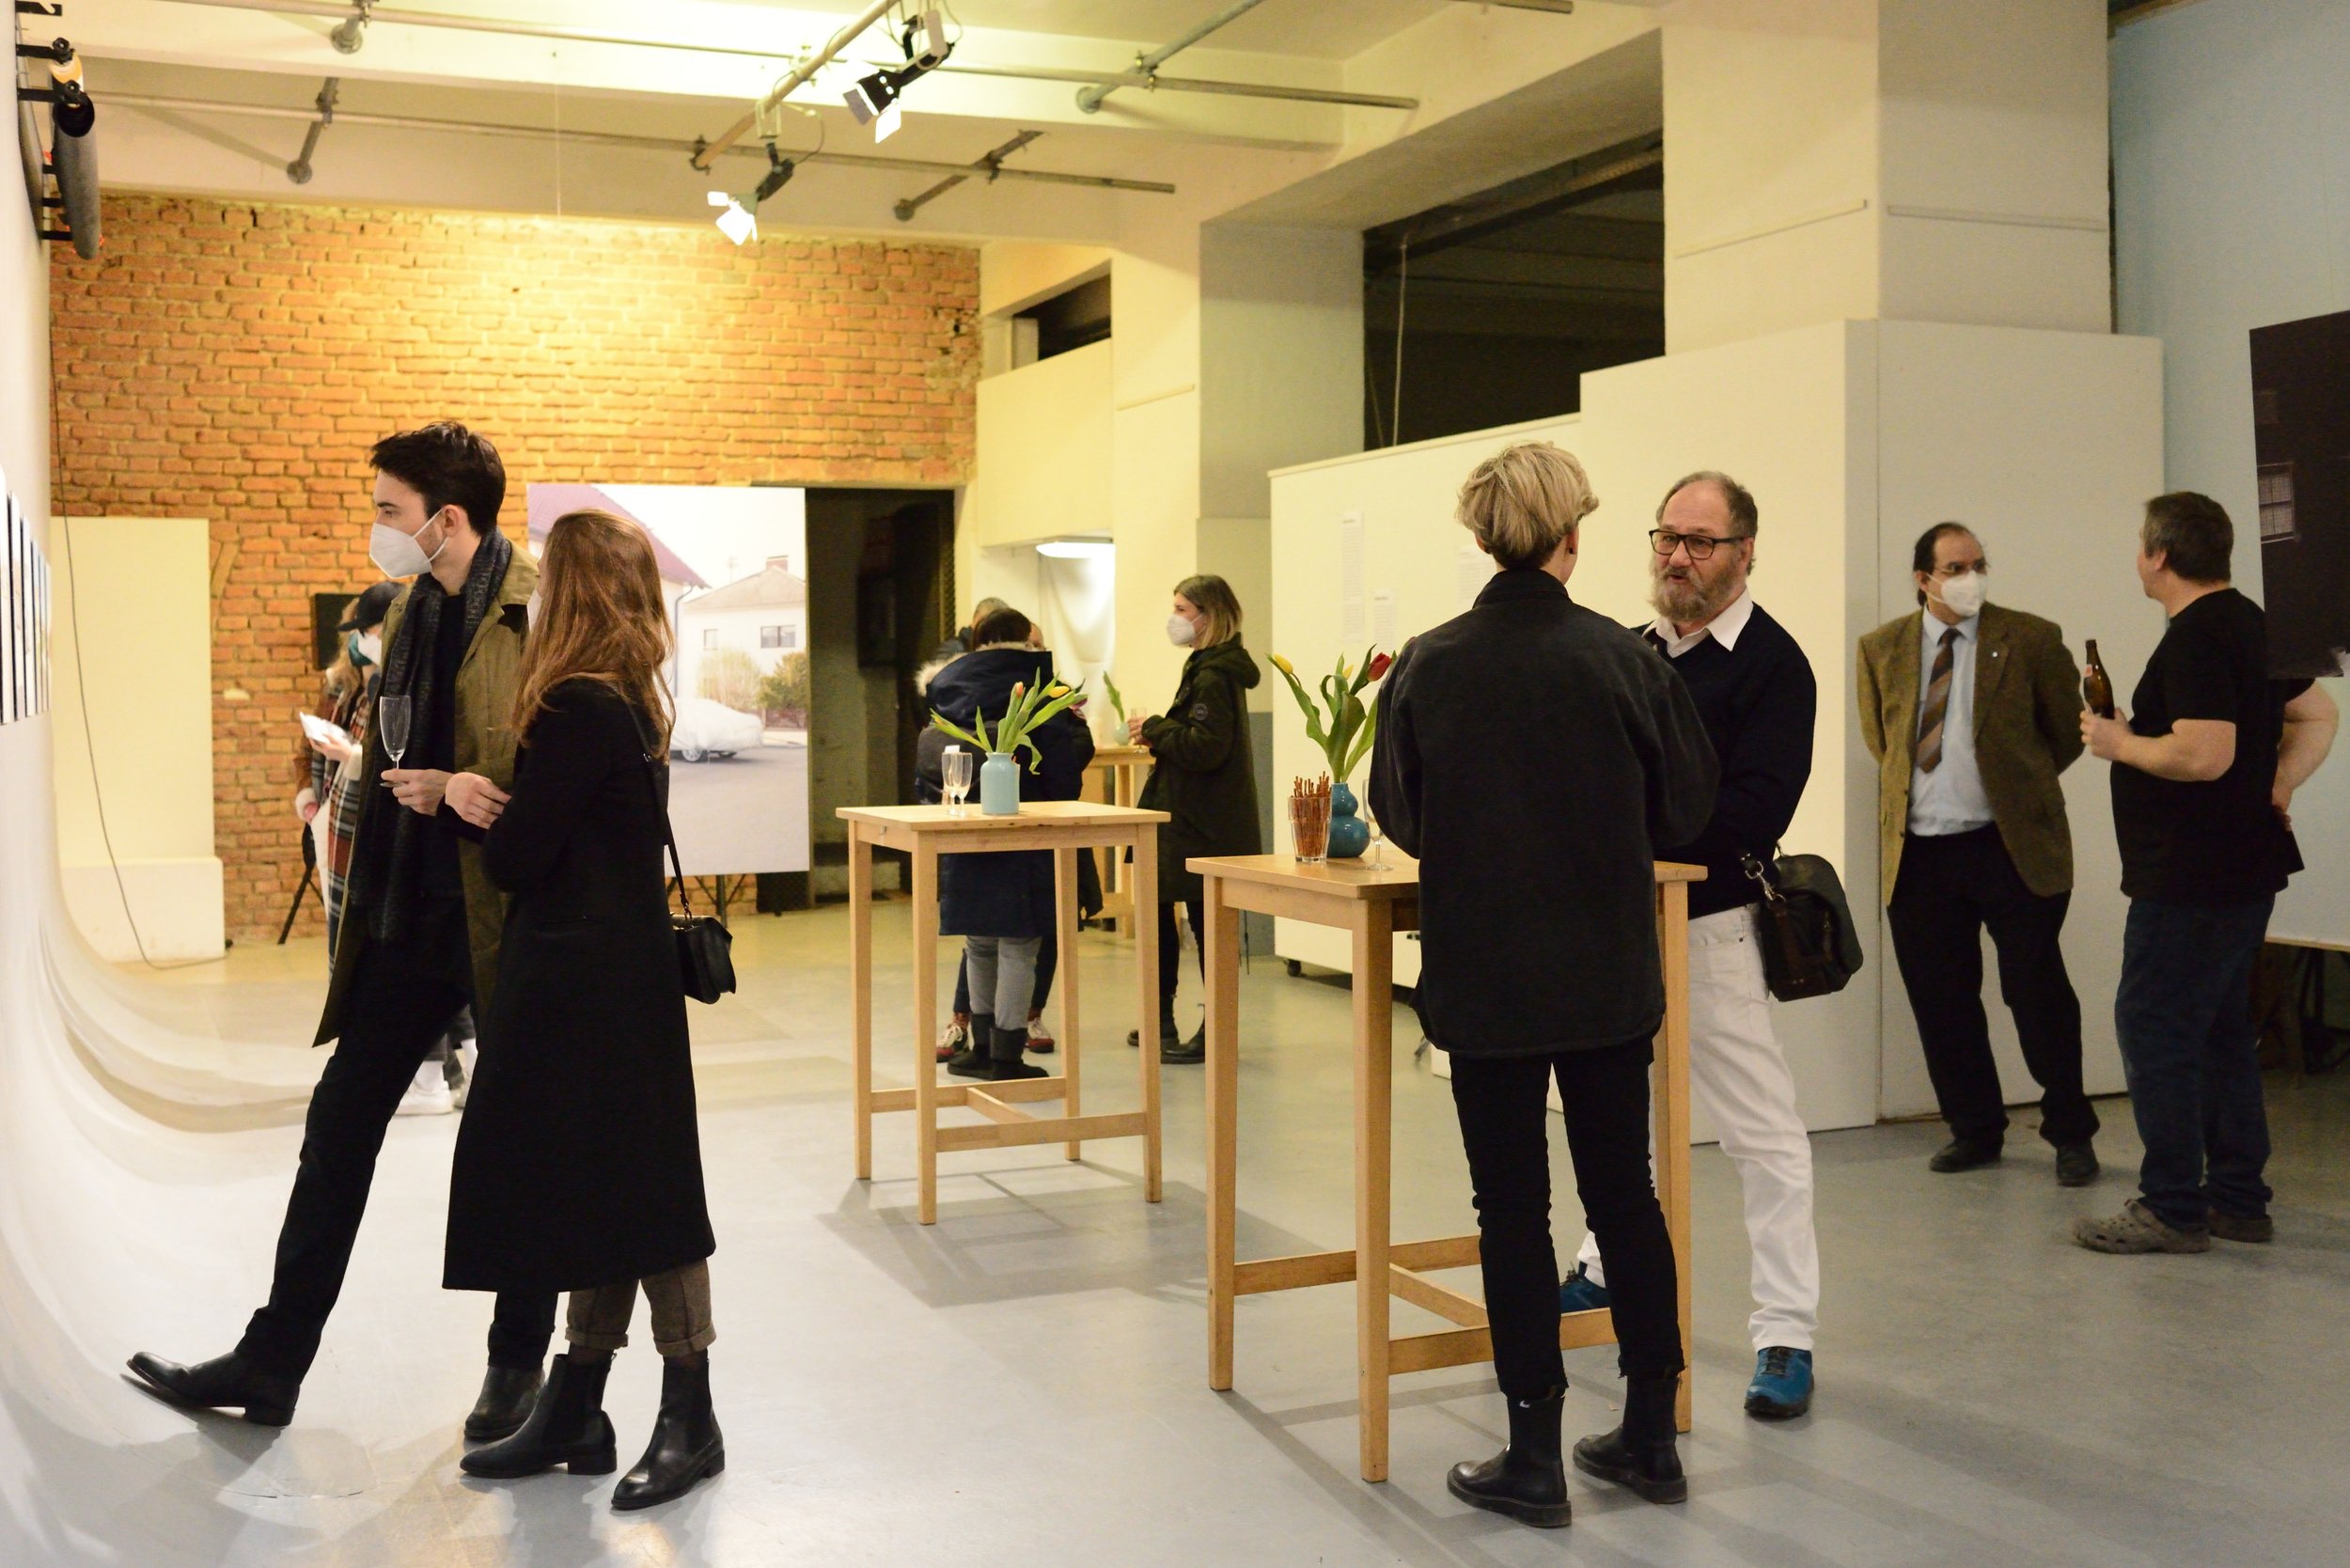
Foto Wien 2022 - Going Public
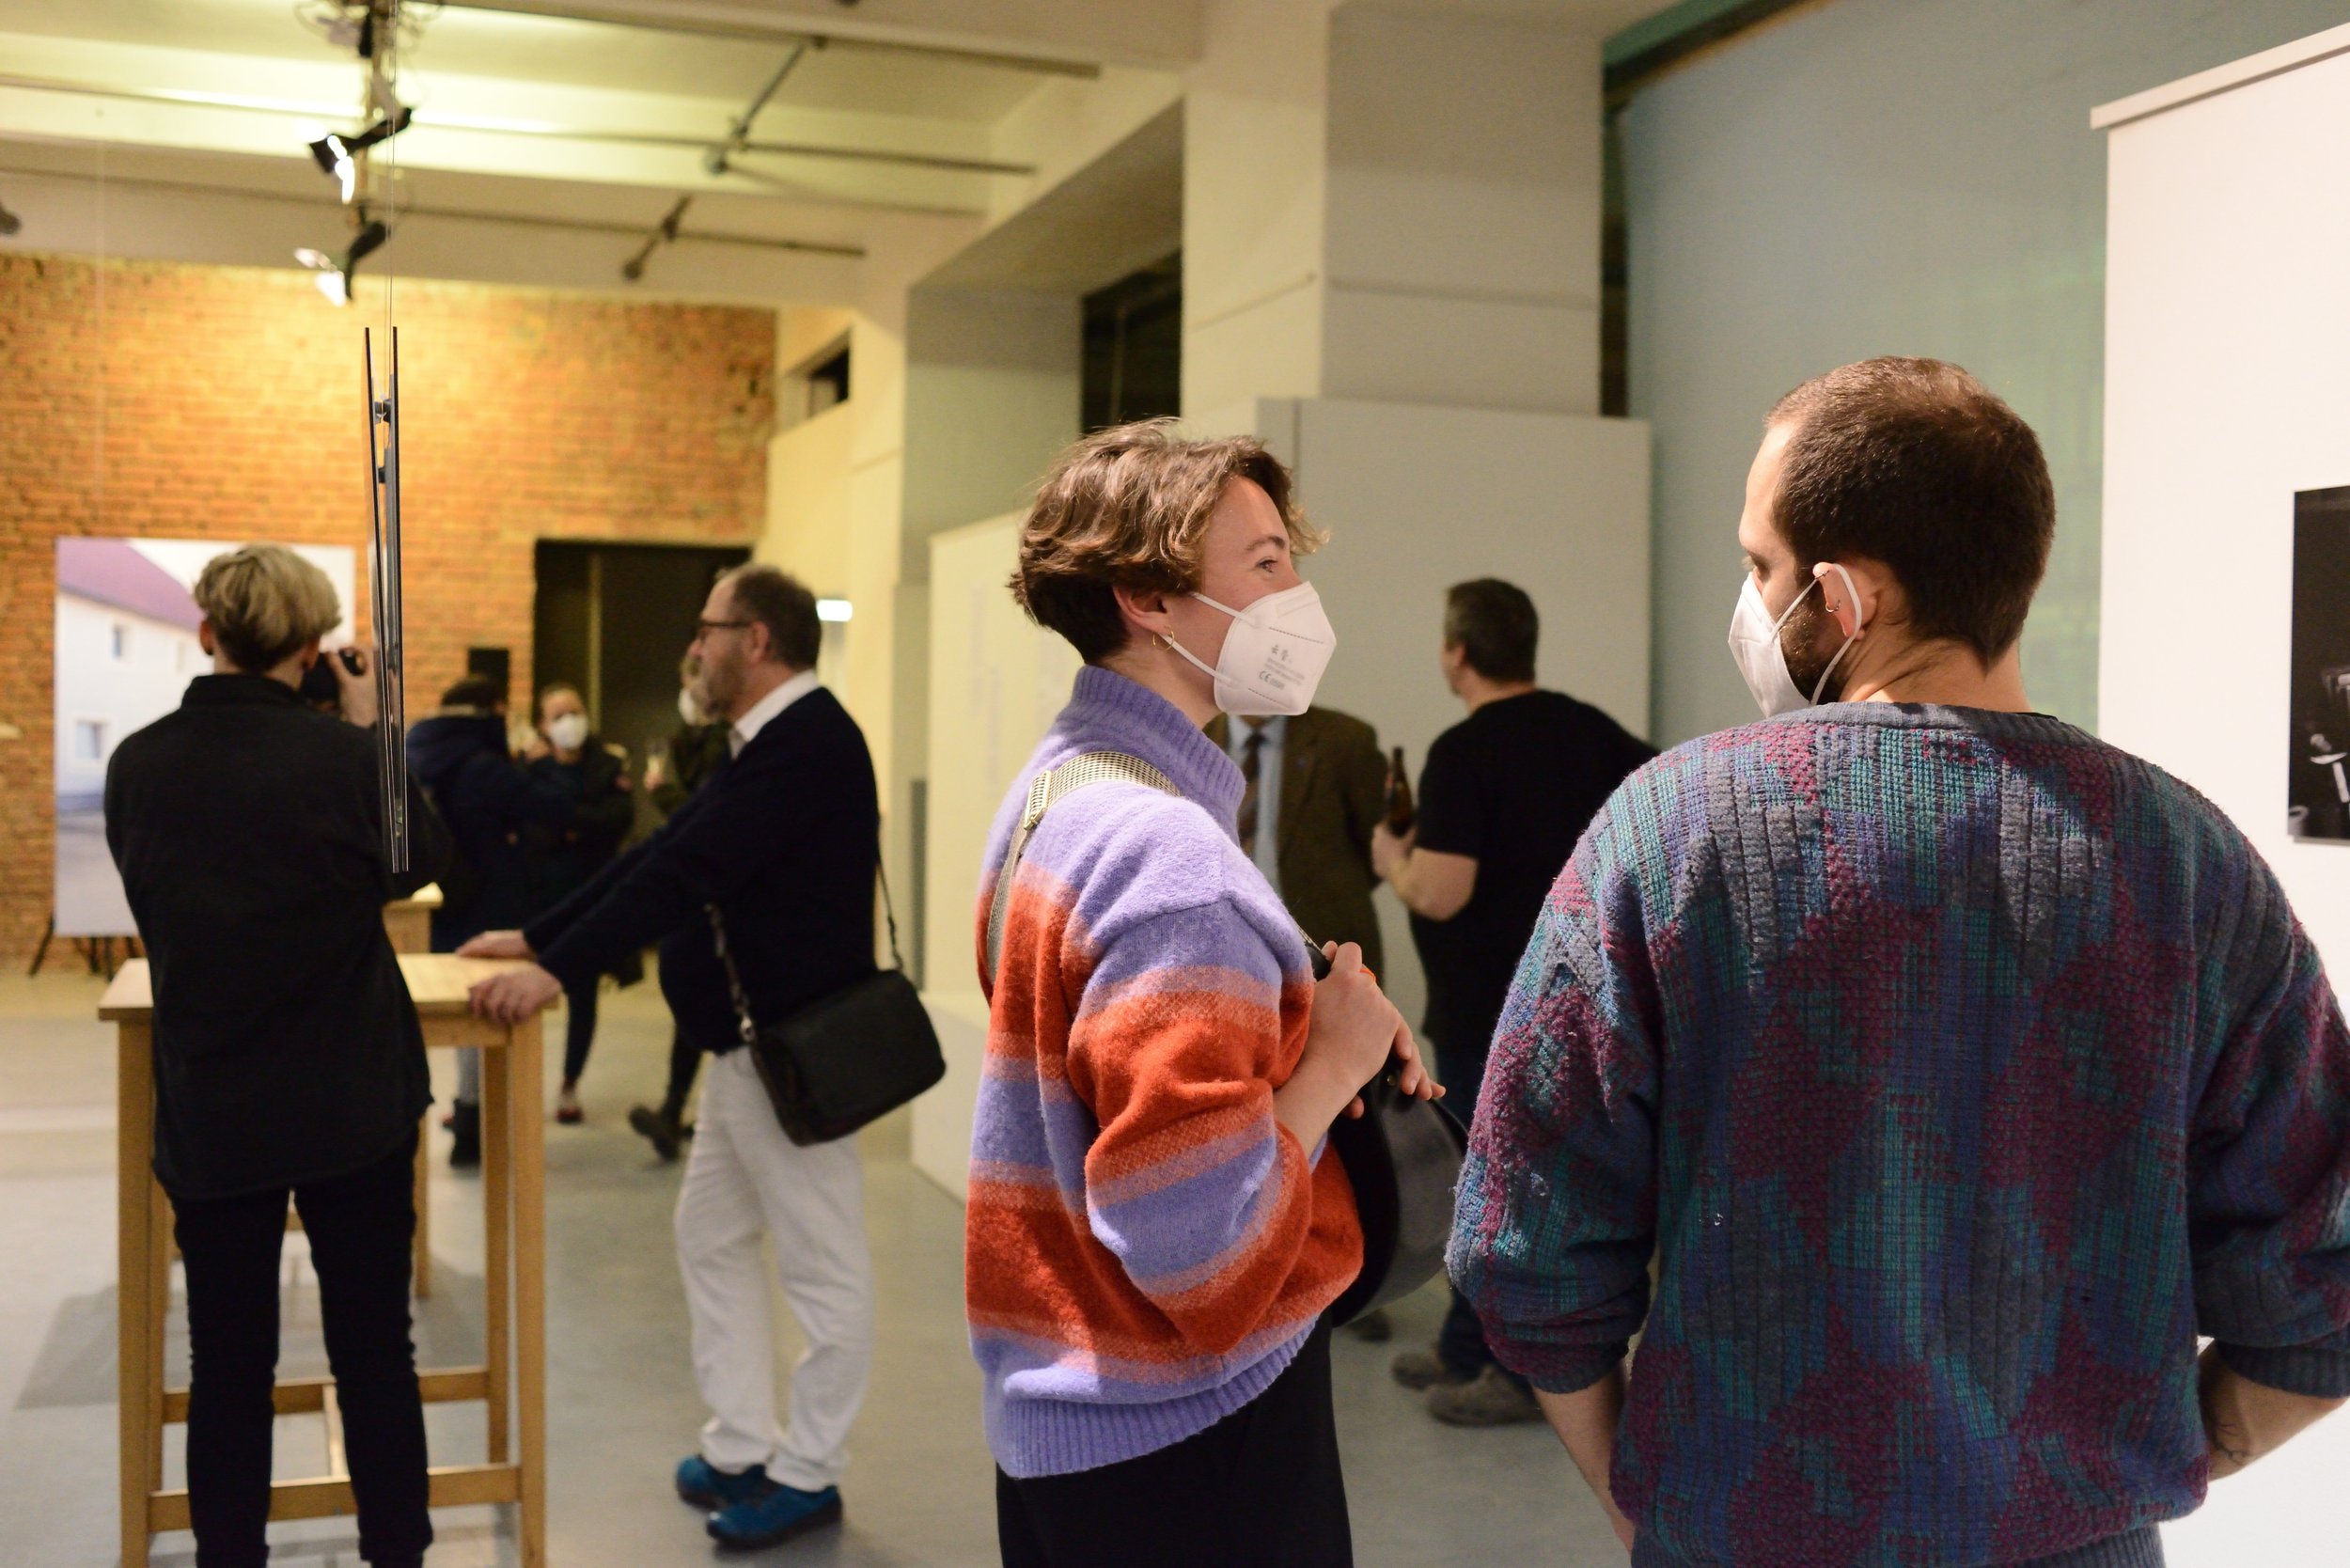
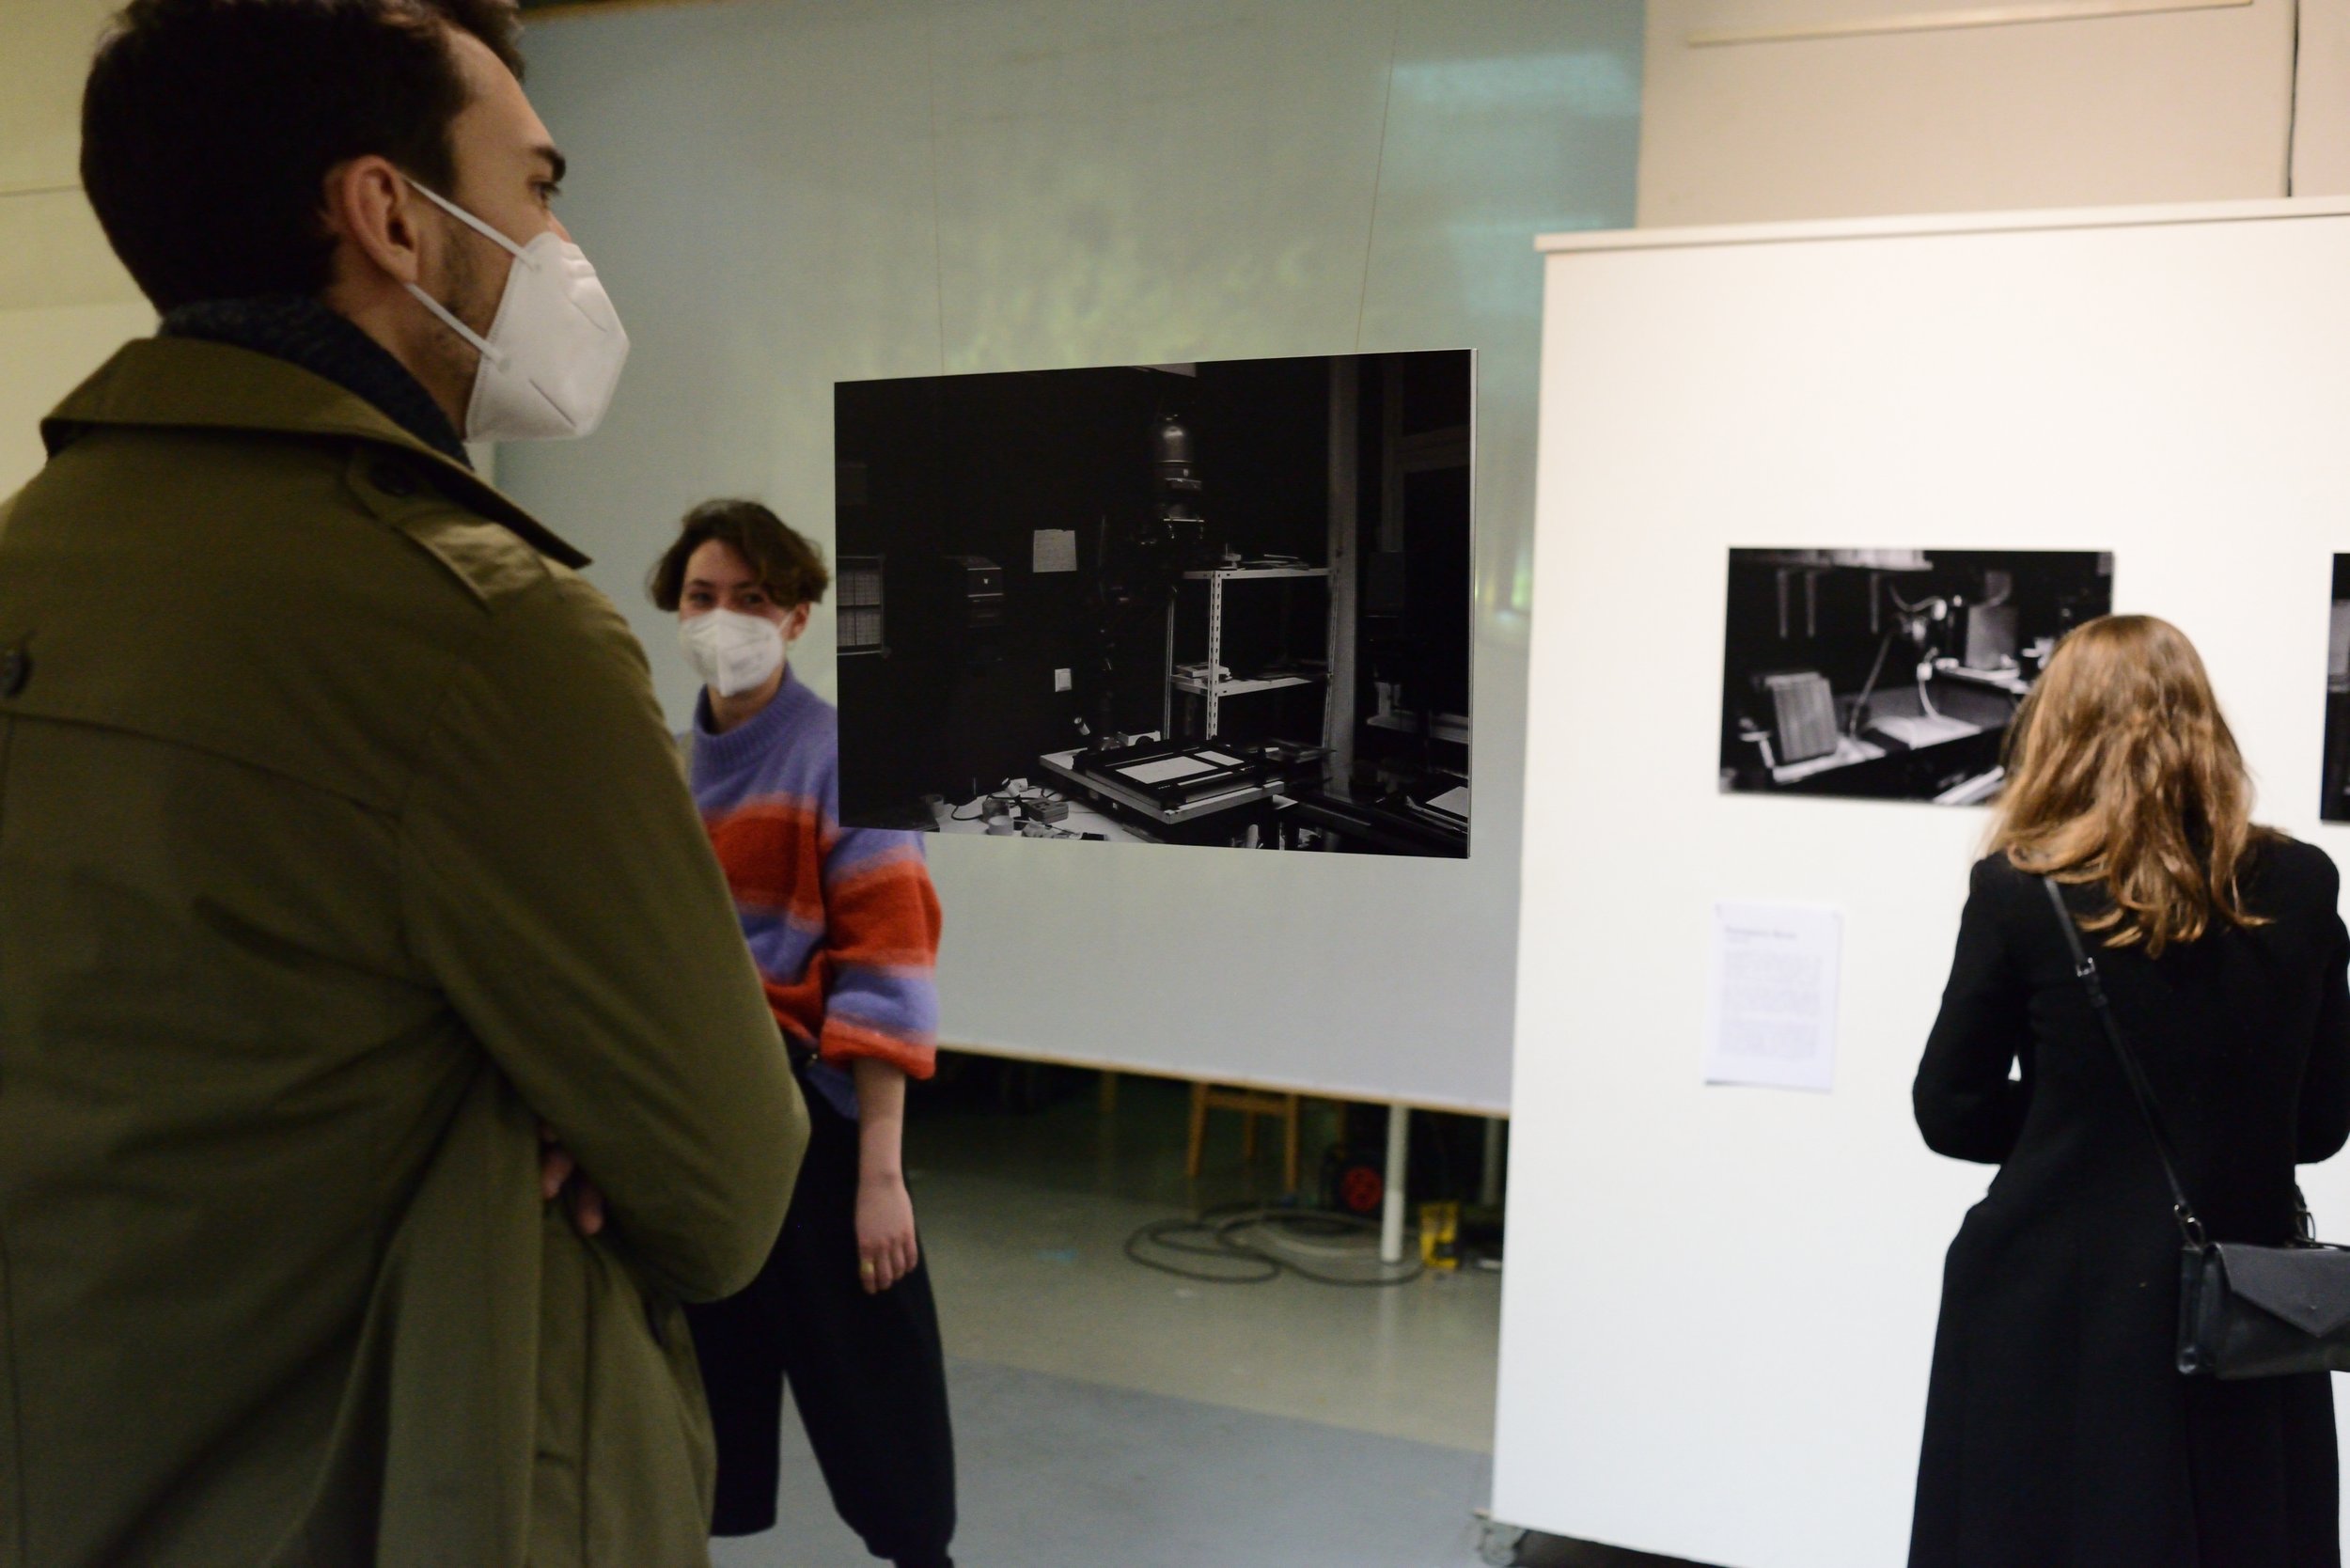
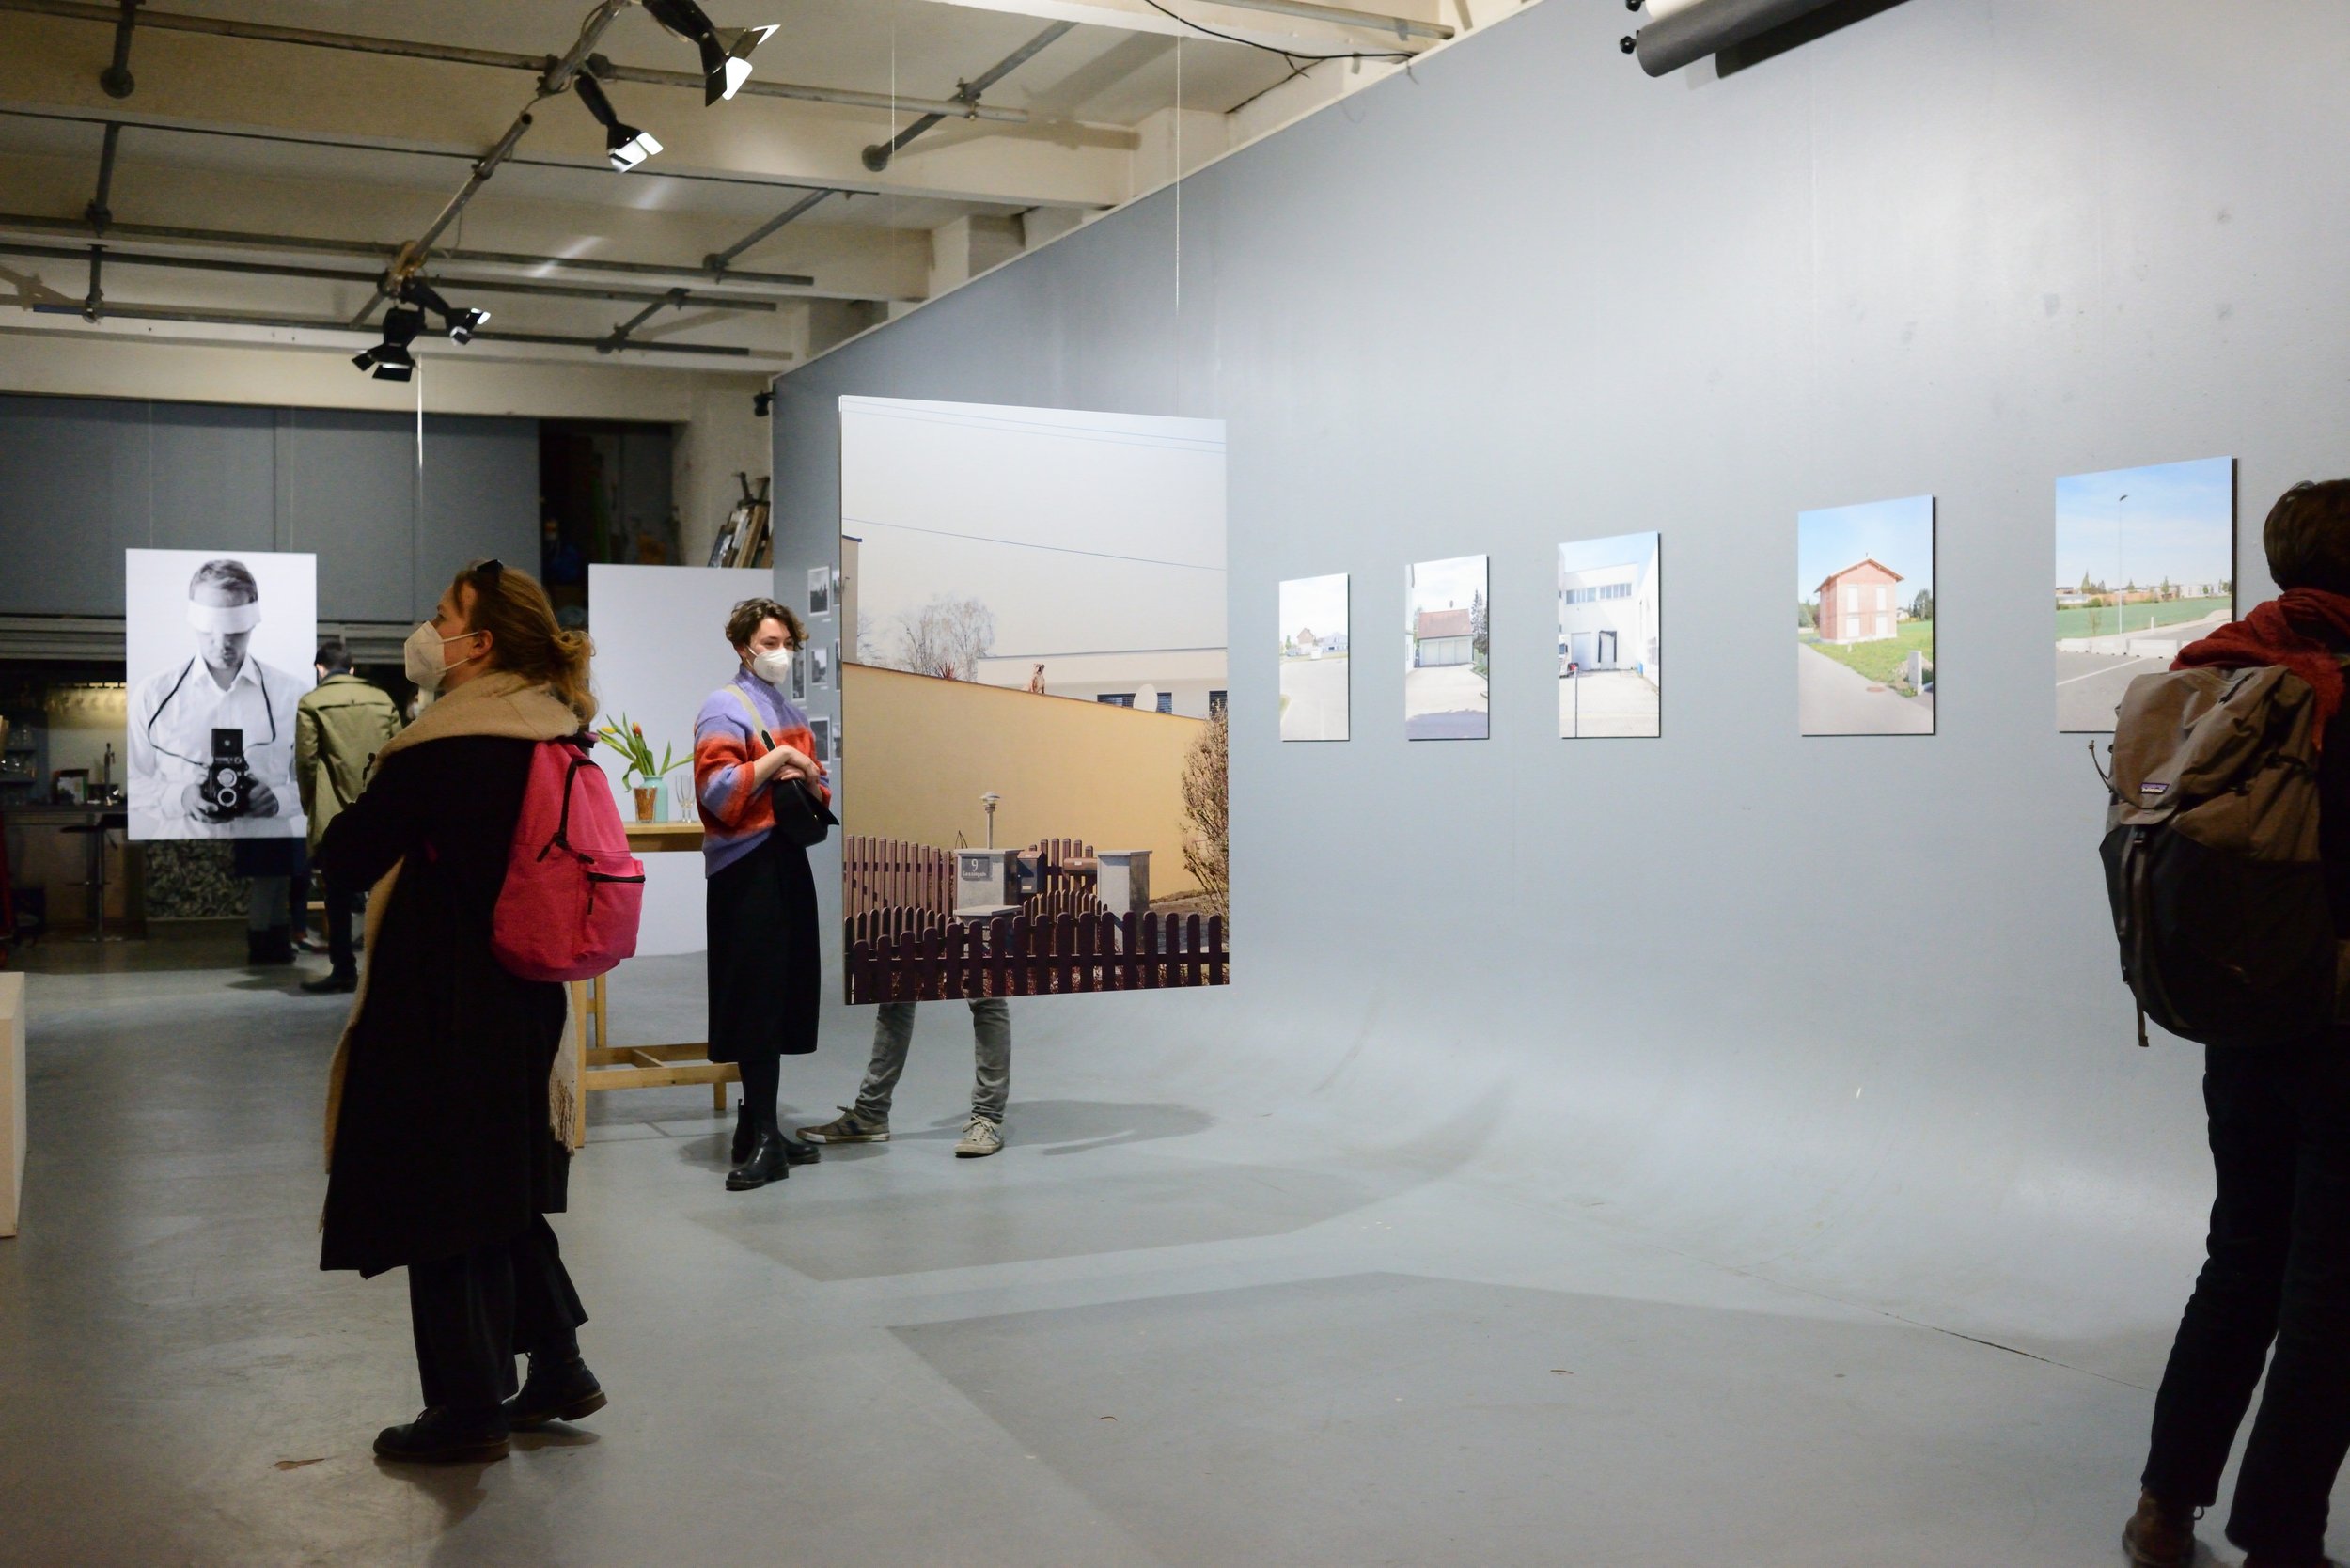
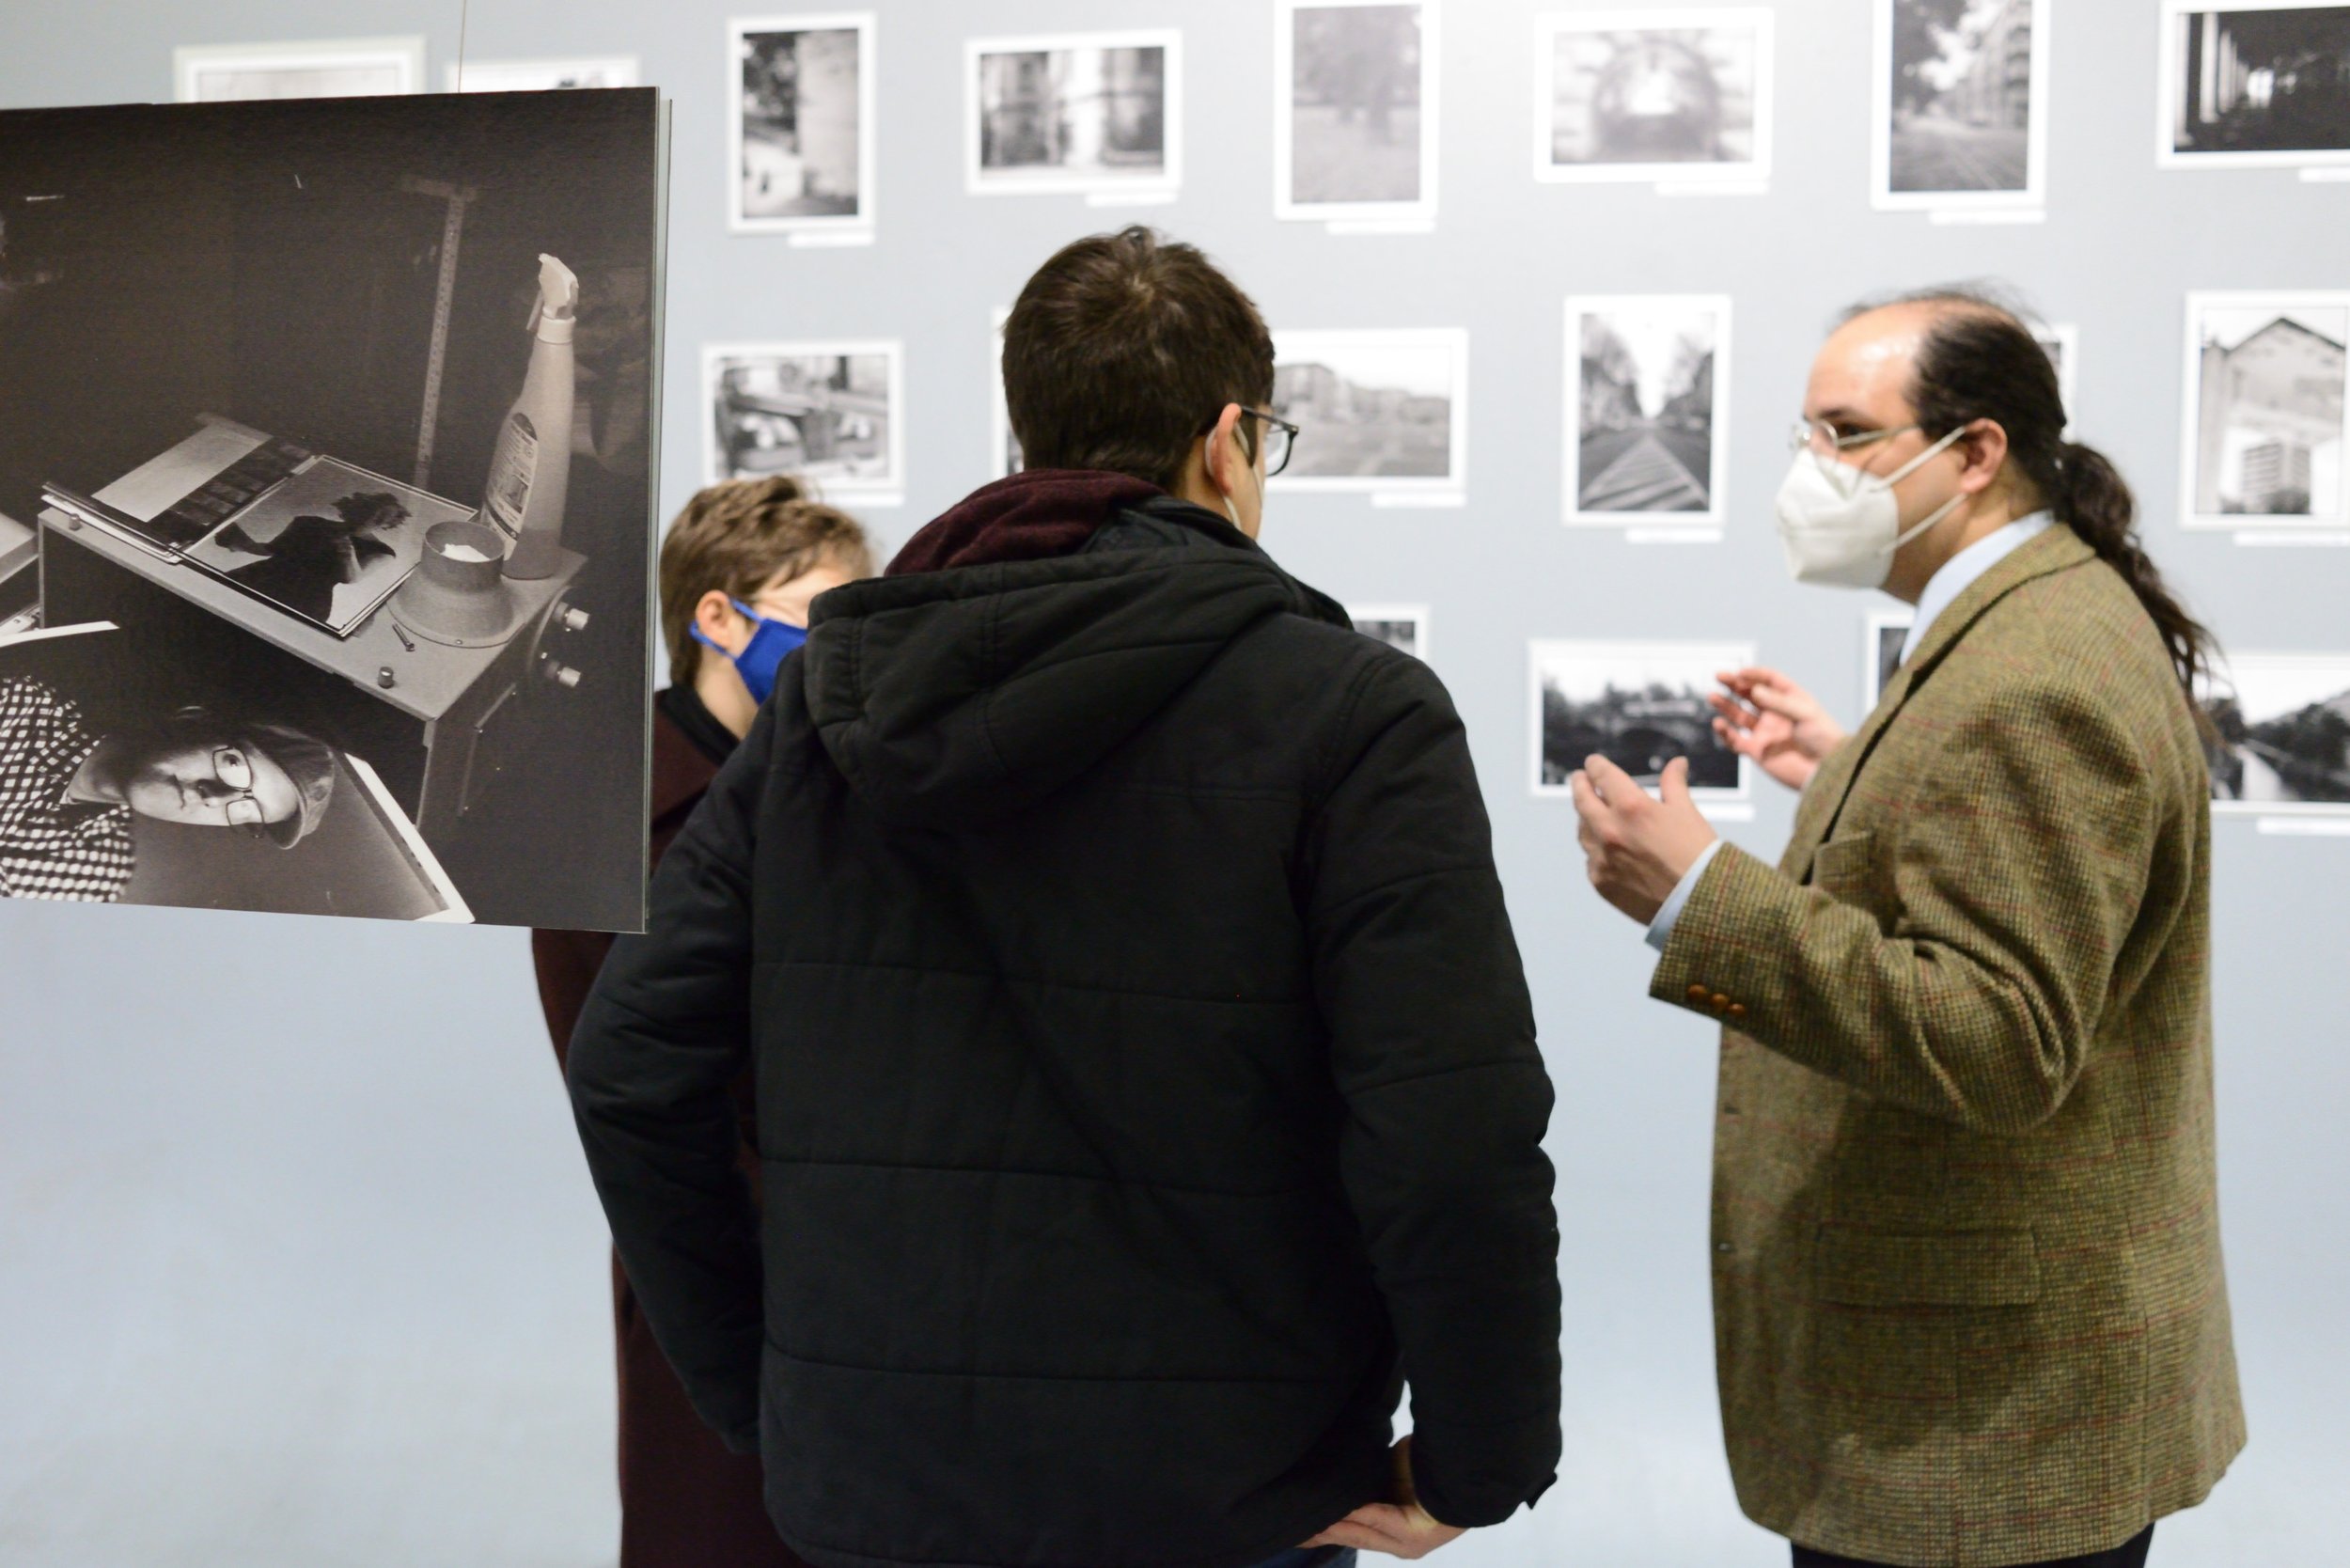
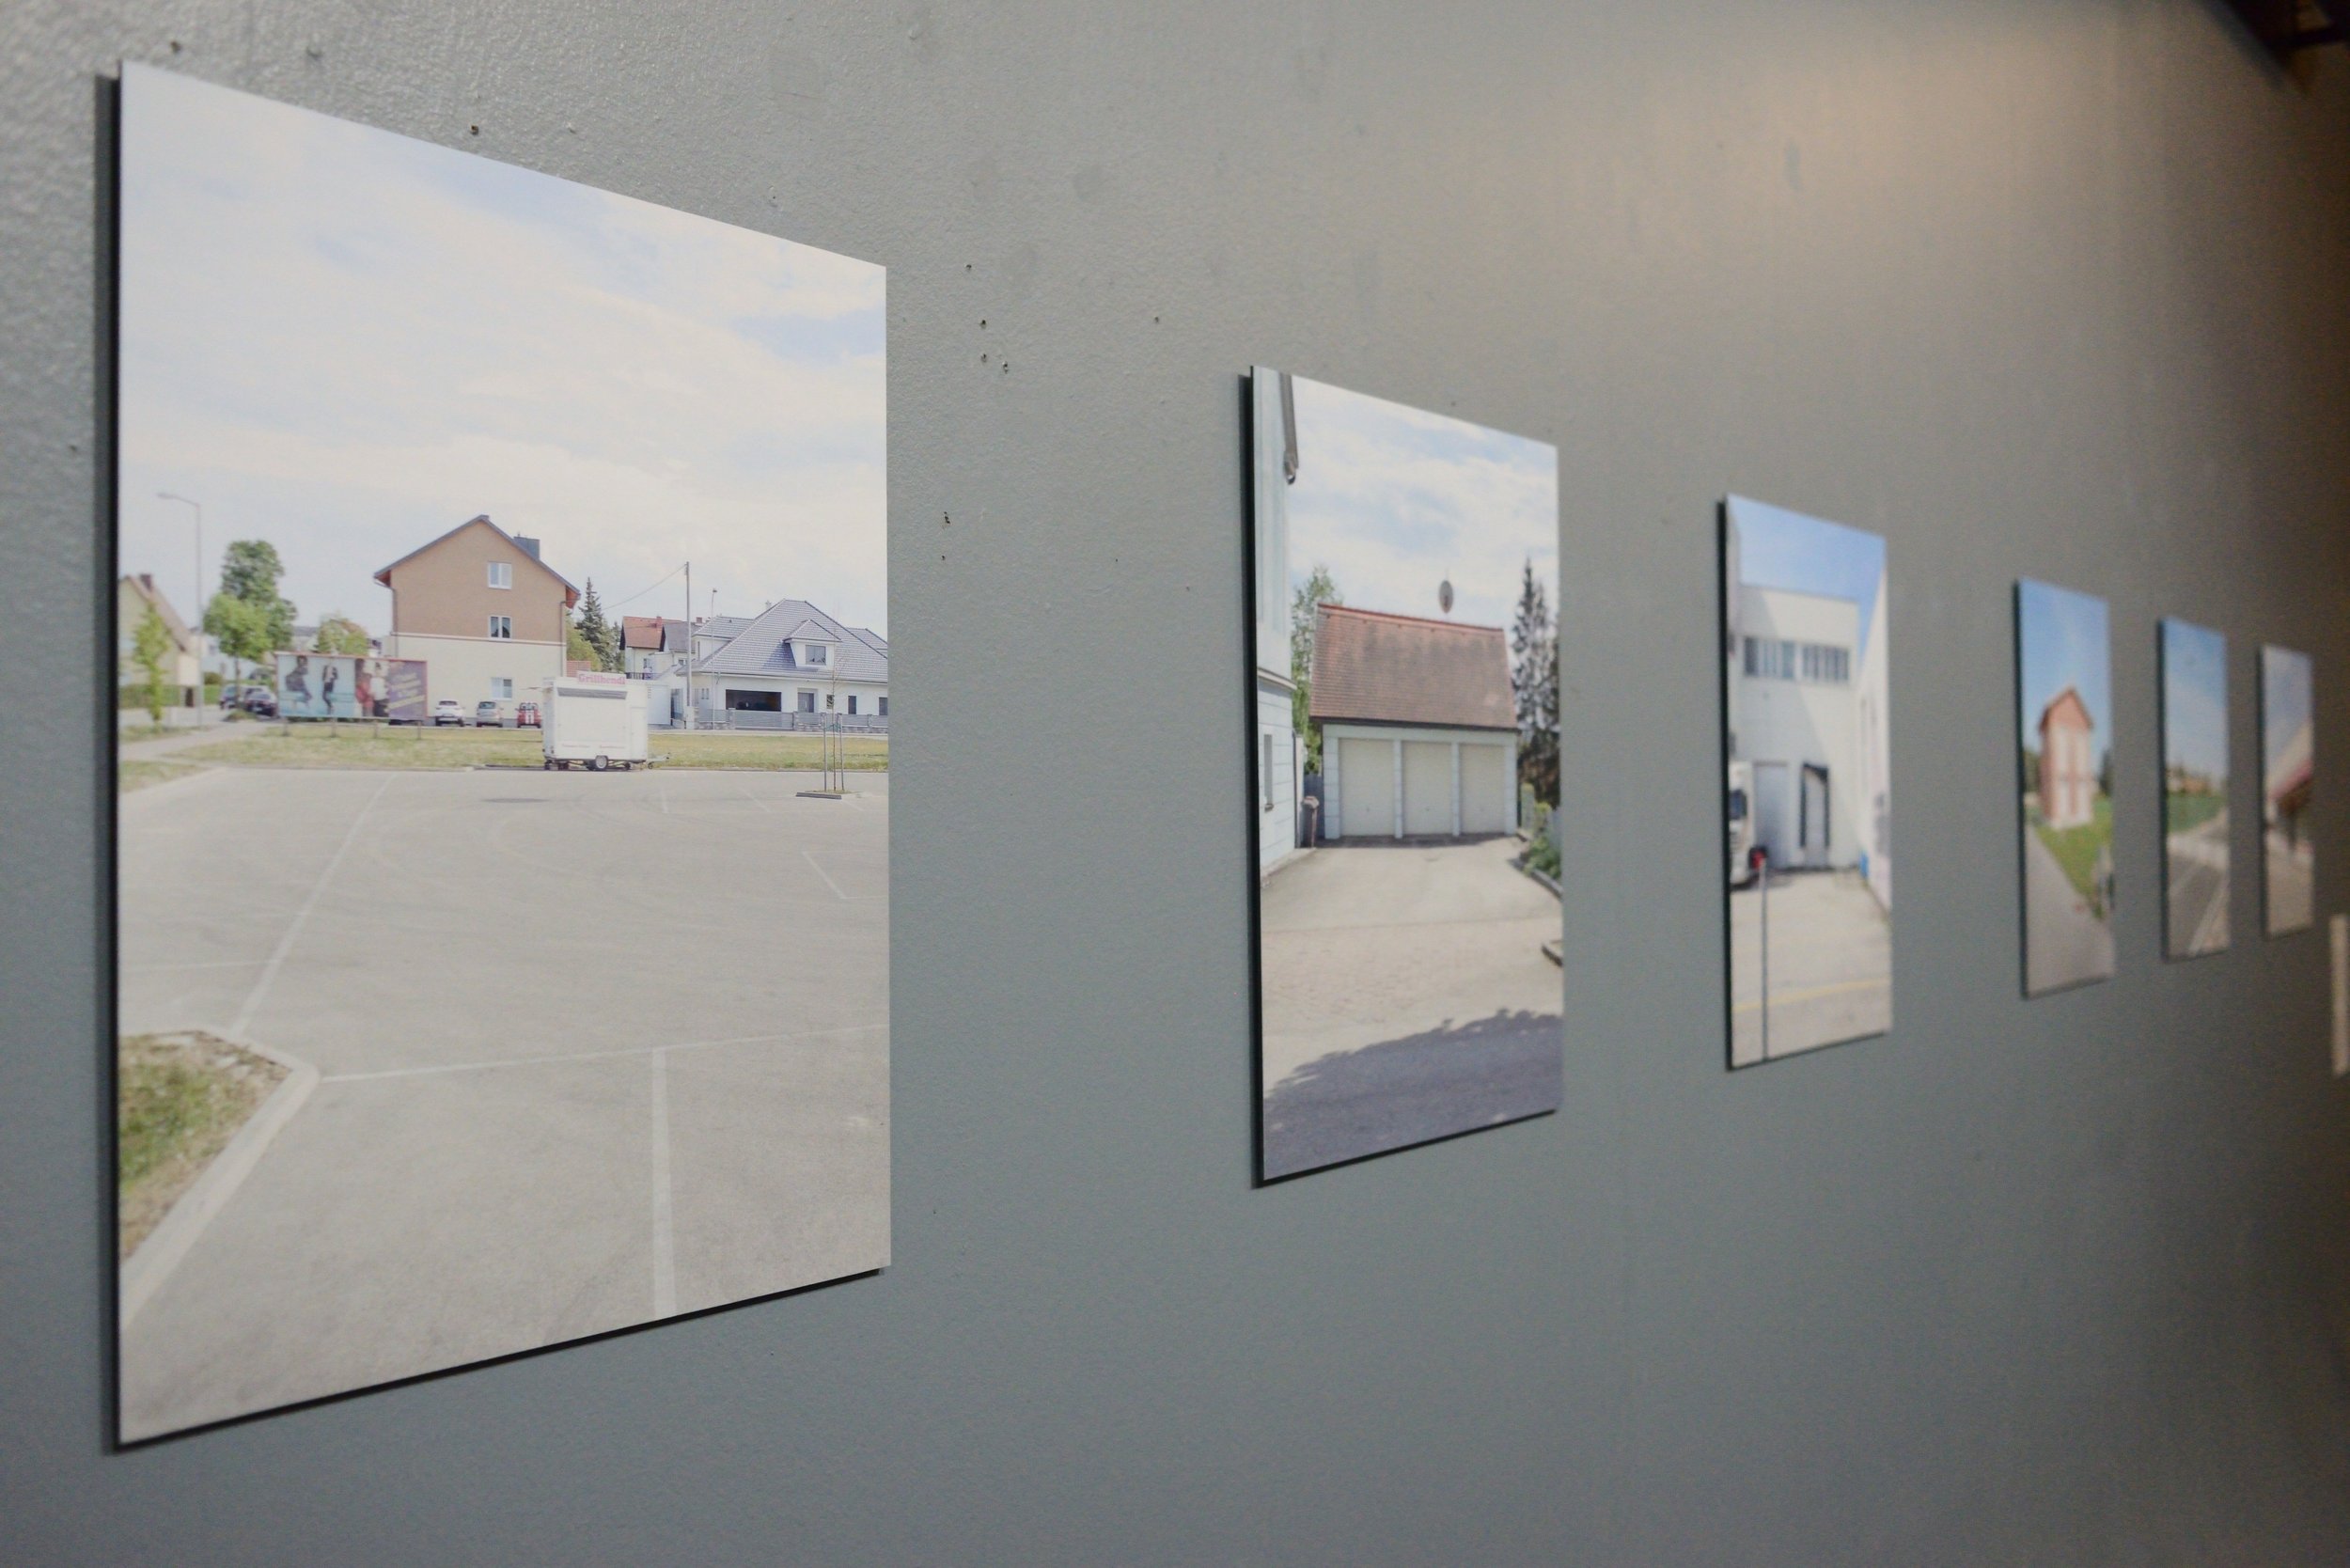
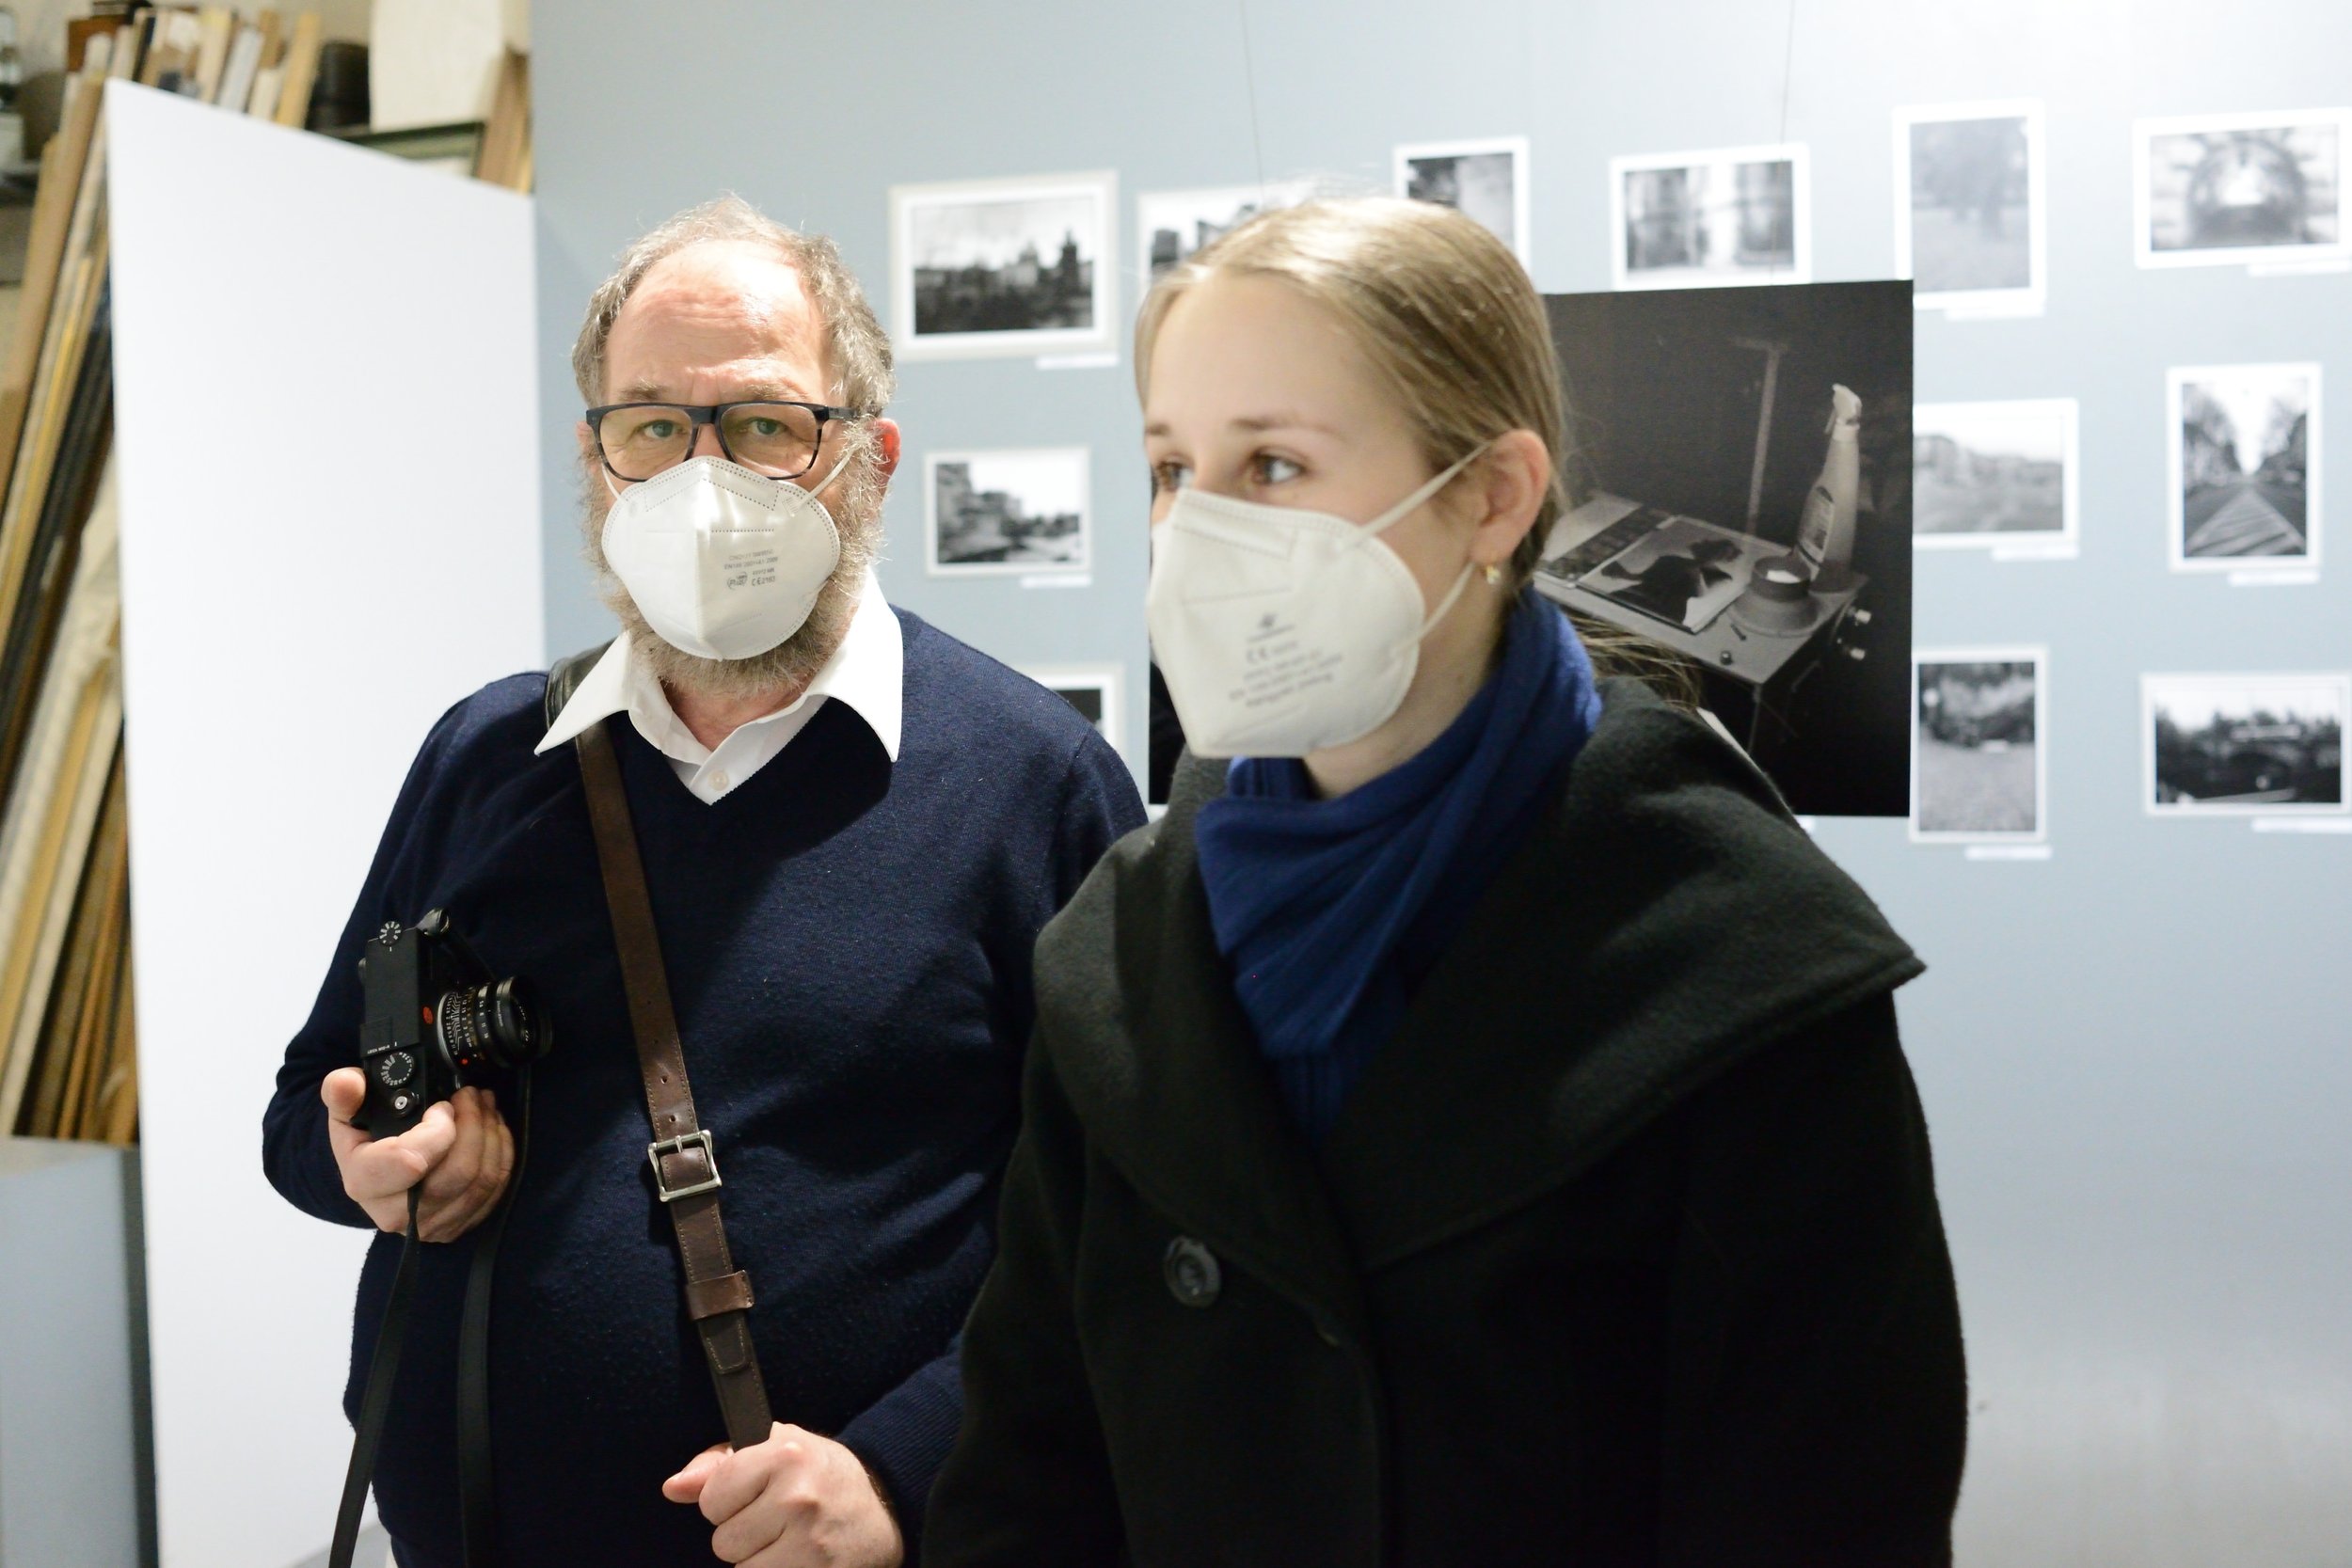
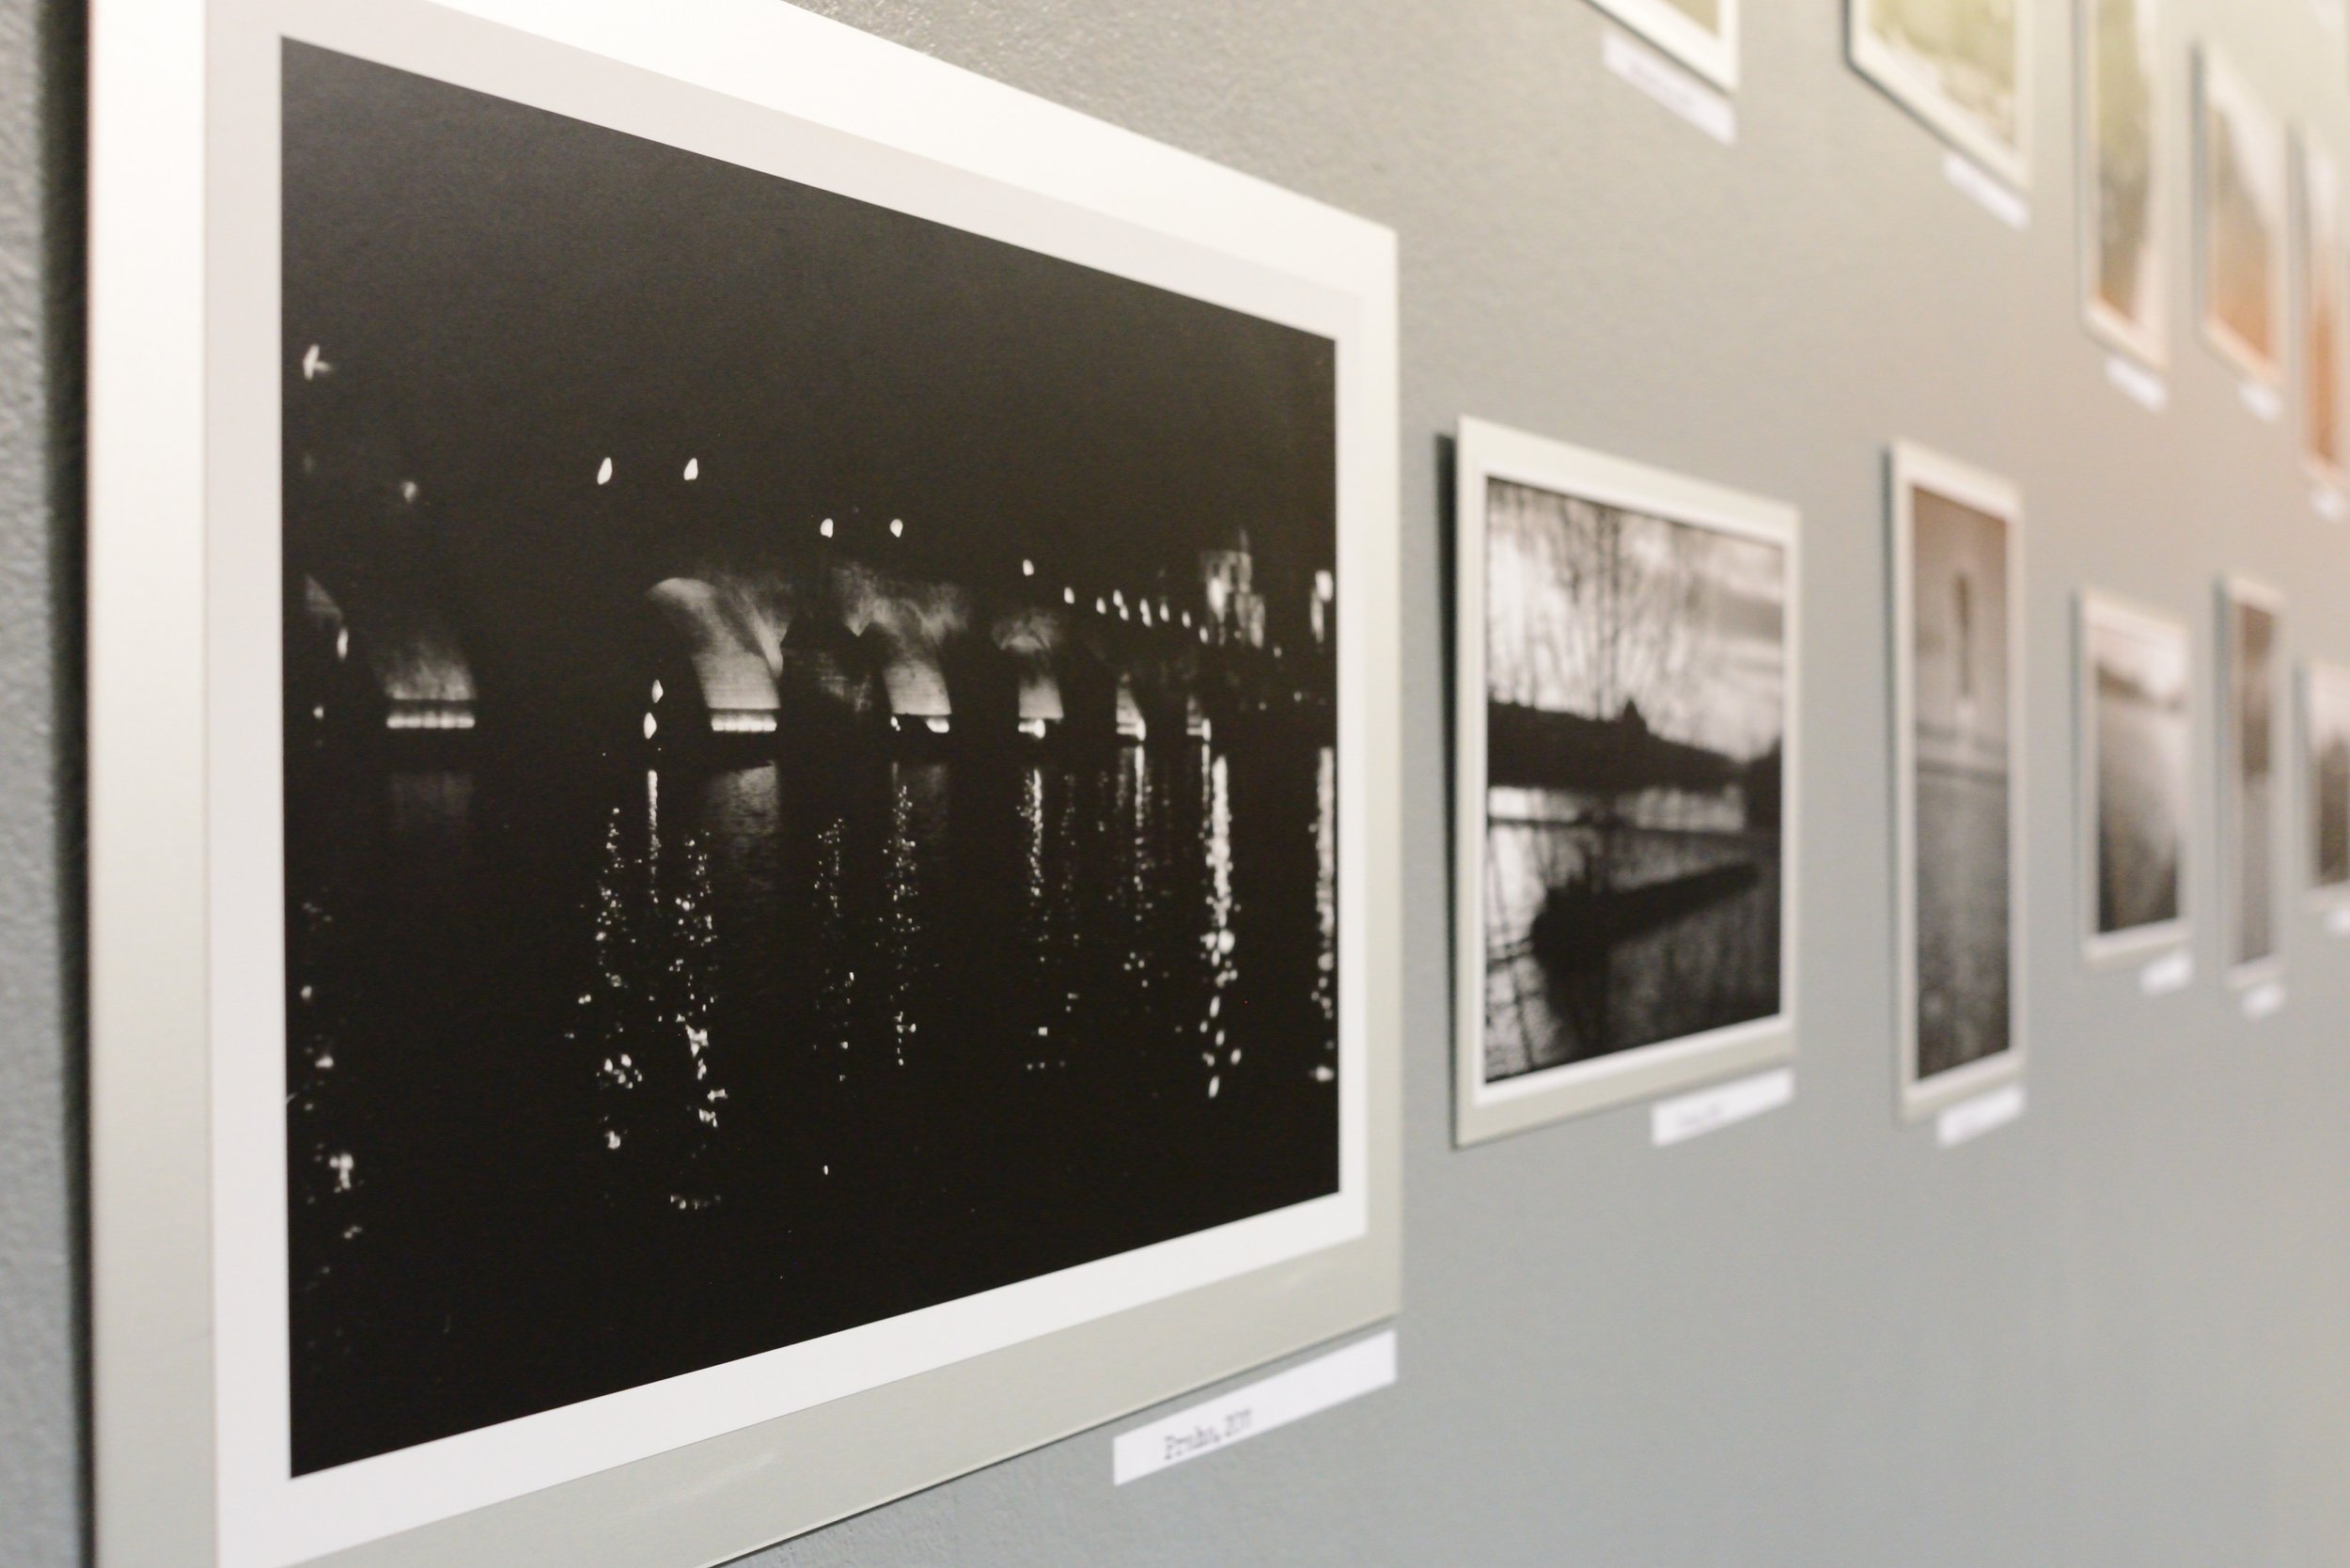
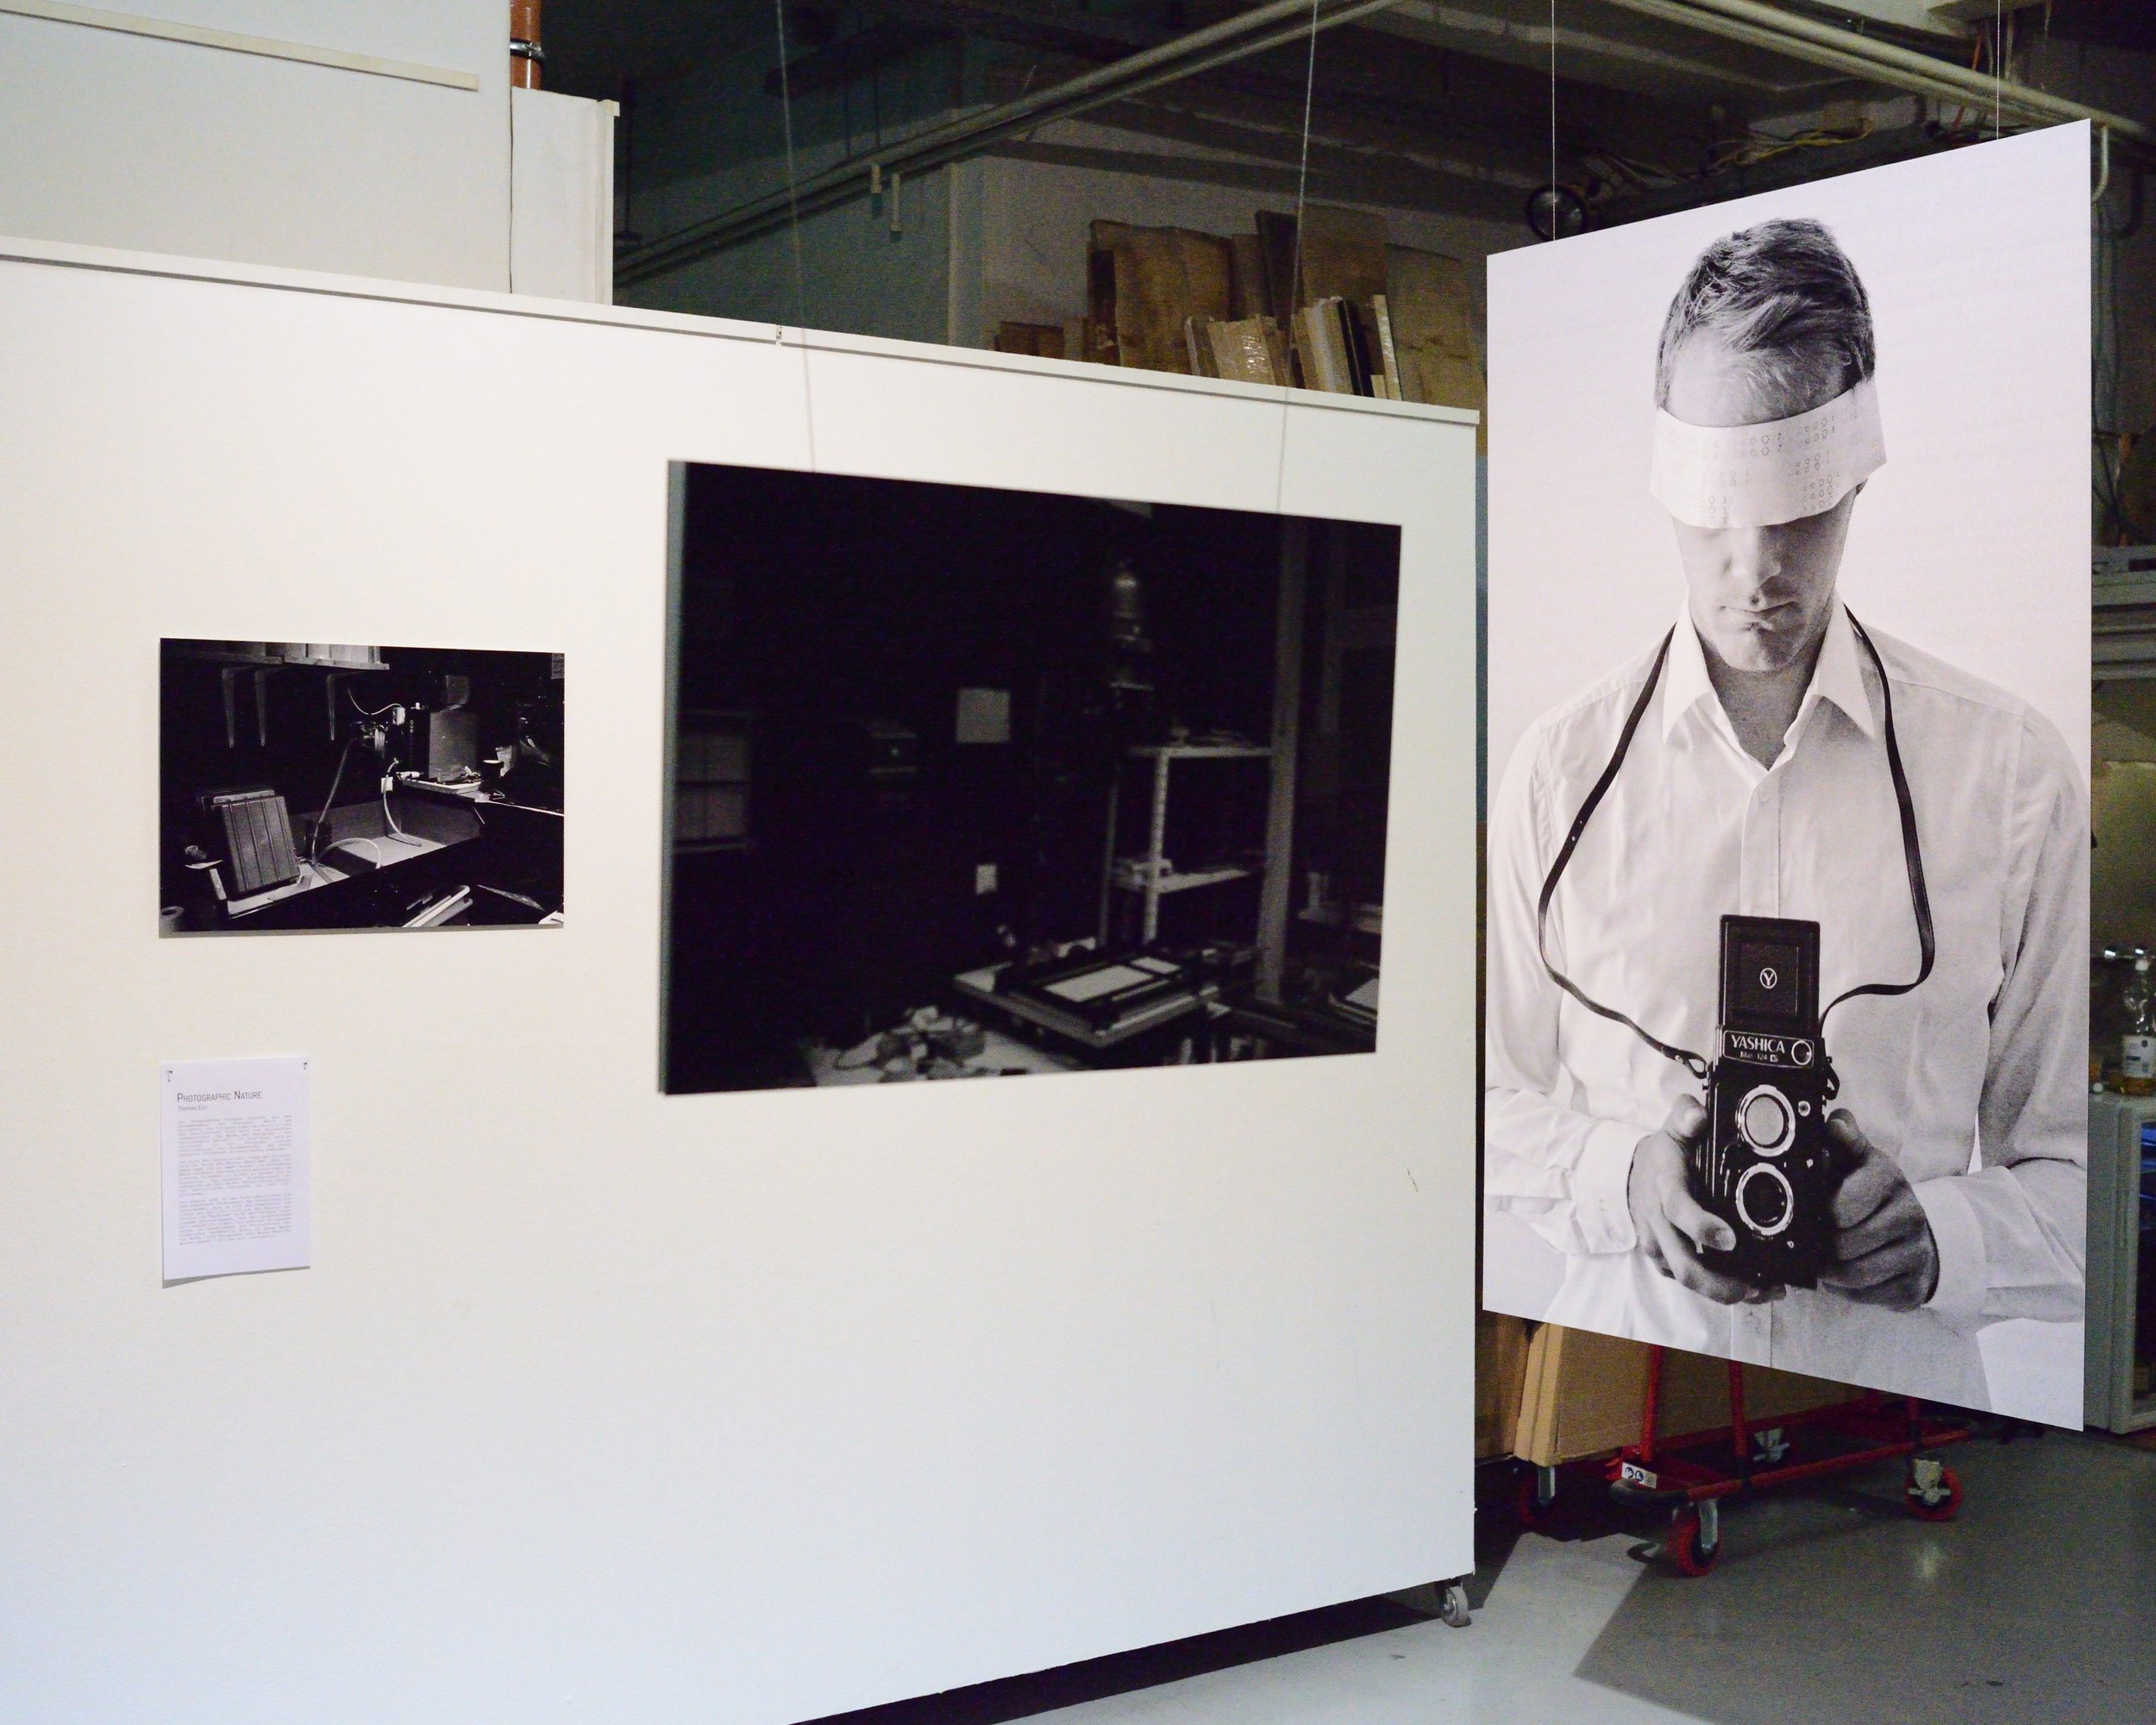
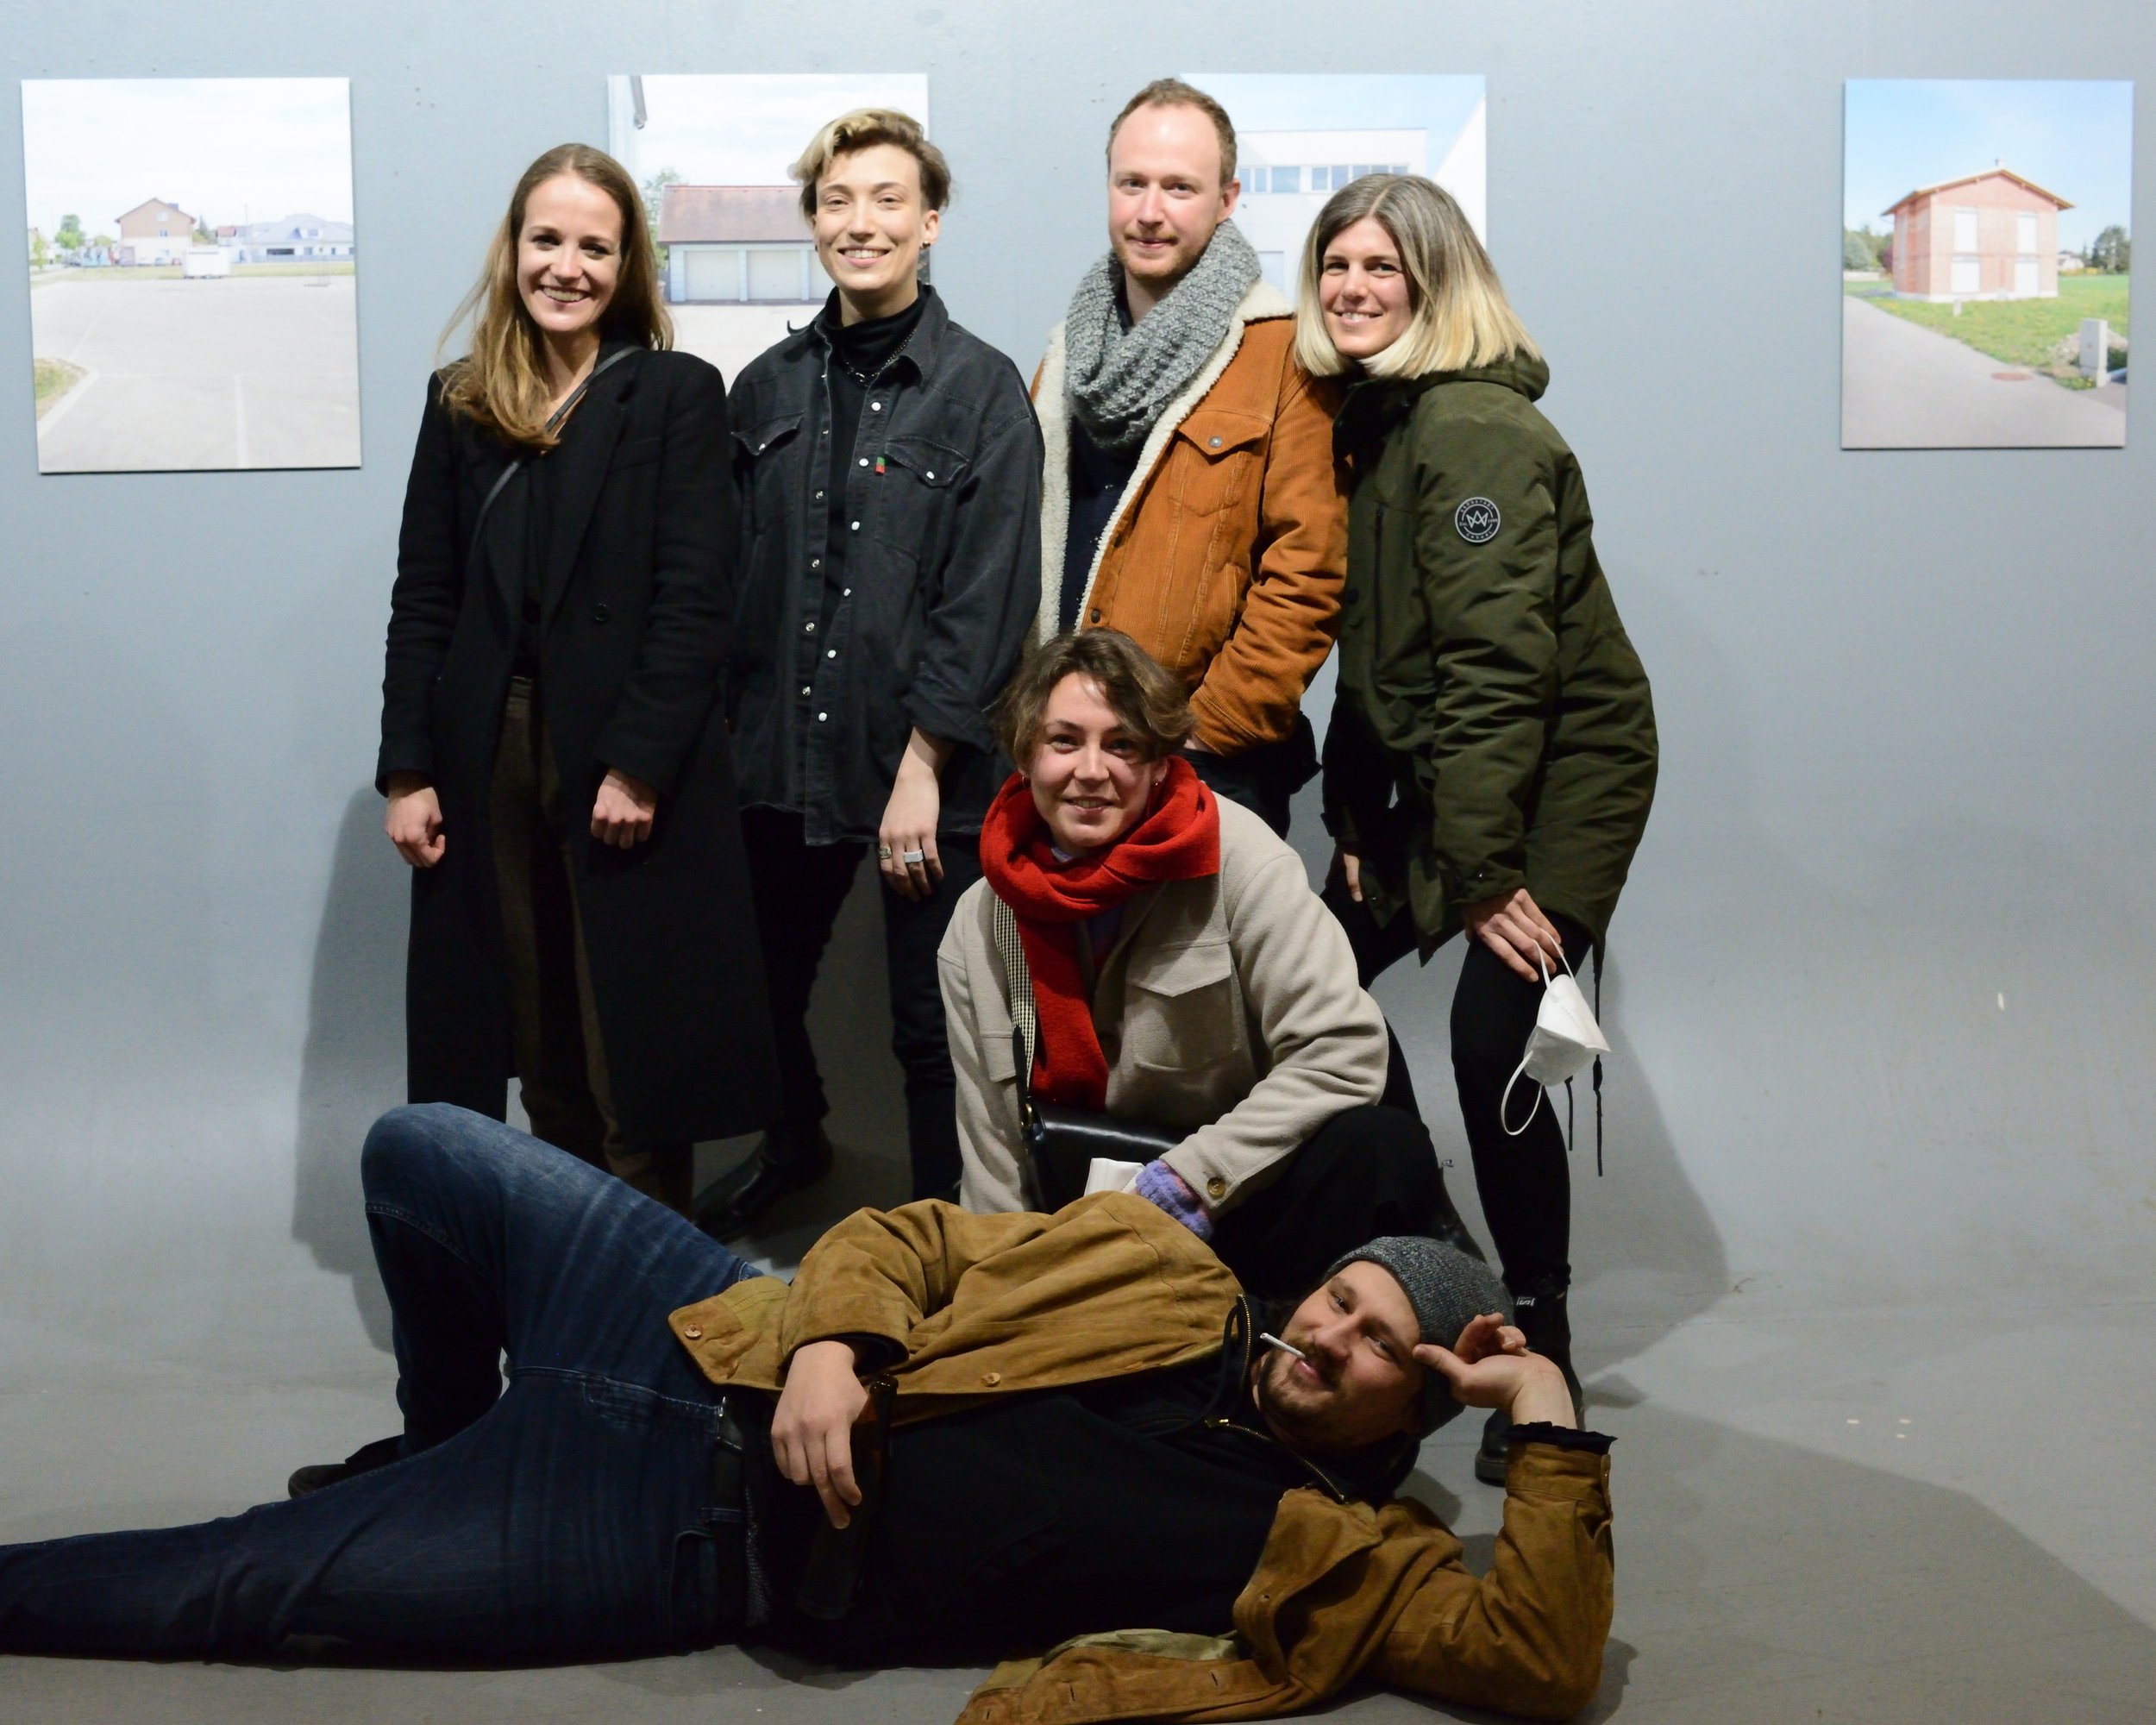
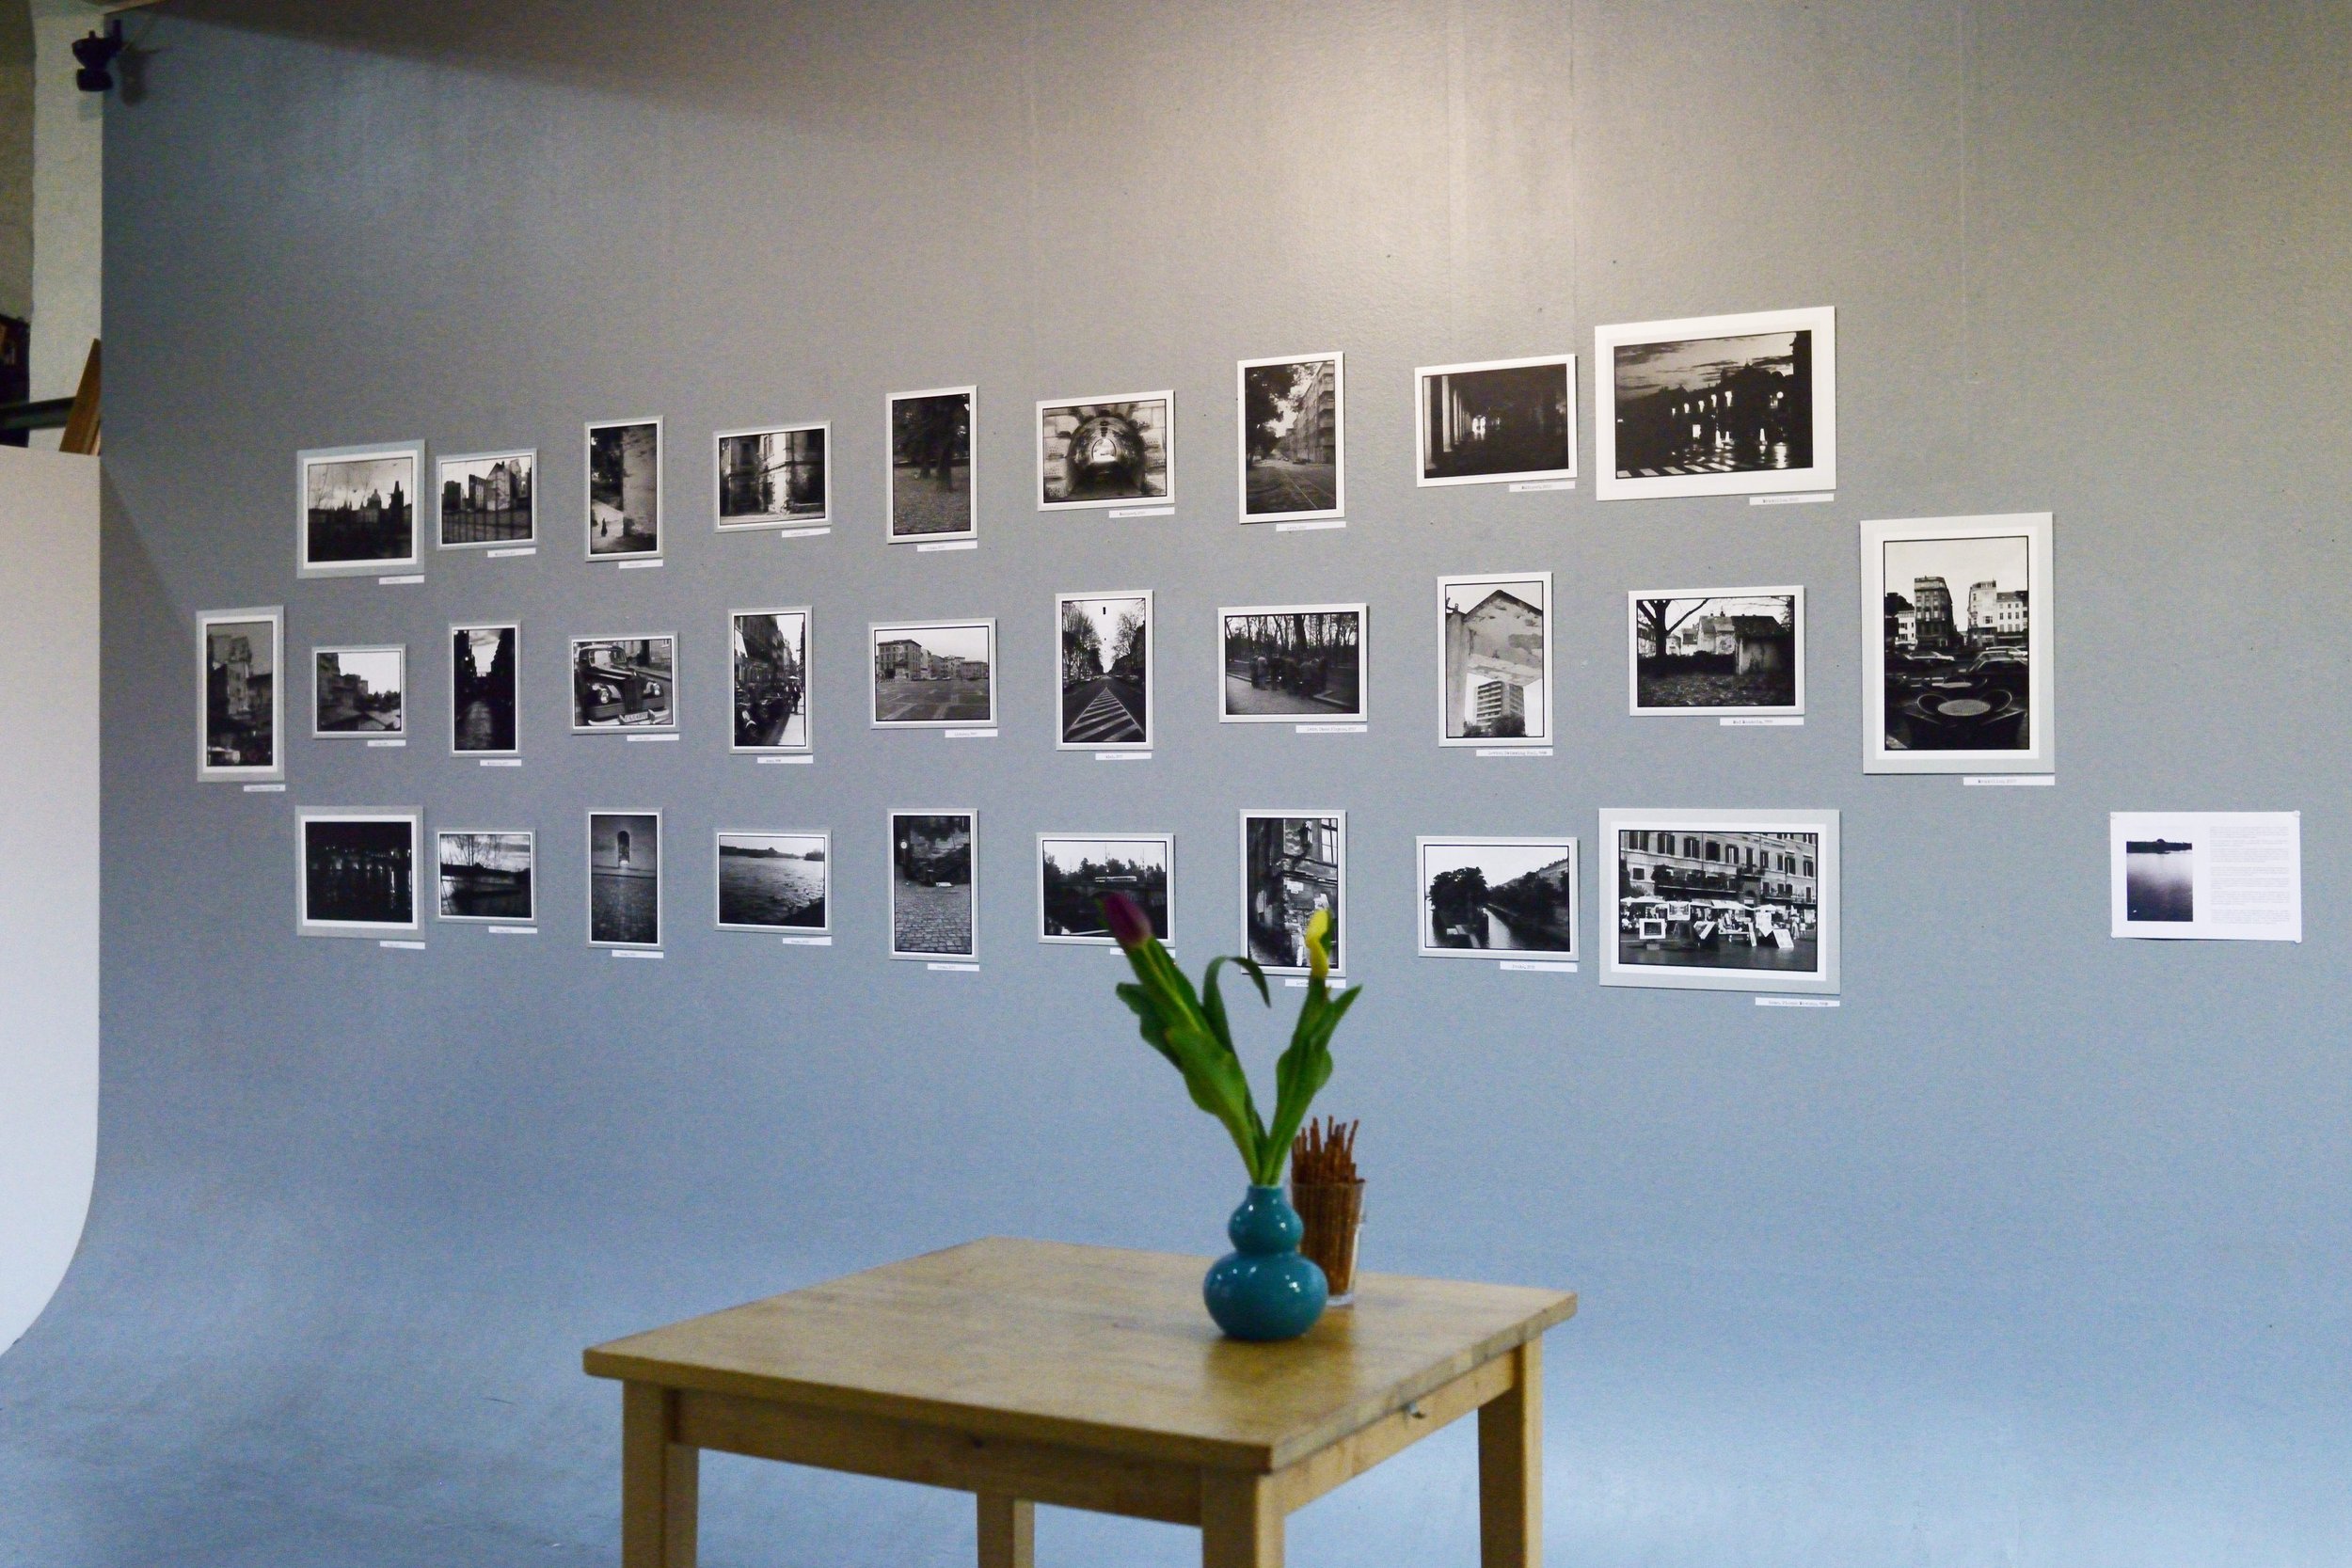
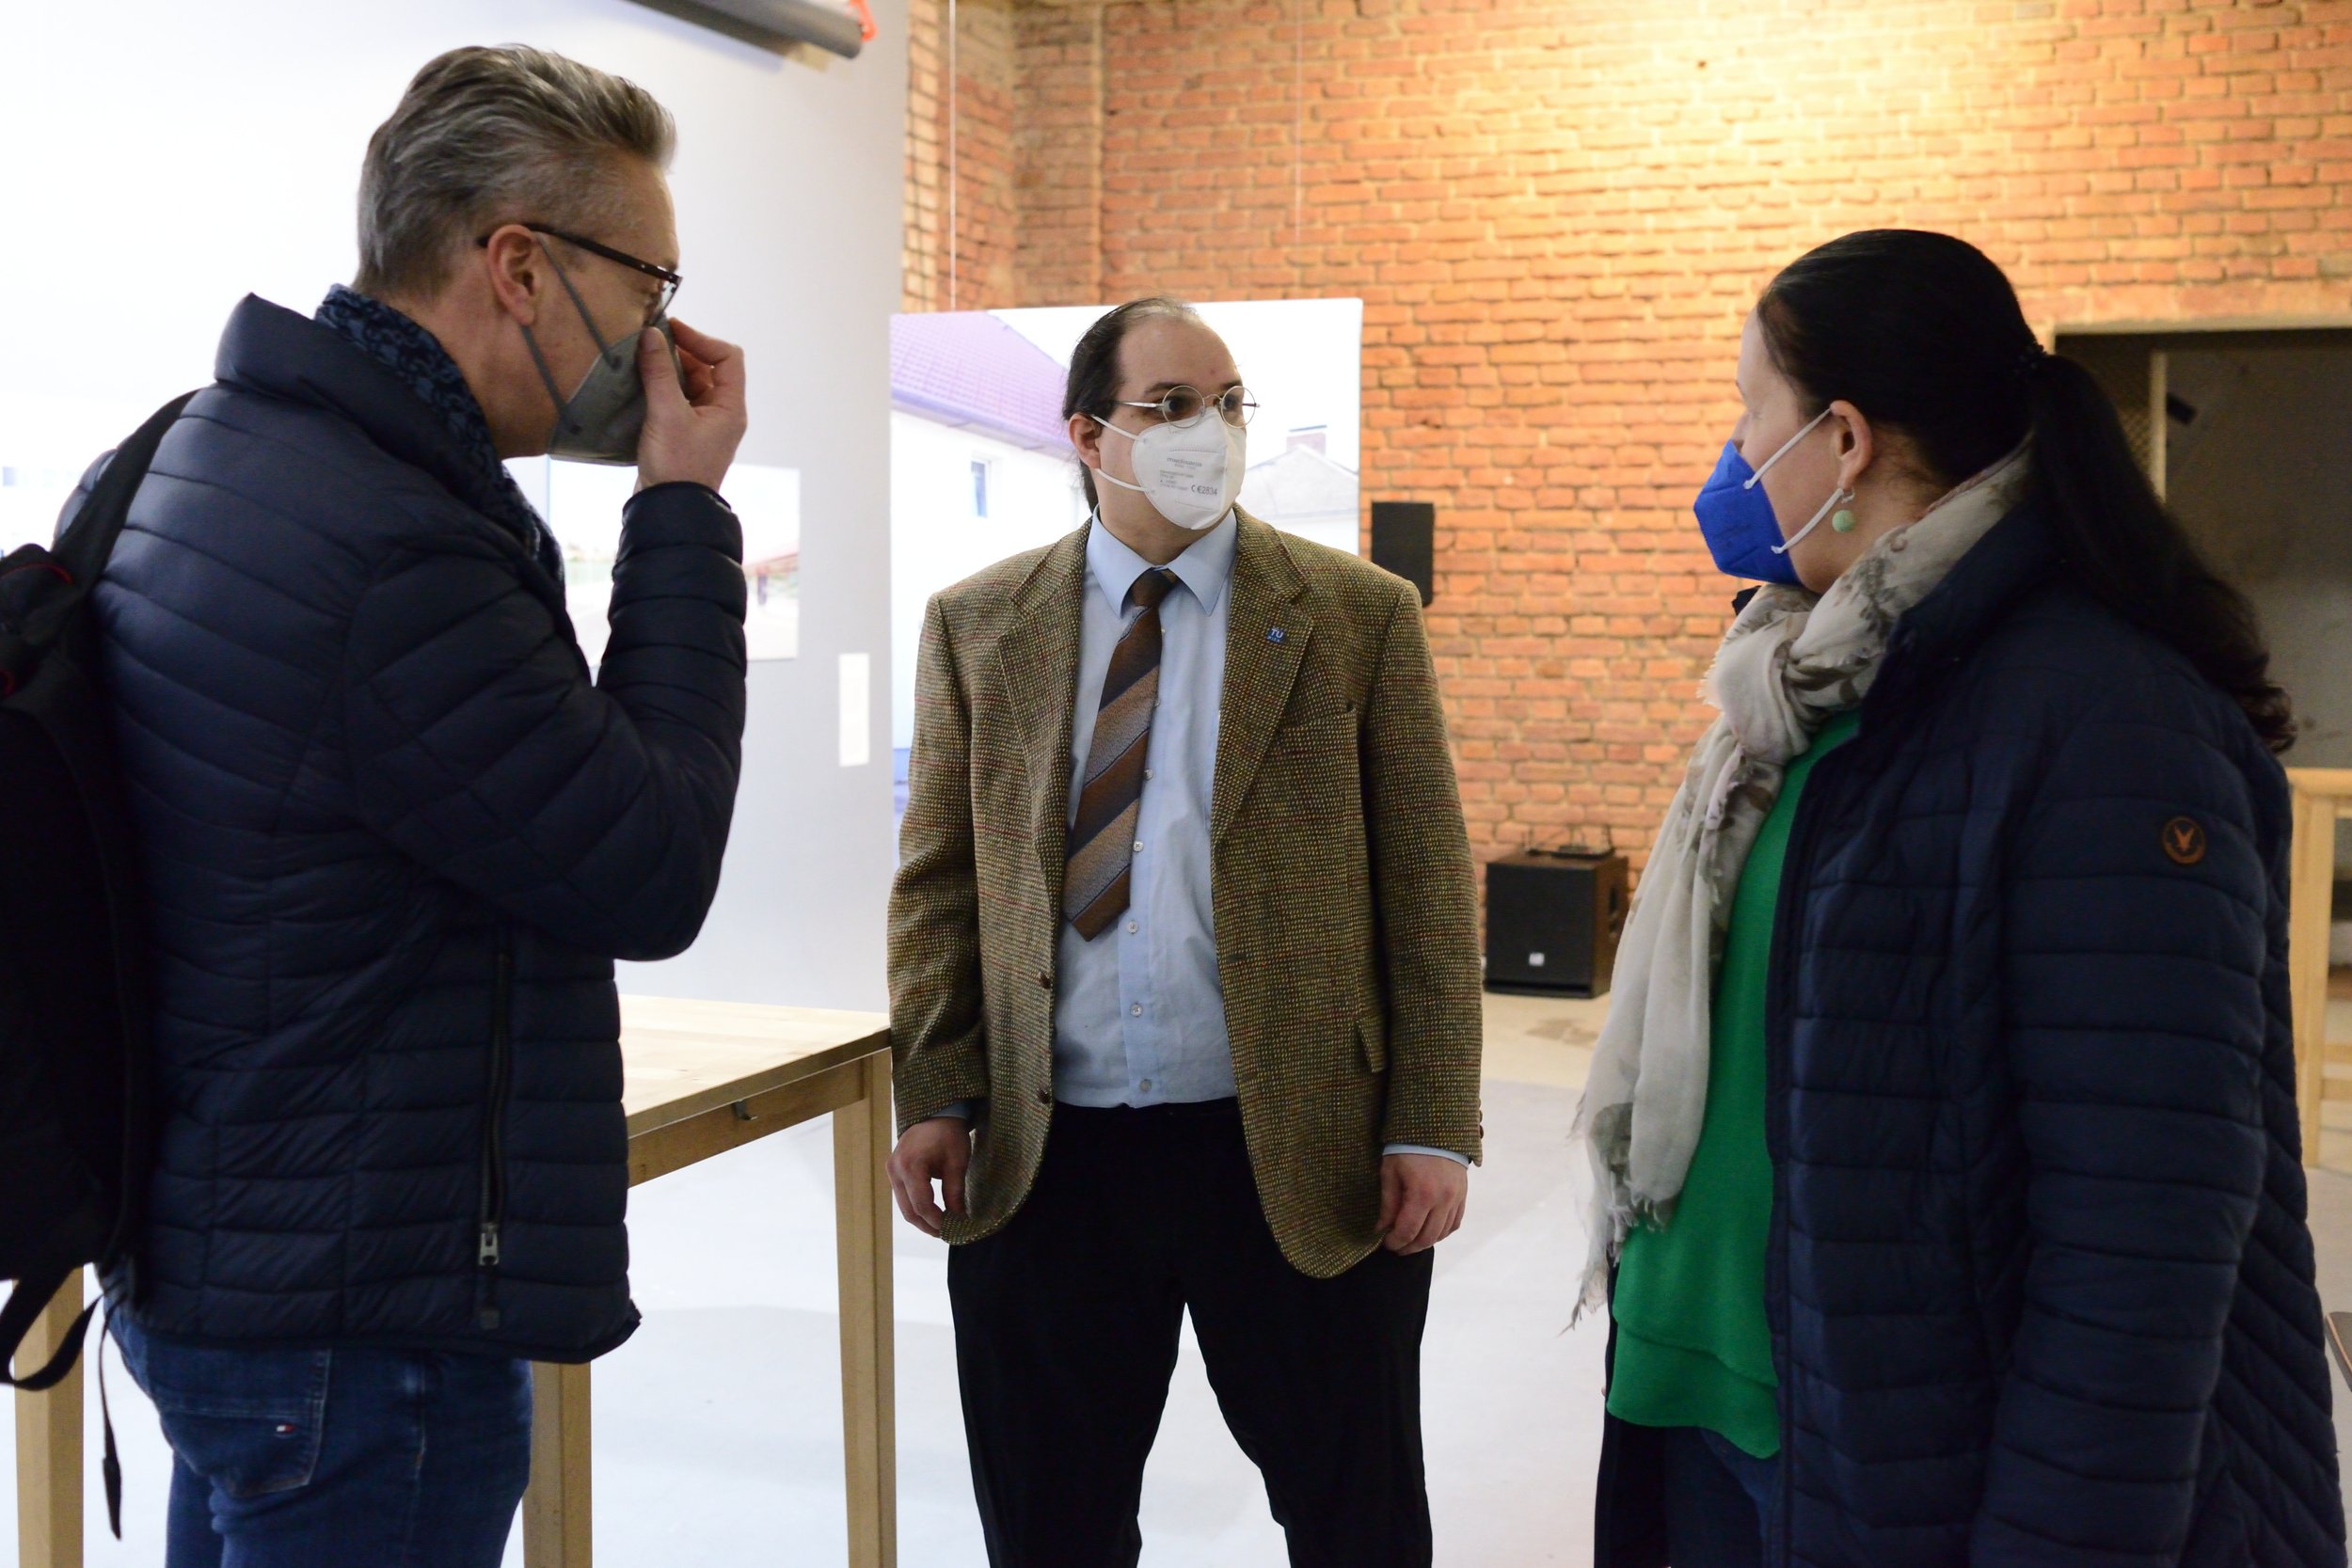
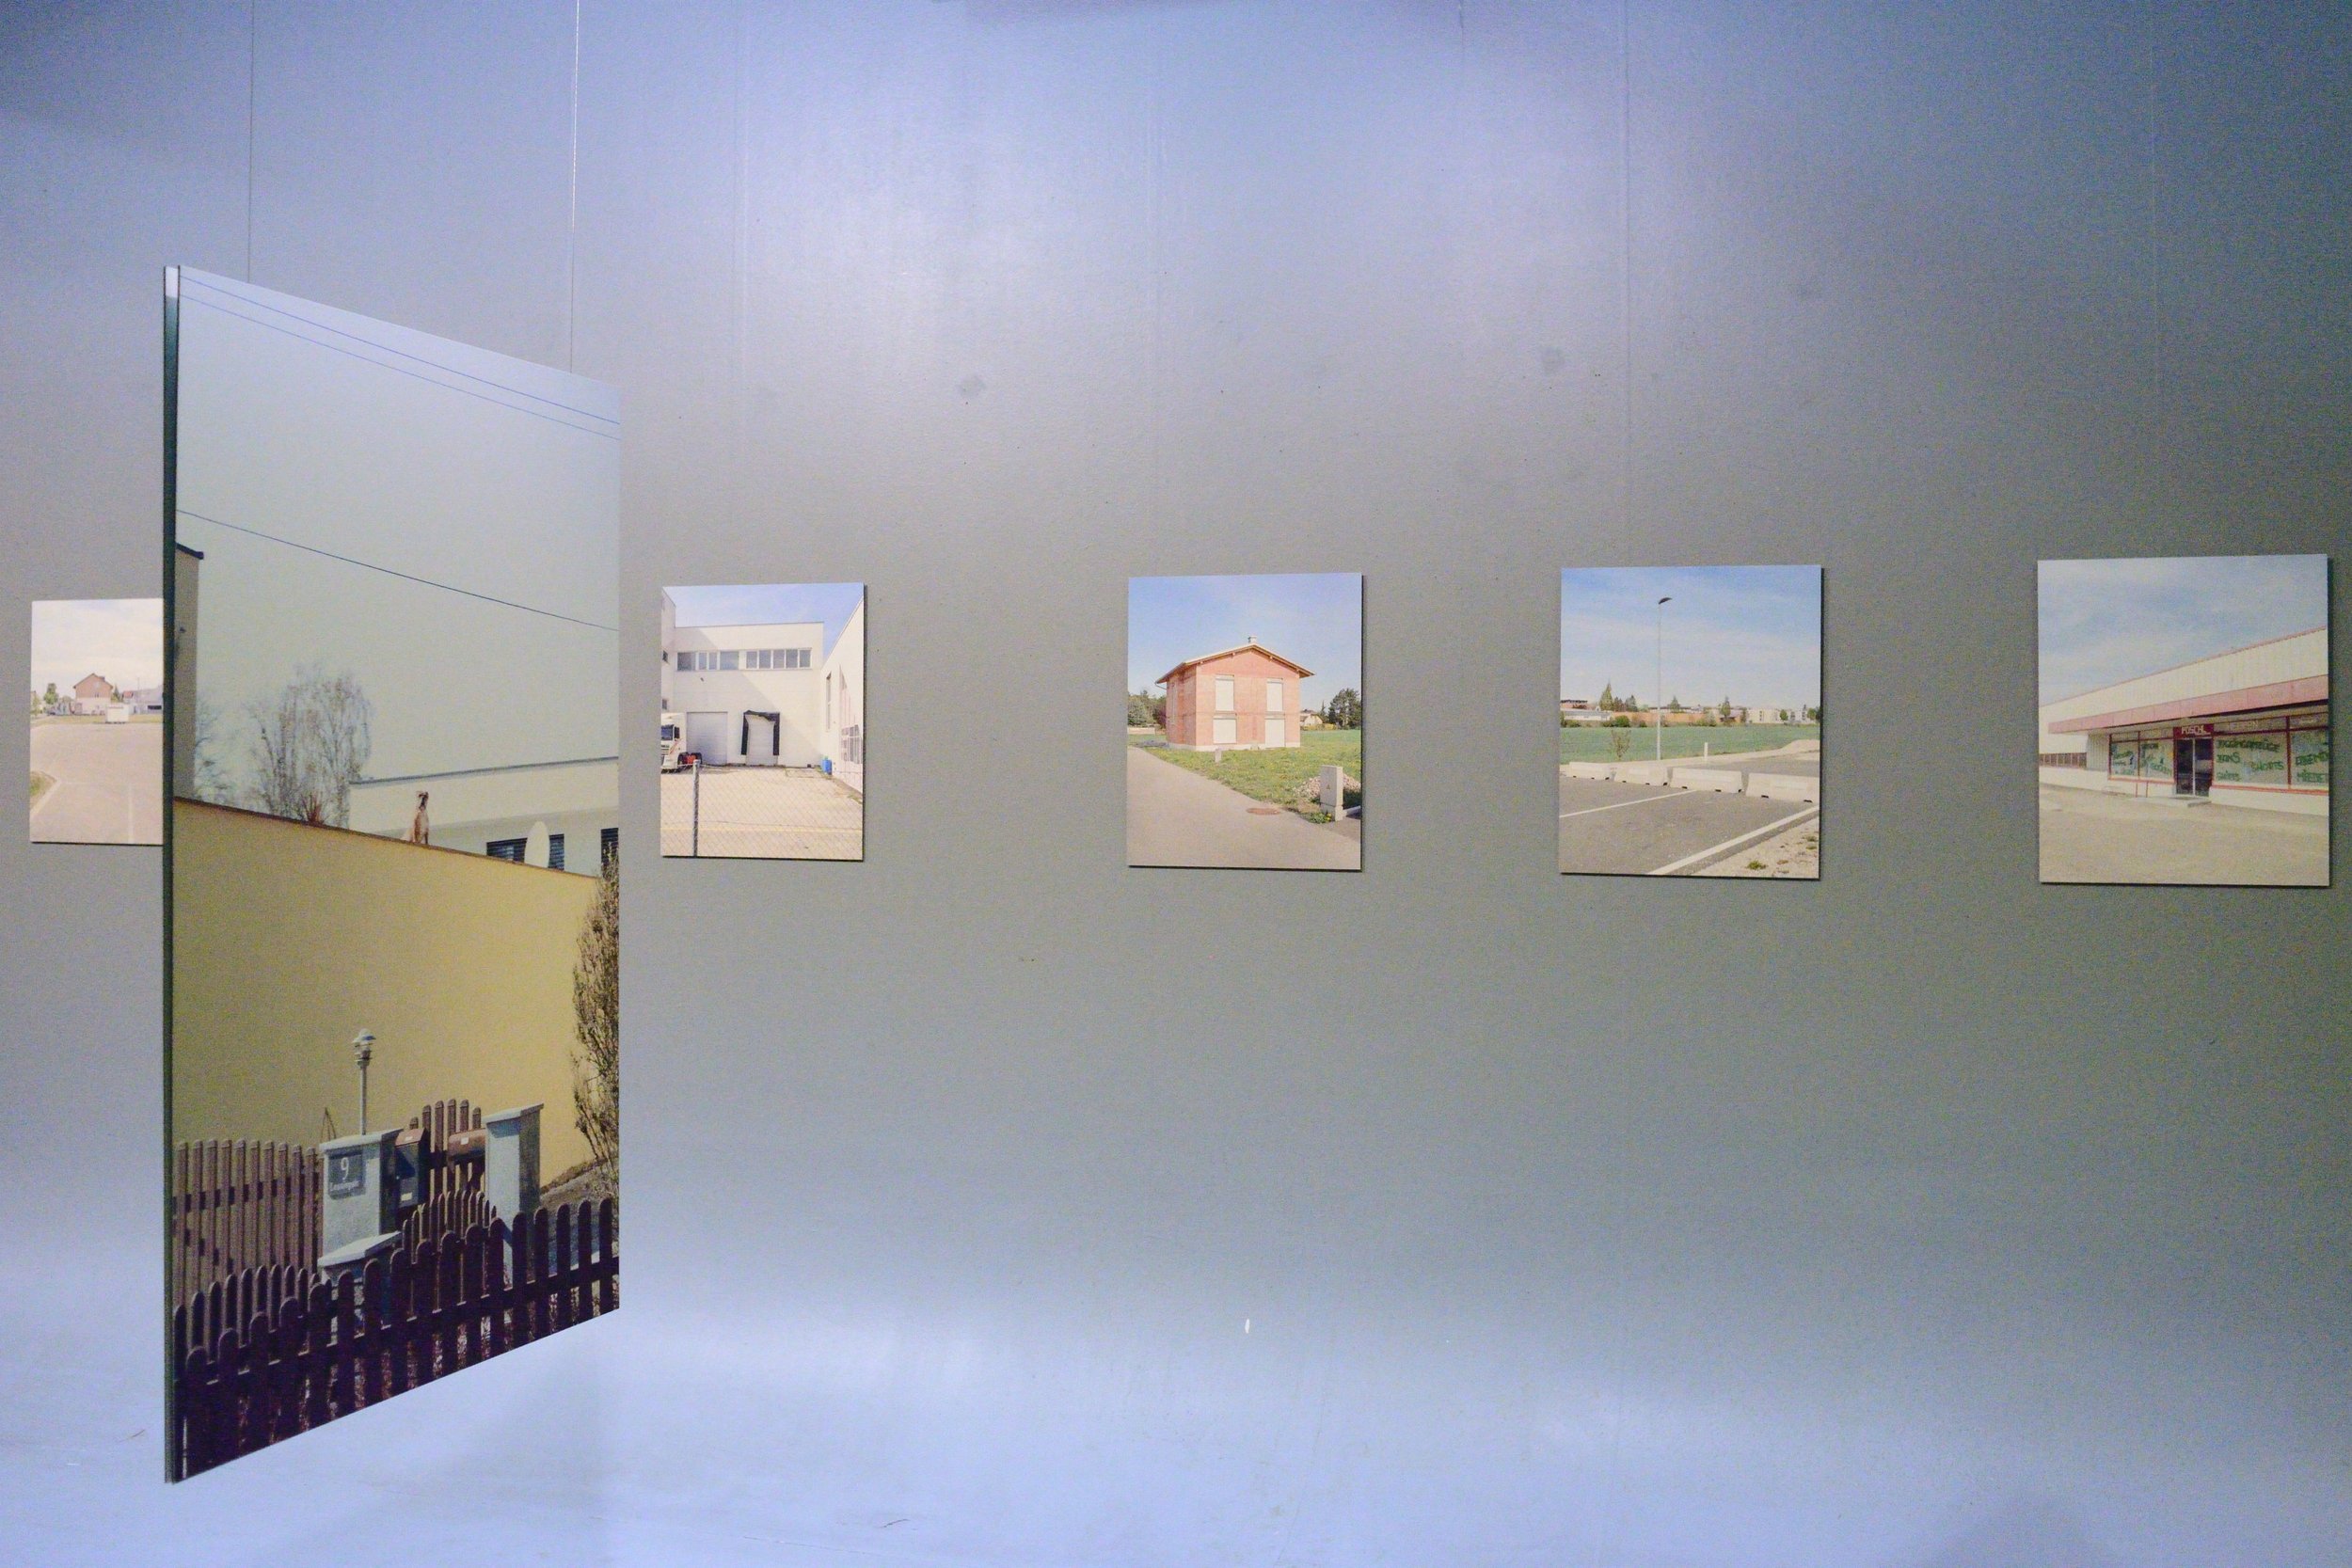
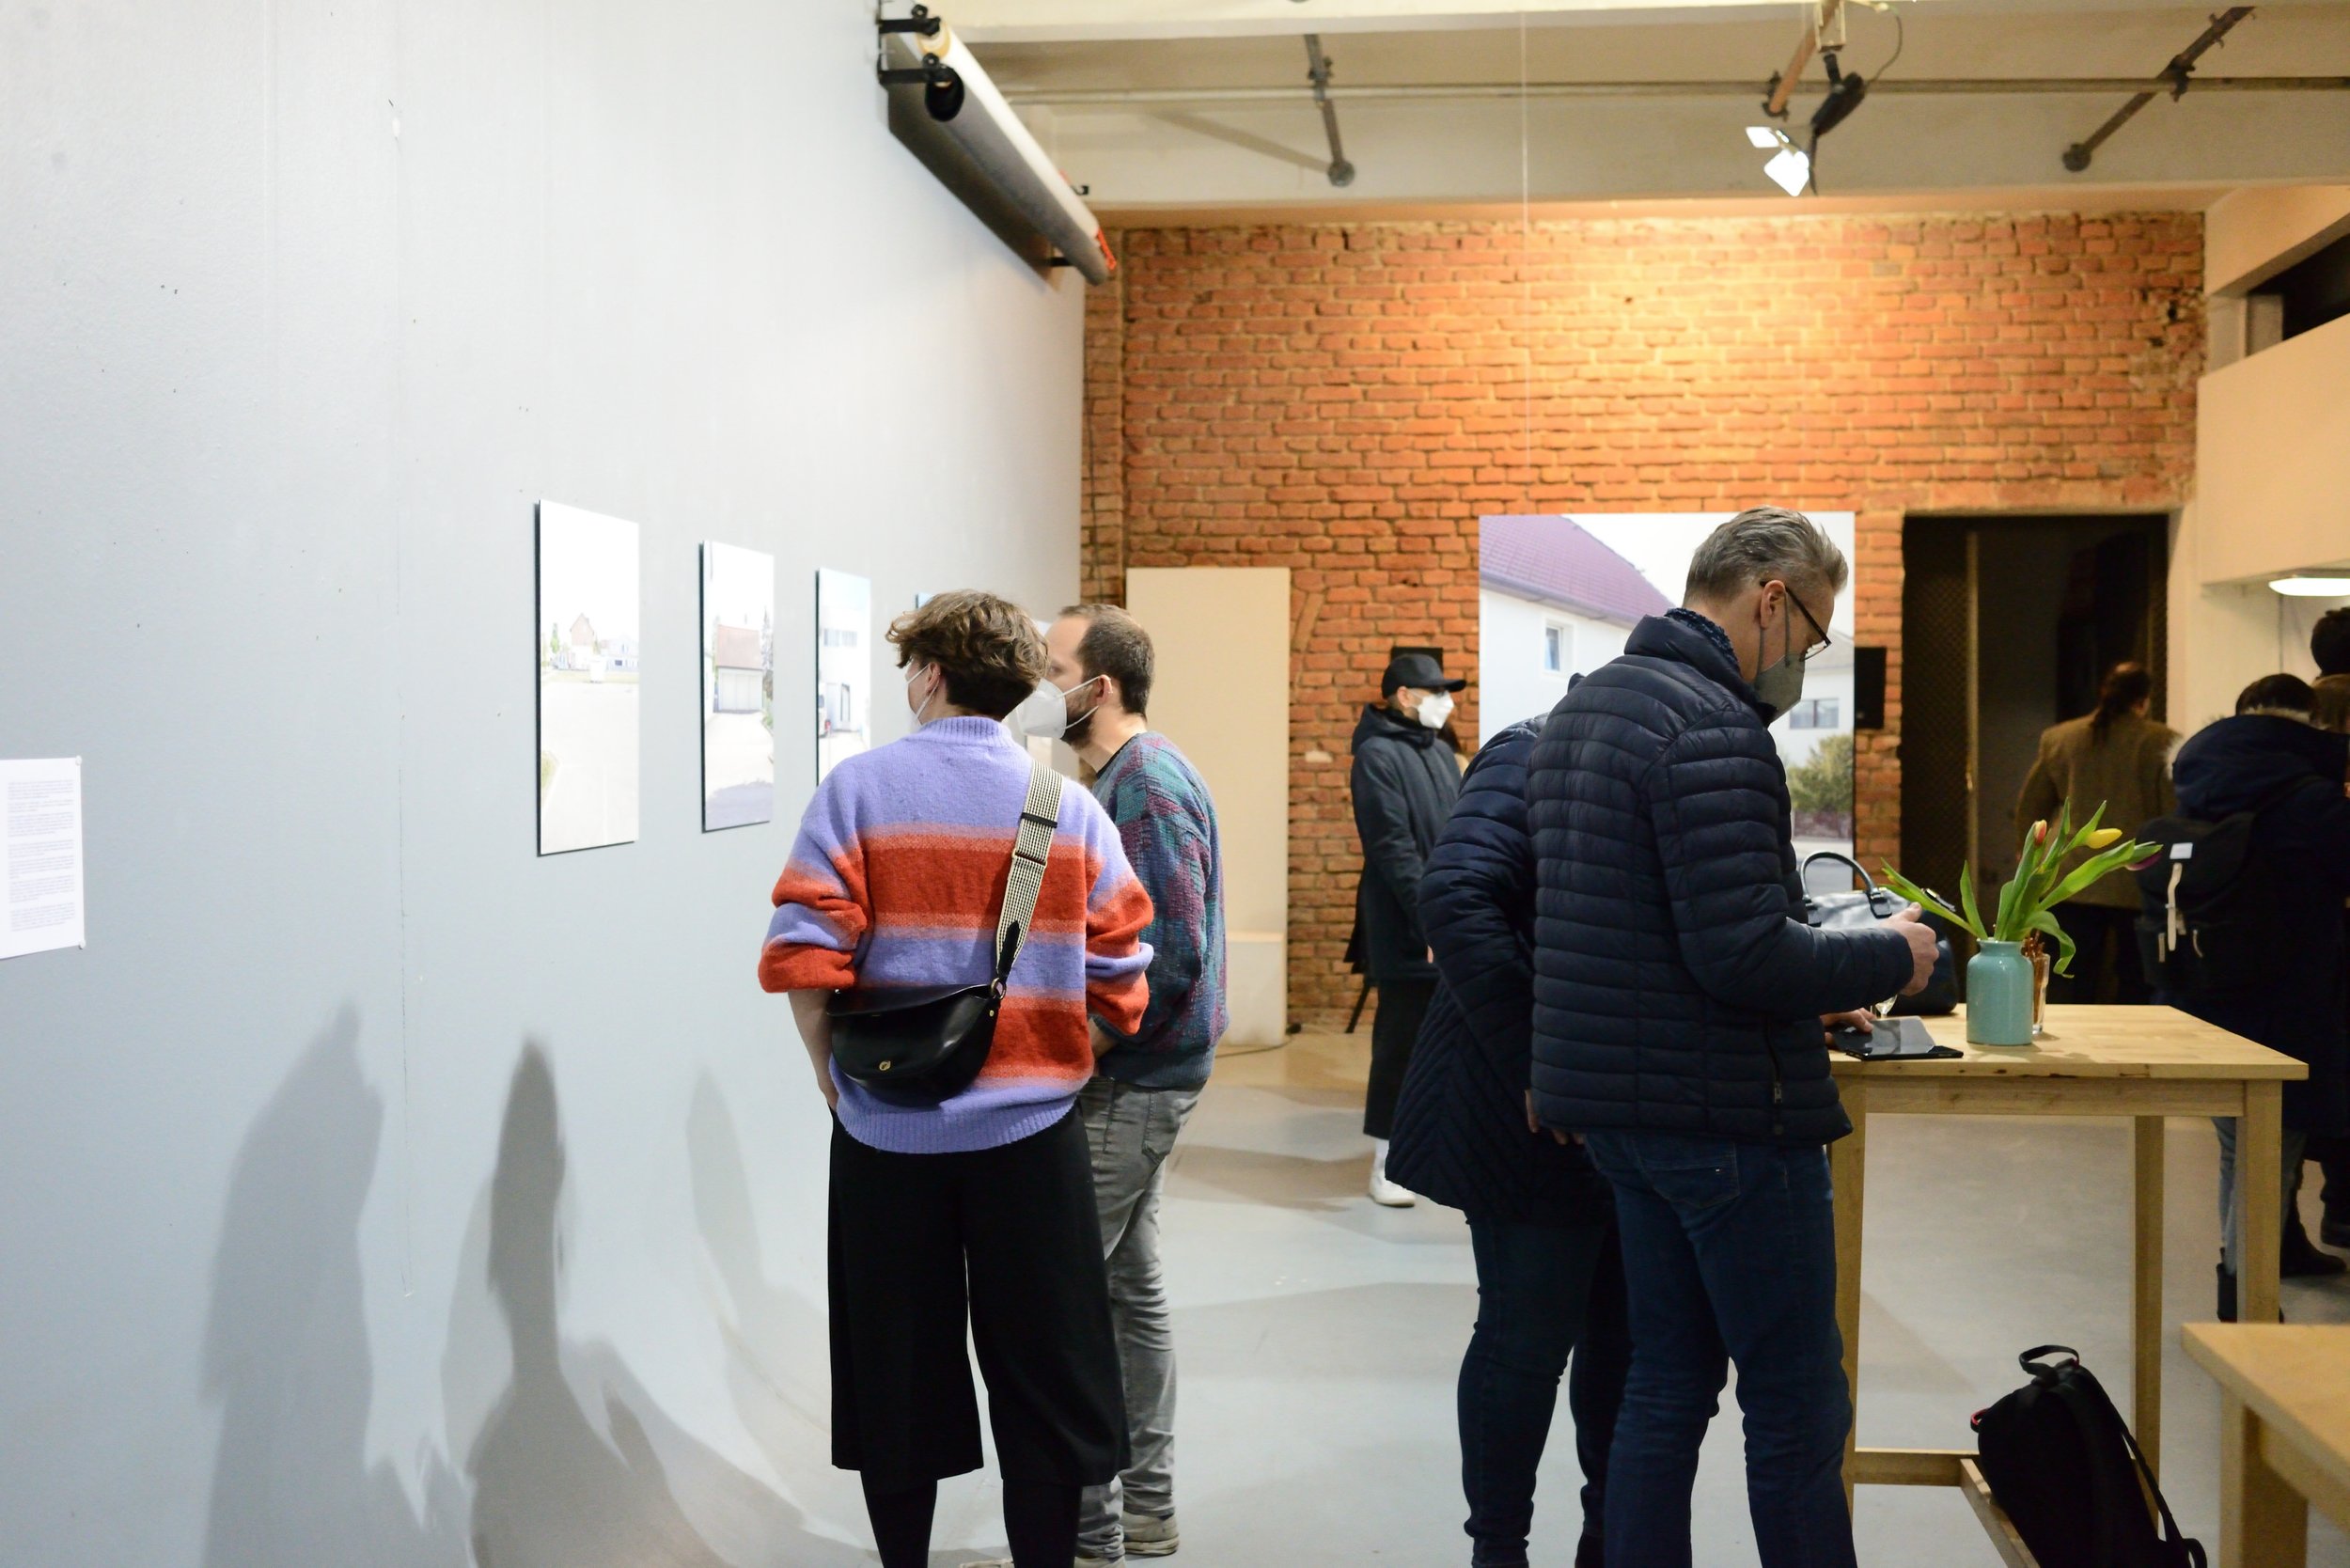
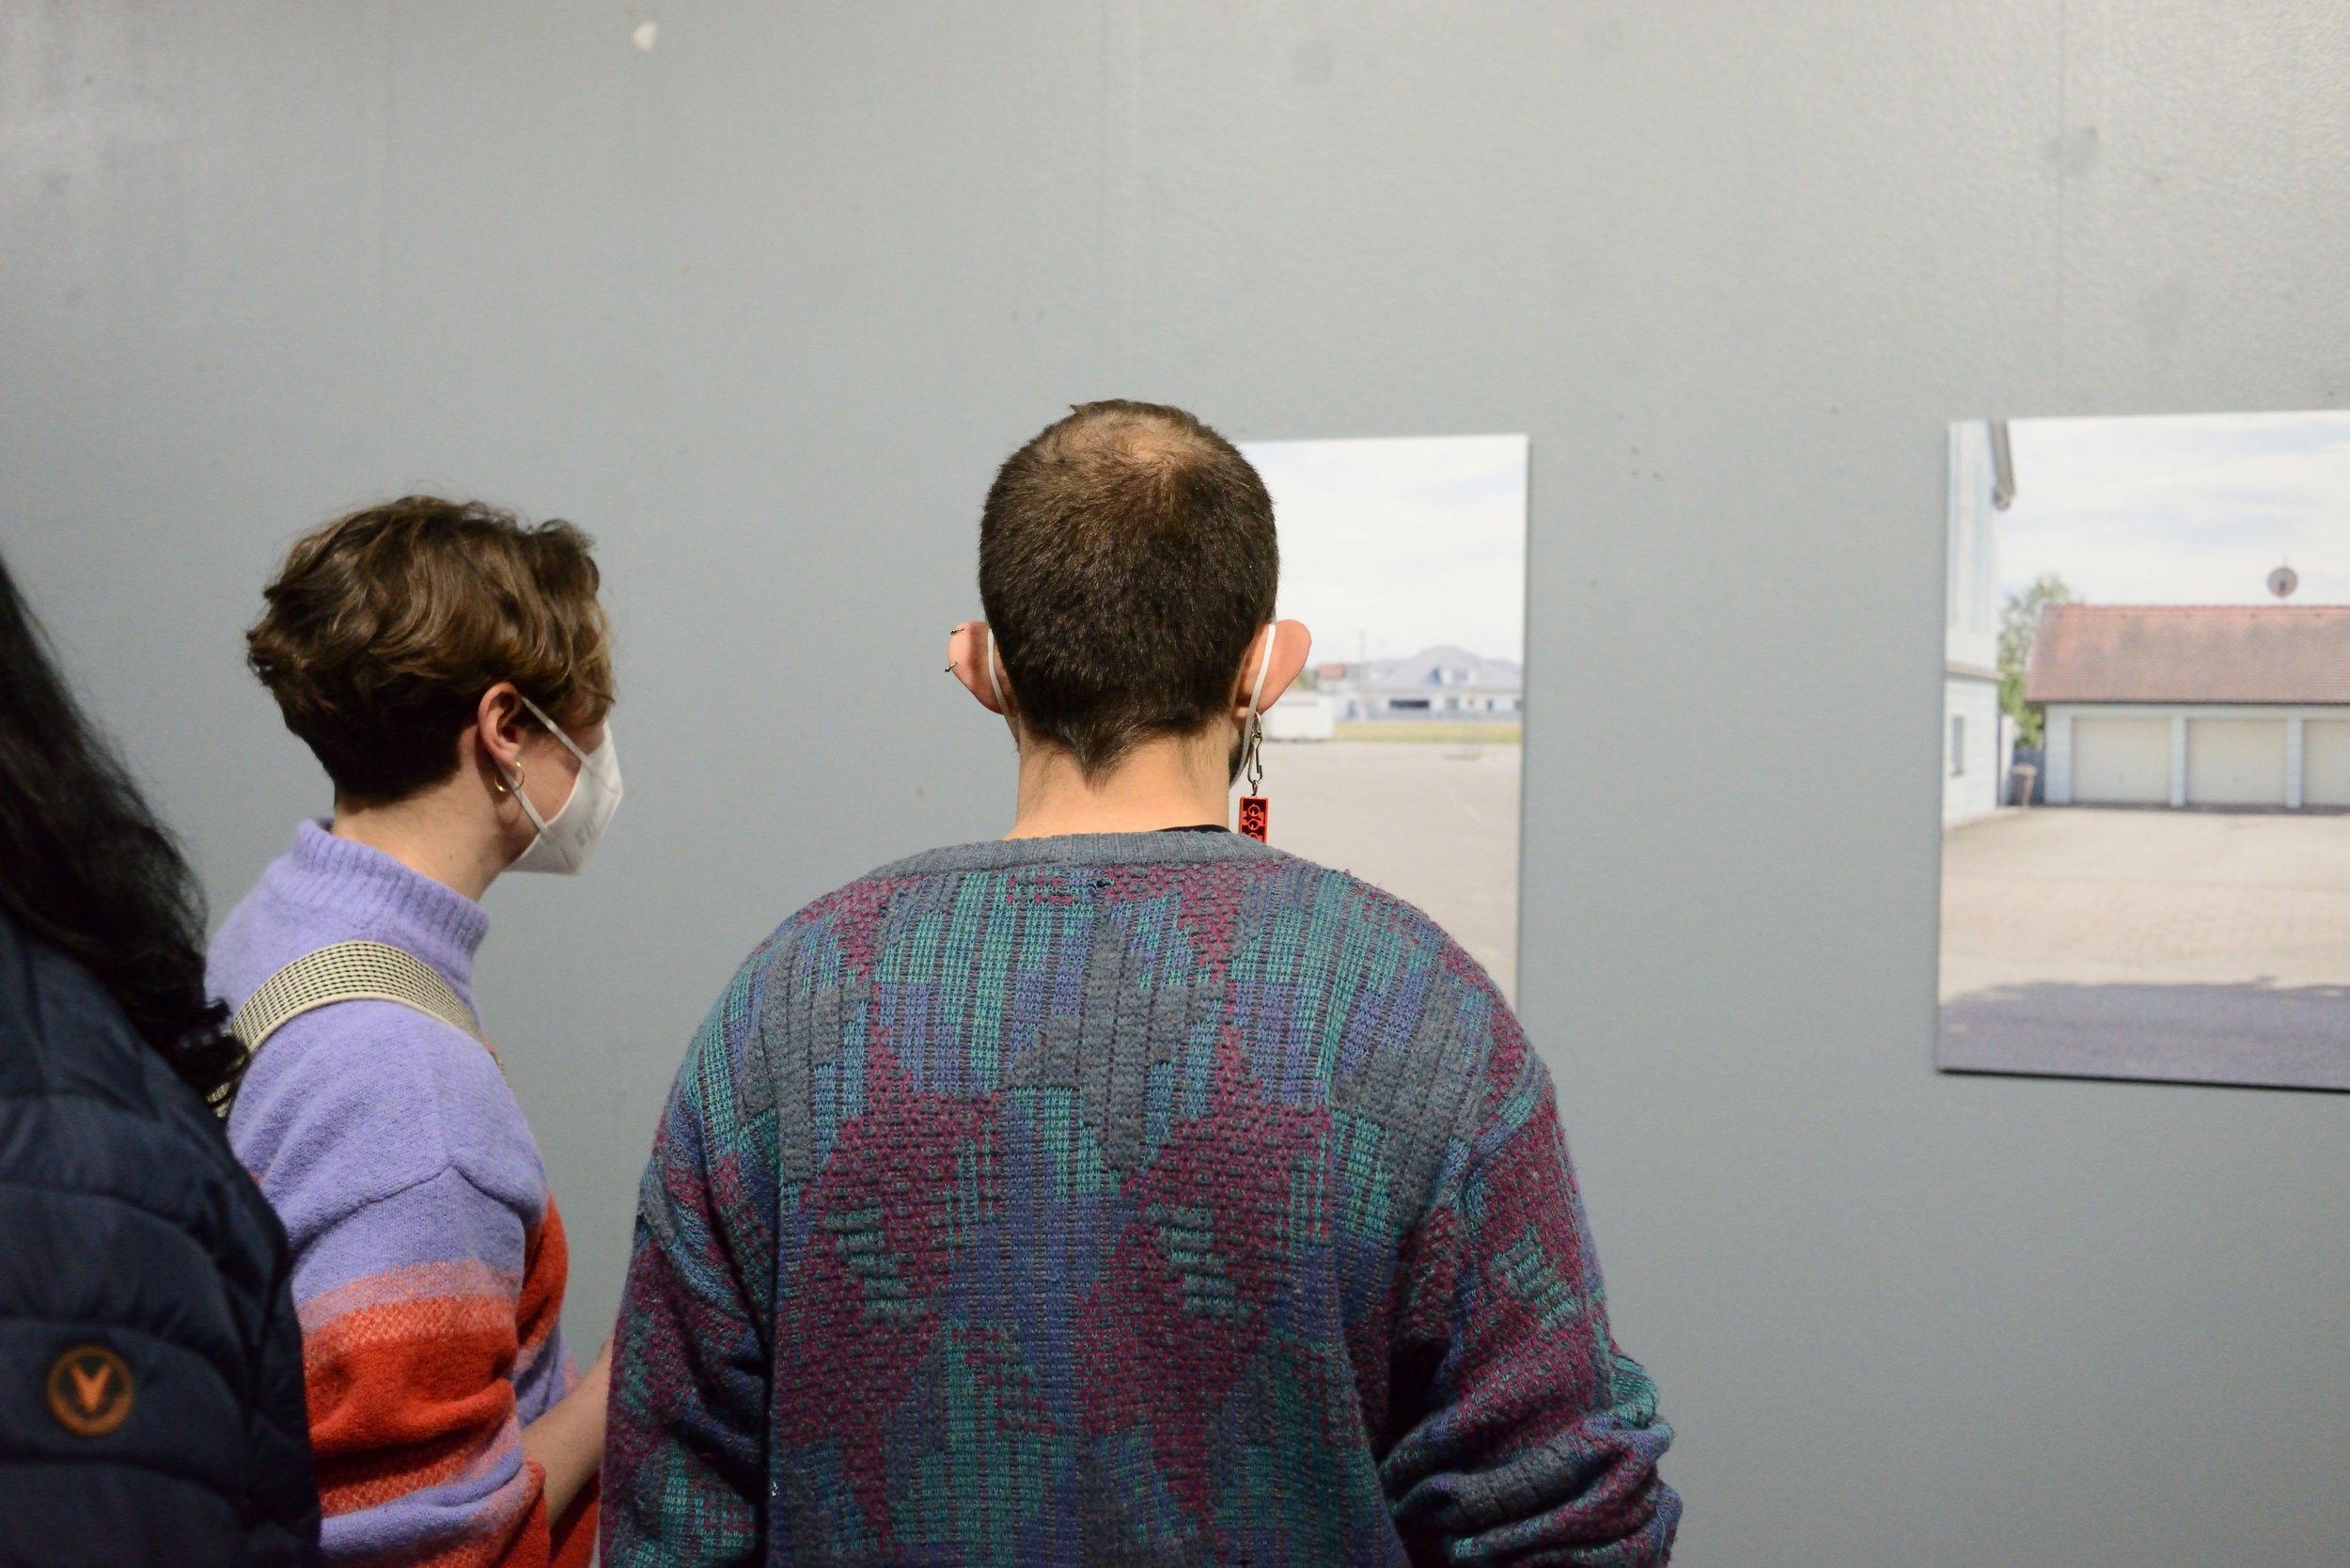
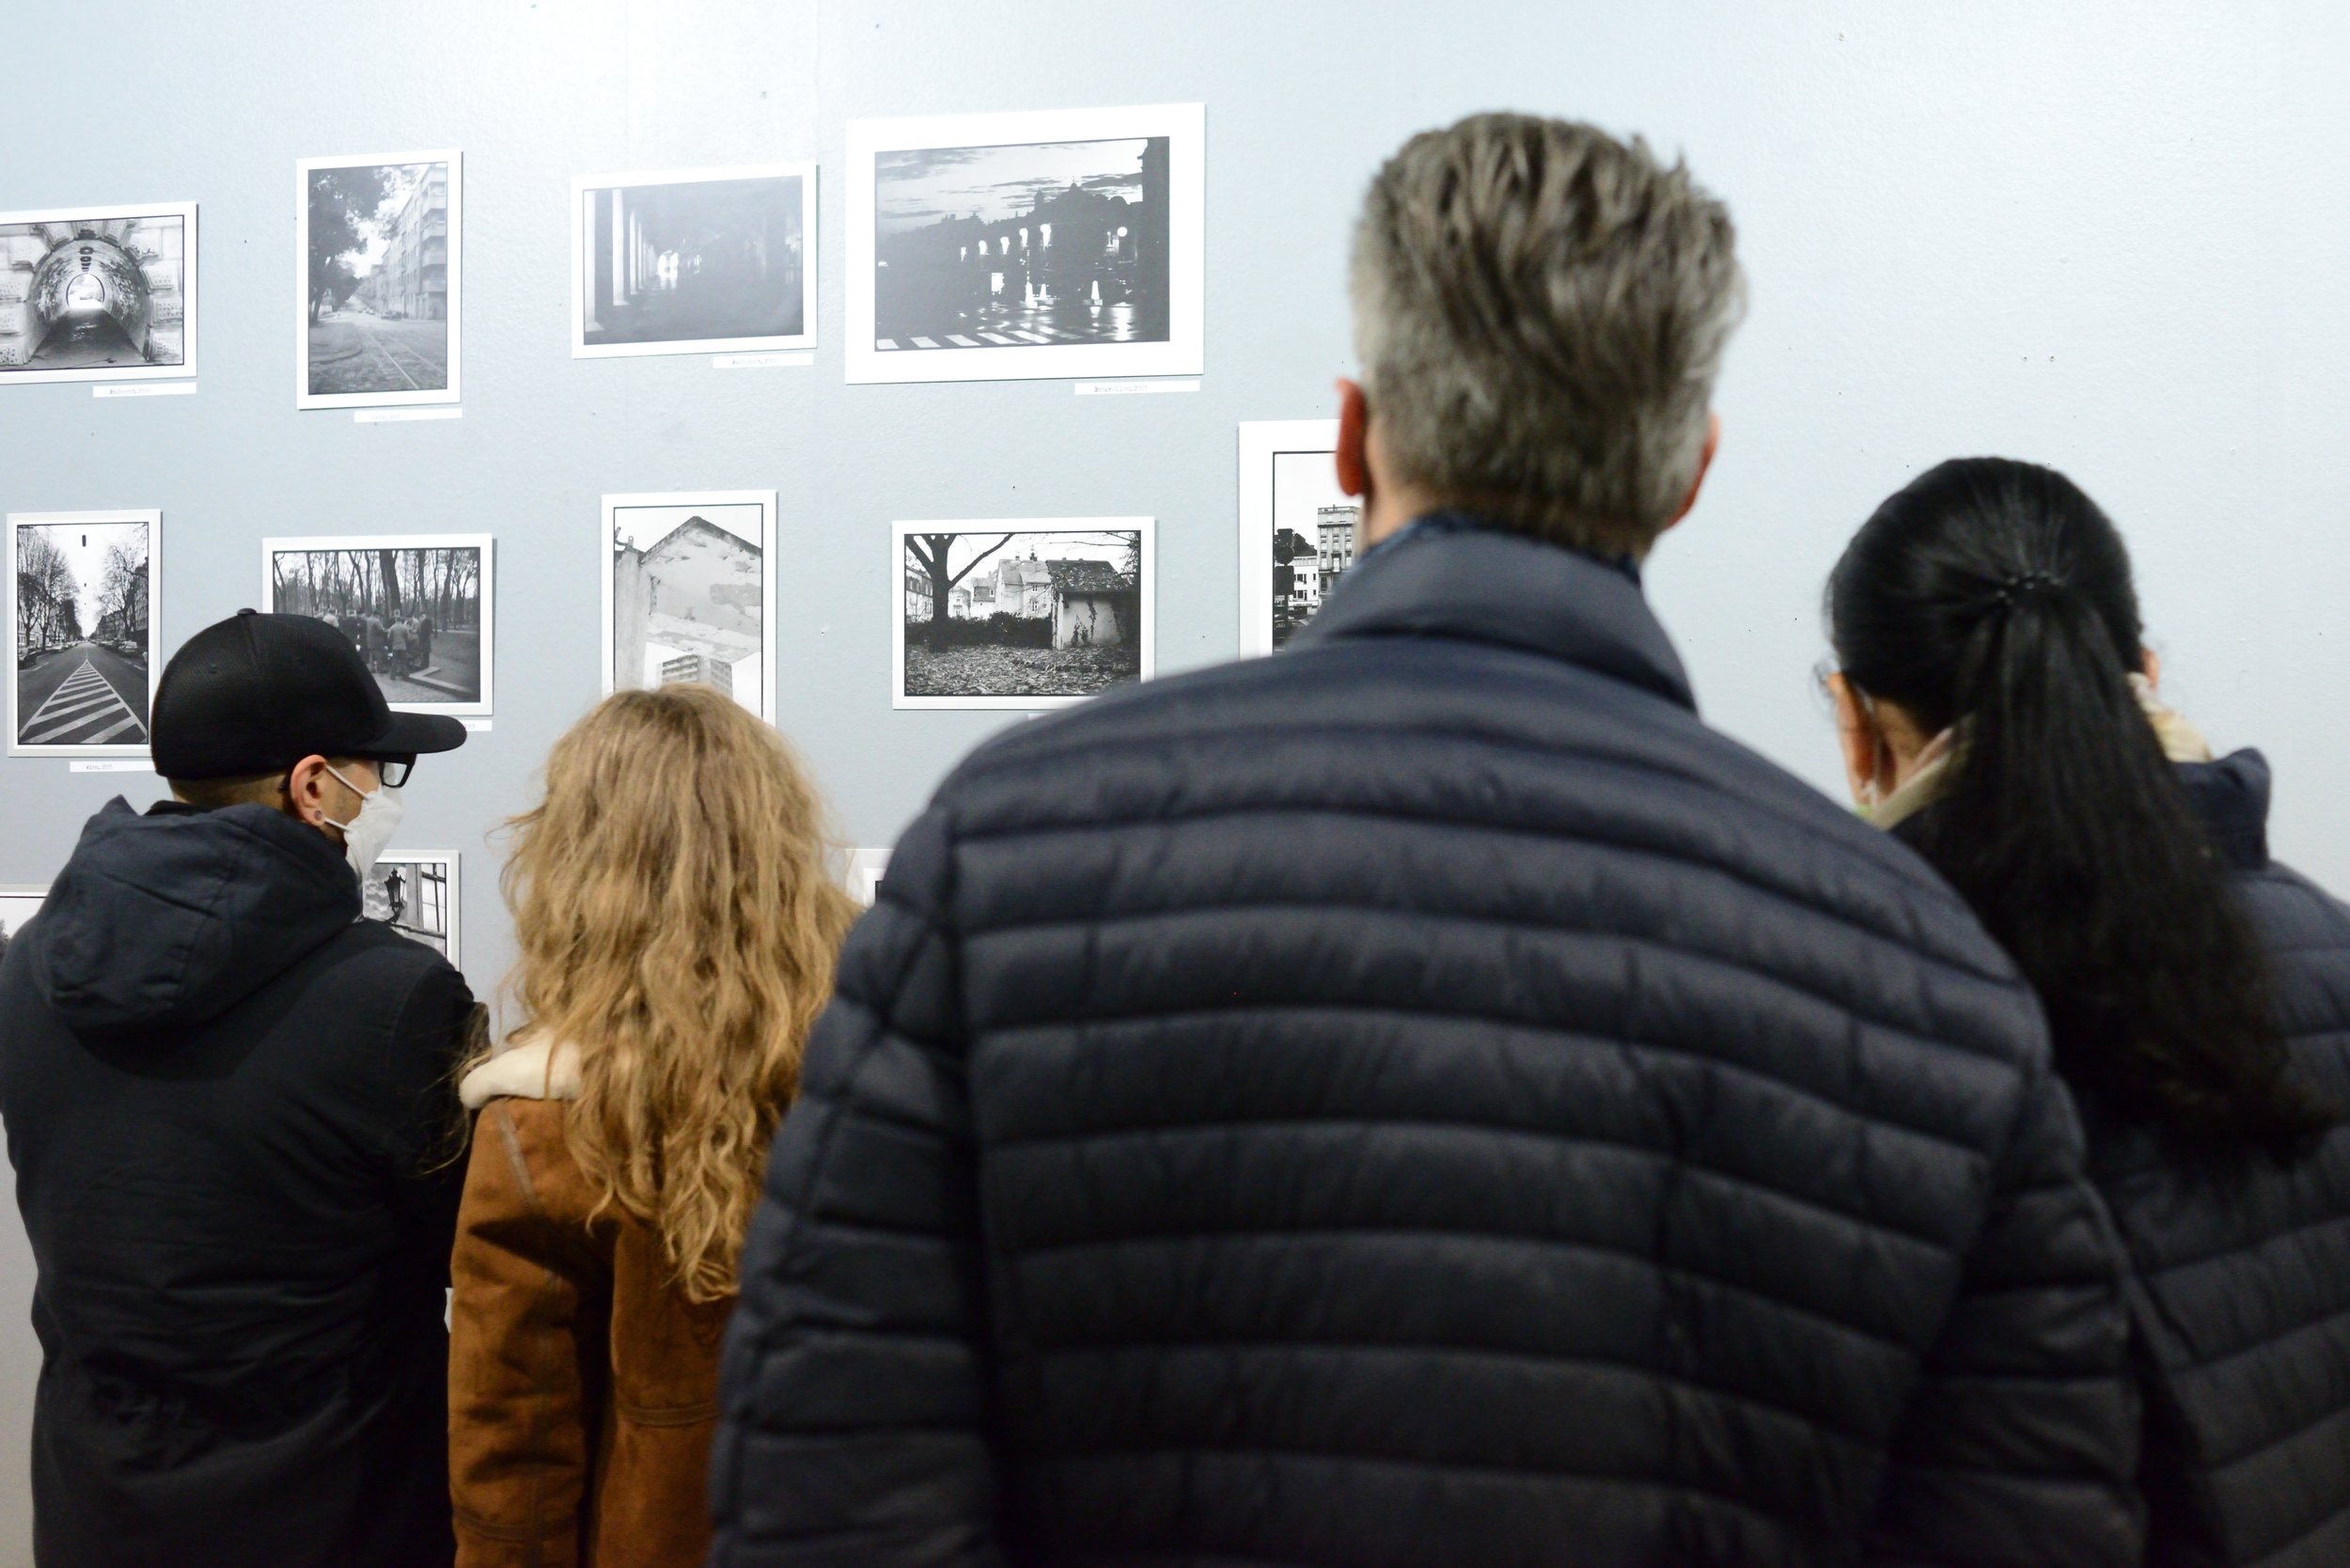
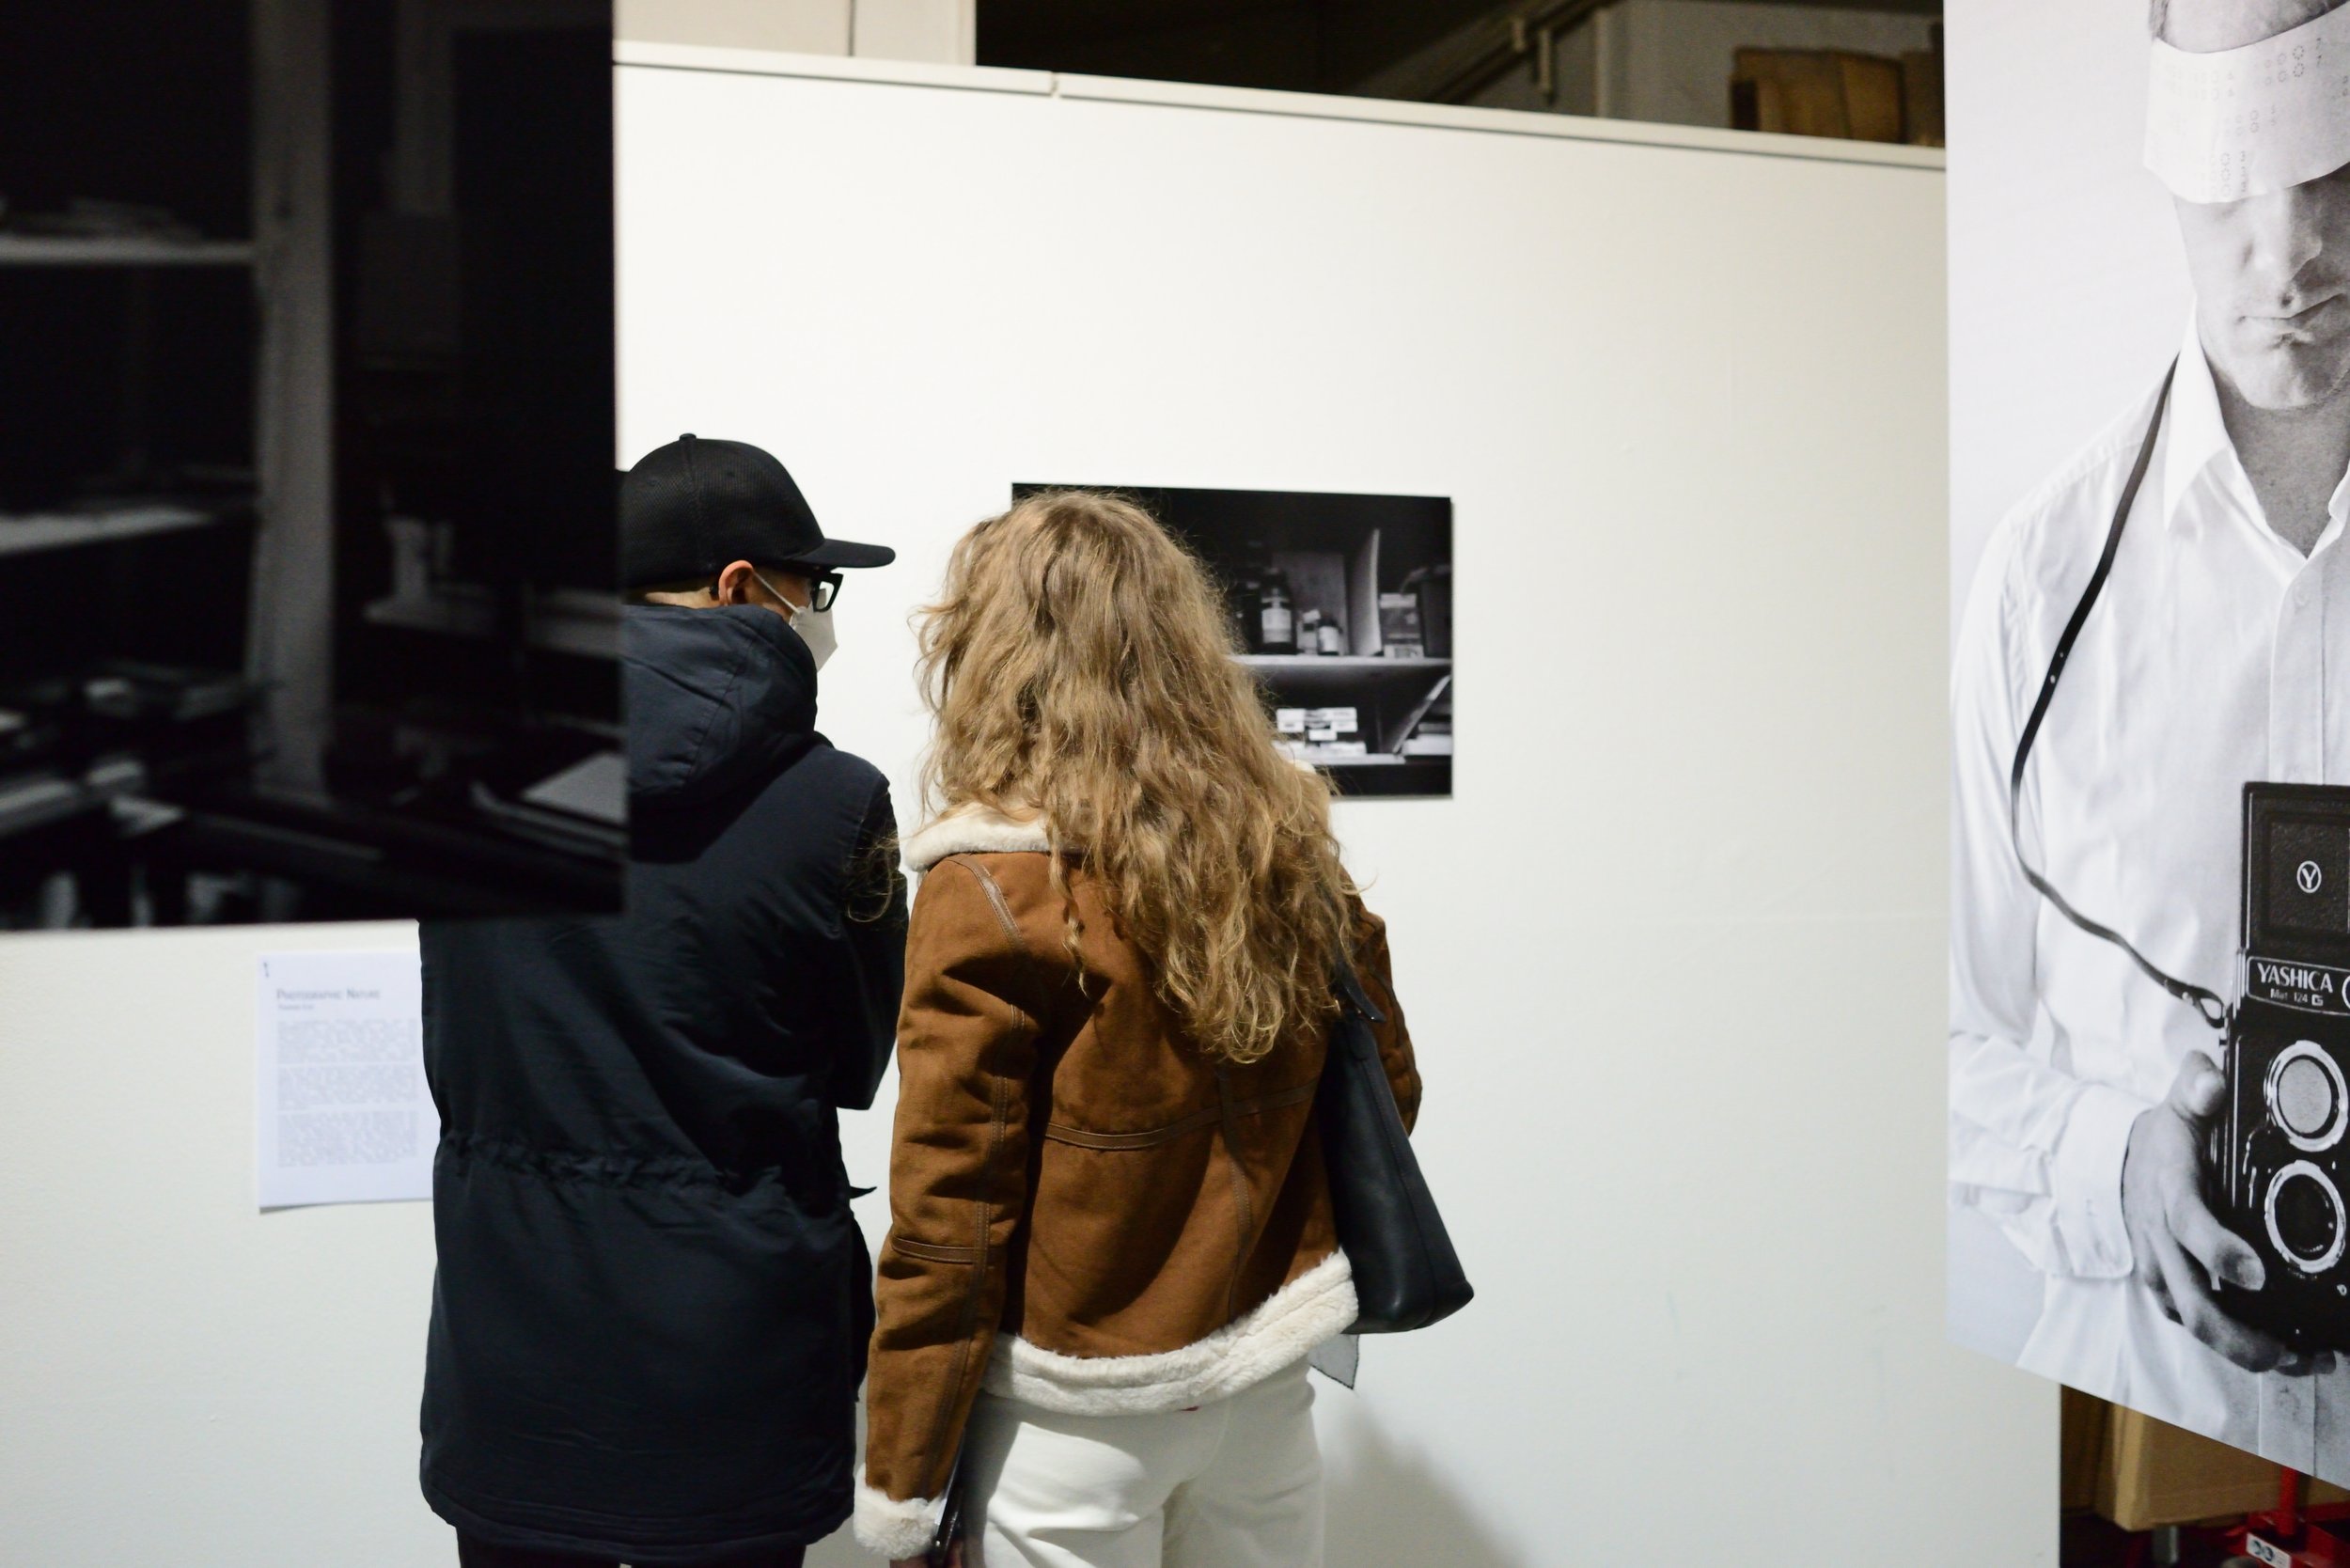
Yesterday’s exhibition opening at Lumina Wien was special in many ways: Not only did I have the honour to exhibit my series “photographic nature” but it was also the first bigger public art event after the recent COVID-openings.
I really enjoyed meeting so many art lovers and artists, it was such a delightful experience. The opening proved that art and photographs belong in the public, in printed form to have an impact.
Thanks to curator Julia Wannenmacher for putting this excellent show together and making it possible to show my works during one of the most important photo shows in Austria – Foto Wien.
The exhibition at the Lumina Gallery is still open until 27.03.2022 – drop by if you find the time!


Should You Buy a Pentax 645Z?
When I first tried the Pentax 645Z medium format camera during 2016s Photokina in Cologne, I was very pleasantly surprised by the handling and overall user experience.

Image Credit: Pentax Official Brochure
Now, many years later, the Pentax 645Z is heavily discounted and second hand bodies are available. I would argue that this is the best time to get into digital medium format with a Pentax 645Z.
Reason 1
If you are looking for affordable, auto-focus medium format lenses, the Pentax 645Z is the best camera to choose. Why? Because contrary to new mirrorless medium format systems, used AF lenses for the Pentax system are very inexpensive. The old designed-for-film AF lenses are very good and work flawlessly on the 645Z.
Reason 2
Despite its “age”, the Pentax 645Z is still one of the best medium format digital cameras on the market. If you are looking for outstanding image quality for landscape work, look no further.
If you are a fashion photographer, I would argue that you don’t really need medium format. However, it is nice to show up with a big, capable camera on set.
I myself am already very tempted by the 645Z and might pick one up in the next couple of months.

Film Strip Business Cards
For three years now, I’ve been using film strips as business cards – and today, the new batch arrived!
While more expensive than regular business cards, the quality and wow-effect make them worth it.
Check out my little YouTube review https://youtu.be/XnS-bsteYWc or order some for yourself under https://filmstripcreator.com/.

Learning From Others
I’ve conducted a one on one coaching for Bernd, a photographer from Salzburg this Saturday. By sheer coincidence, one of my favourite models, Eliska, was in town so it was a great opportunity to practice with her.
The less experience you have as a photographer, the more experience the people you work with should have. I can really recommend working with a professional model if you want to try something out or just improve your skills.
What I love about workshops is that not only the student can learn something, but also the teacher.

What I Learned
I am very talkative and hyped on set, which leaves me exhausted after a full day of shooting. Bernd, on the other hand, is more of a quiet type.
I can’t really change who I am on set and I don’t really want to, but it became very apparent to me that I am the kind of person who works best in high energy scenarios than in slower scenarios. And I burn a lot of energy. Like a lot.

Bernd and Eliska at work

Slide Film and the Test of Time
Also on YouTube!
A Valuable Archive
Recently, my father and examined his slide film collection shot around 40 years ago and stored under „regular” Continental European climate conditions.
We found out, that all the slides look like the day they were shot. Bright colours, vivid contrast and perfect sharpness.

Precious memories
On Storage Stability of Color Reversal Film
Unlike some rare exceptions among earlier transparency films, contemporary emulsions from Kodak and Fujifilm are extremely stable if processed properly.
The best conditions for preserving slide film is to store it in dry and cold climates.
But even if color reversal film is stored under normal conditions, you won’t see any apparent changes in appearance during your lifetime.
According to PhotoKlassik 2014, E-6 film will last at least for 200 years, thus exceeding the lifespan of C-41 films by at least 3 times.
Color reversal film remains the number 1 choice for the demanding photographer, who wants to offer clients a product that will outlive any digital storage medium or other analog color material. Precious images demand to be shot on slide film. This is exactly why I shoot all important color projects on slide film only.
International model Zu Zakova on Kodak E-100, shot in 2021

F3 Troubles
About a year ago, I bought two Nikon F3 bodies to use them with my Voigtlander lenses.
As a Nikon F6 shooter, the two F3s did not see any use until recently. I decided to bring them to a nude art shoot with on-location flash.
In order to mount the wireless flash trigger directly on the camera, the Nikon F3 needs an AS-4 flash adapter. While the accessory itself works flawlessly, it conceals the rewind knob of the F3.

Nikon F3 with the AS-4 over the rewind knob
So this is what happened: I was quite confident that the film was loaded properly but thanks to the AS-4 I failed to realize that the film was not advancing. Having arrived at frame 40 I felt like Kodak was extremely generous with the film material in the canister, only to find out that I did not load the film properly.
Yep, lesson learned. Always check twice before messing up.

Tear Down

The new year just started and I feel like I have to change things up a bit. Most importantly, I need your help to do that, because I kindly ask you for your opinion on these three topics.
On the business side of things, I want to sell more analog photography to my fashion clients, as I think that the overall look and workflow is very valuable in our digital lives.
On the creative side of things, I want to share images from different genres. Last year, I focused on fashion, beauty and nudes – and while these types of images will make up the bulk of what I do, I don’t want to restrict myself too much.
On the content side of things, I want share even more articles and videos than I did before. It will be a mix of gear reviews and articles related to analog photography.
What do you think?

Holiday Season
Holiday season is many things. It is a stressful time of the year as we try to get presents for everyone, get our dinner preparations done and evaluate how our last year was.
While the first two things were tedious due to the COVID situation in Austria, evaluating the last year was actually very positive.

Santa might be exhausted, but I will double my photographic efforts!
Thanks!
Besides positive developments in my photographic business, I was also able to reach more people via Social Media and through my website. If you are reading this, you are one of those persons, and I would like to thank you for your valuable time.
Let us journey into a new year and stay in touch. We as creatives have to connect and provide value to each other to be inspired for 2022!
Happy holidays to all of you!
.Thomas

What You Really Need
Holiday season is around the corner and it is time for presents. It is during this time that we as photographers often gift ourselves with one or two new items.
But how about you try gifting yourself minimalism by buying an analog camera kit?
It sounds like a contradiction, but hear me out: I propose getting a kit consisting of one SLR, two lenses and a flash. Then shoot with this kit exclusively for two months. Do not touch any other piece of gear.

Perfect minimalist training kit: Minolta X-700, 50mm, 28mm and a 132PX flash
After those two months, I’m sure you will sell most of your camera gear. Because you will have realized that you can take great photographs without owning lots of stuff.

ON1 NoNoise AI
About Noise Removal
In general, I don’t use any noise reduction at all. My D800 produces very organic looking noise that contributes to the overall look of the image. Also, there is still the possibility to use a flash, which is, in my humble opinion, the best thing to do if there is not enough light or bad quality of light.
A Game Changer for Old Cameras
Having recently upgraded my RAW-converter ON1 Photo Raw to version 2022, I noticed the new NoNoise AI functionality. It is indeed a very powerful noise removal tool based on deep learning algorithms.
As I mentioned above, I usually don’t apply any image noise removal. However, there is one beloved camera in my arsenal which struggles with noise starting at ISO 400: The venerable 12mpx Nikon D2x from 2004.
For fun, I tried ON1 NoNoise AI on some photographs taken with the D2x and I was completely blown away. The algorithm breaths new life into this 17 year old pro DSLR.
ON1 NoNoise AI Before/After (Nikon D2x at ISO 800)
So if you are using an old camera, this new ON1 2022 feature might be the one software feature you’ve been looking for.
The final image after some color grading.

The Leica Phenomenon
Photographic Minimalism
What is the Leica M? It might be the all-you-need camera. It might be the only camera you will ever need in your life.
It is definitely a statement: Condensed photographic minimalism.
School of Hard Knocks

My Leica M4-P with the amazing Voigtlander Ultron 35mm f/2 ASPH
With my Leica M, I can focus on the artistic vision. There is neither the need nor the possibility of chasing the latest and greatest equipment-wise.
With Leica M, I can’t rely on visual gimmickry like “ultra shallow depth of field portraits” – it is just not practical with a rangefinder.
With a Leica M, I can’t change a thousand settings or turn a thousand knobs to keep myself occupied.
With a Leica M, there are no excuses not to come up with a convincing concept.

Always Use a Rubber (Eyecup)
Always Have One on You
Photography means often getting yourself in an unexpected situation. But there is one underappreciated accessory that can make your life a lot easier.

Always on - the Nikon DK-19
It is a small rubber accessory – the Nikon DK-19 Rubber Eyecup.
But why do I like it so much?
Folded down, it provides a larger surface area to put your eye against.
Folded up, it effectively prevents any stray light to get into the viewfinder or your eye. In some situations, that can really make a huge difference.
It is inexpensive and well made.
It is sustainable, as you can remove it and mount it on your new Nikon camera in case you decide to upgrade your camera.
How to Put It On?
It is actually pretty easy, just close the eyepiece shutter and unscrew the ring, get the small metal ring out and put the new rubber eyecup over it. Make sure it fits nice and tight, you don’t want to loose it in the heat of the battle.

Mounting a new Nikon DK-19 on my Nikon D800. Don’t throw away the old eyepiece cover.
If you think you’ve got everything for your camera, think again and get this accessory. Verdict: Money well spent.

Is the Nikon D800 a New Classic?
What Constitutes a Classic Digital Camera?
A classic is something that exemplifies its class.
In film camera history, often those cameras which offered extraordinarily satisfying user experience coupled with versatility and longevity (e.g. Leica M6, Nikon F3, Olympus OM-1, Hasselblad 500CM) became classics.
In the digital camera world, not many classics exist. Ageing digital sensors and a community of photographers which is striving for the latest and greatest hamper the popularity of older digital camera models.
A New Digital F-Mount Classic?
When it comes to digital F-mount cameras, the Nikon D700 is often considered a milestone. Its reputation today is so good, that the used market prices for the Nikon D700 went up constantly over the last two years.

Timeless design - high-end performance: The Nikon D800.
When I purchased the D700 in 2019 (which I sold with a profit 2 years later), it was able to get 80% of all my professional assignments done. Nonetheless, I had to look for an F-mount camera that could get the last 20%: High resolution and video.
With its legendary 36mpx sensor, the D800 is a very versatile camera, even in 2021: It outperforms the D700 in low light while delivering an amazing amount of detail at lower ISO sensitivity.
Although often overlooked, the video performance of the D800 is very decent as well. The FullHD output is perfectly adequate IMHO, and as I mostly focus manually for video, the lack of high-end video AF does not matter to me.
Recommendation
I could go on and on about the many qualities of the D800, but let me sum it up: It is in many ways just a more modern D700.
And here is the insider tip: The prices for this camera are incredibly low. It can be had for around 600 Euro, which is very inexpensive for such a capable camera. Get it before its price goes up. Its only a matter of time, believe me.

Mirrorless, DSLR or Film - An Inconvenient Truth
About Climate (Change)
Al Gore knew in 2006 that summers will get hotter and longer every year, and now in 2021 I can attest that.
But what does it mean for us professional photographers? It means that our gear is consistently subjected to higher temperatures, especially during wedding season.
An Inconvenient Truth?
Image noise is not only a result of high ISO settings, but also stems from electronic components getting hot.

Nikon Z7 II, D800 and F6
In most scenarios, the impact of this heat buildup is negligible. However, a few years ago when I was shooting a wedding on an incredibly hot summer day with my Olympus OM-D mirrorless setup, I was in for a surprise when I later edited the photos. The ISO 100-shot-in-daylight images looked like the ISO 800 photographs I took later during the night.
Although there were never any Canon R-level overheating issues with the OM-Ds, the effect was quite noticeable on several occasions, especially when the camera was switched on for a long period of time.
Yes, that is an inherent issue with mirrorless cameras. The live view requires continues sensor readout and when the weather is hot, well then it will become too hot at some point.
Some manufacturers highlight that by advertising the heat management capabilities of certain models (e.g. Nikon Z9, Olympus OM-D E-M1X).
Among other reasons, this was why I made the switch to Nikon DSLRs two years ago, although I’ve been shooting mirrorless for almost all of my career.
Closing thoughts
I love DSLRs for many reasons, and I would recommend having at least one DSLR body for really long shoots or summer days.
If you are a mirrorless only person, bring a spare mirrorless body for critical work and switch from time to time.
Oh and by the way, you know which camera is unaffected by heat: A film camera.

ON1 2022 - First Impressions
Three years ago, I started using ON1 Photo RAW as my main RAW-Converter. A couple of days ago, I upgraded to version 2022 and here are my first impressions.
What Matters…
As a professional, I highly value speed, stability and usability in a program.
I never found the overall usability of ON1 Photo RAW lacking, but some things like the export dialog were improved and useful features added. I very much appreciate that, as especially updating export settings was cumbersome.
Regarding the stability, I have the impression that ON1 has improved considerably. While being a reasonably stable program to start with, it is now even better. Certain features like the machine learning supported Portrait AI tended to cause loading problems and crashes from time to time in the previous version. Now, the issues seem to have been resolved with some features added on top (yay!).
Loading times of pictures remain about the same, but even here the new versions seems to be a little bit better.
What Does Not Matter (for me)…
The program also gained several AI-powered features.
Sky Swap AI offers an easy way to exchange the sky in a (landscape) photograph. I have never tried it and my approach to photography kind of forbids that, but it might be useful.

ON1 Photo Raw 2022 Sky Swap AI
NoNoise AI is another feature. I rarely ever use noise reduction at all as modern cameras (currently rocking two Nikon D800) are so good and I love some added “digital grain" to convey the sense that the image was taken in low light conditions. Maybe users of older cameras will appreciate this feature more than I do.
ON1 Photo Raw 2022 NoNoise AI
Recommendation
More than ever, I can recommend ON1 Photo RAW as a RAW-converter. The powerful resize engine, photo management and the user friendly effects-workflow were always good arguments in favor of ON1. Now, with improved performance and overall feature set, there is nothing that should be holding you back.
If you run one of the early versions of ON1 Photo RAW, you should definitely get the 2022 version, the improvements are there.
And did I mention that you can choose between lifetime licence or subscription? Freedom!

Digital Restauration
Reproduction photography is one of my commercial specialties. It requires absolute precision and control to achieve accurate results.
Working with precious original artworks and old photographs is a privilege. Preserving them by enabling digital archiving as well as enabling reproduction via printing is an important task and a service I gladly offer.

Digitizing a precious original with high-end equipment in a controled studio environment.
Preservation or Restauration
I am a staunch advocate of preserving the object in the state it is currently in rather than creating an artificial restauration that might be based upon interpretation.

The digitized original without any adjustments - perfect for archiving purposes.
However, certain retouching actions like removal of dust and lint as well as scratches are often necessary to get a desireable result. By utilizing modern imaging software and skill, such edits do not interpet the original. While this is a time consuming process, it is necessary to deliver the best possible result to the client.

The digitally restaurated version of the first image.
Only in certain cases I recommend digitally restoring the original. I carefully assess which parts of the original can be restored based upon reference areas.
Additional adjustments like sharpening and color conversion can be applied in the pre-print stage.

The sharpened image ready for print or use in online galleries. Note the grain-level sharpness and the original softness of the photograph.
Also check out my reproduction photography guide for beginners.